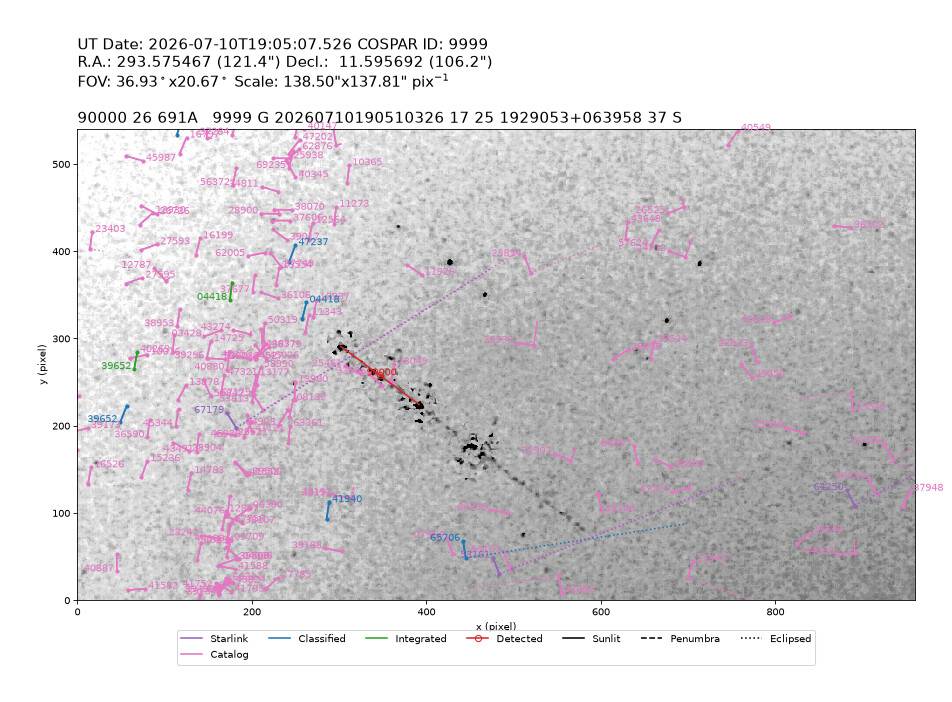
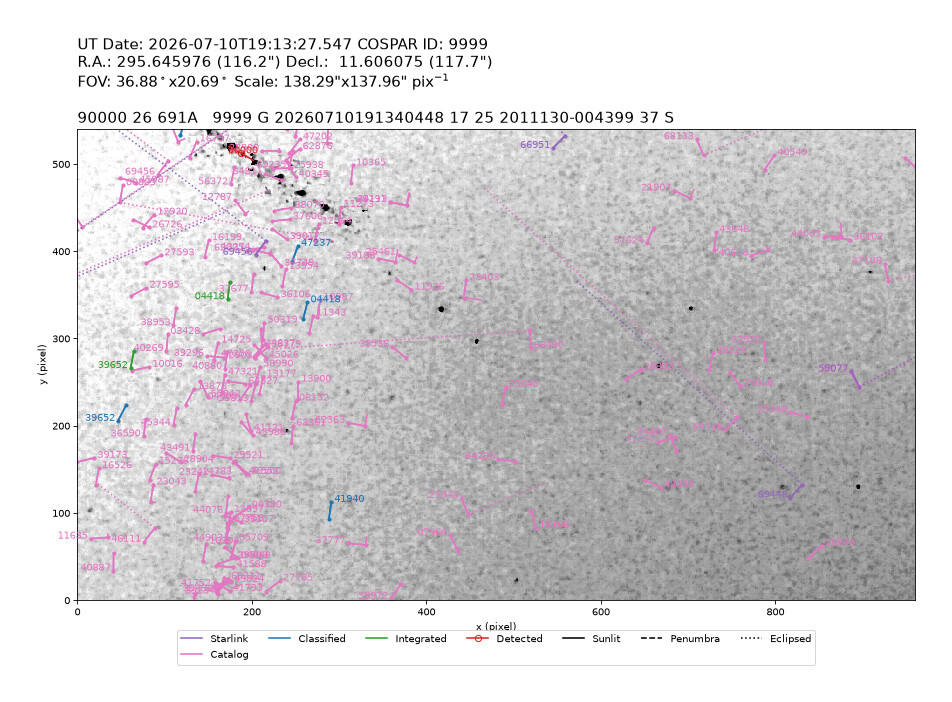
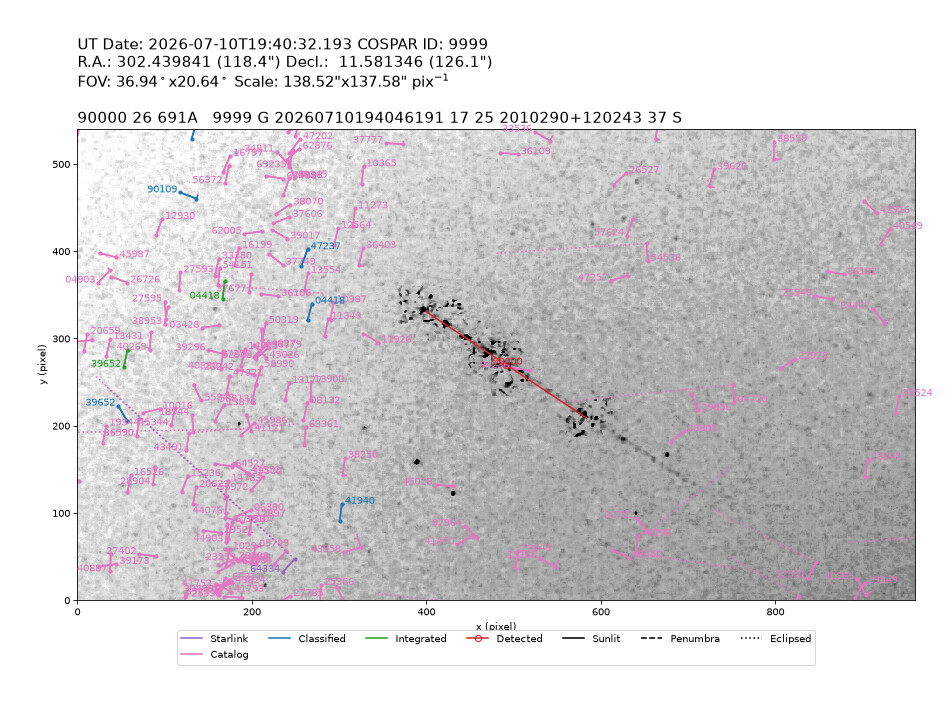
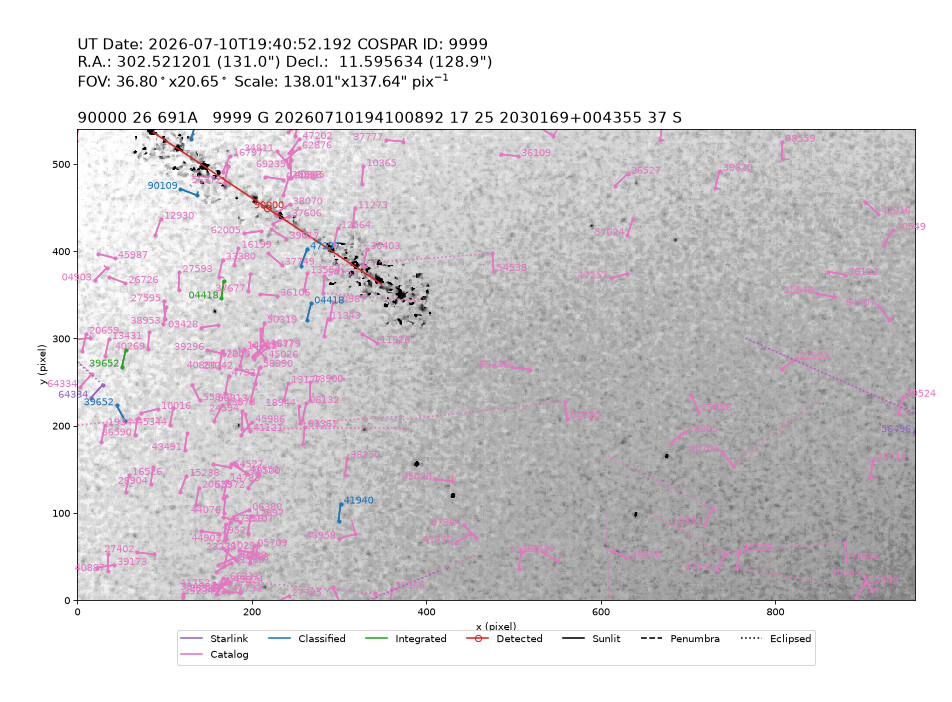
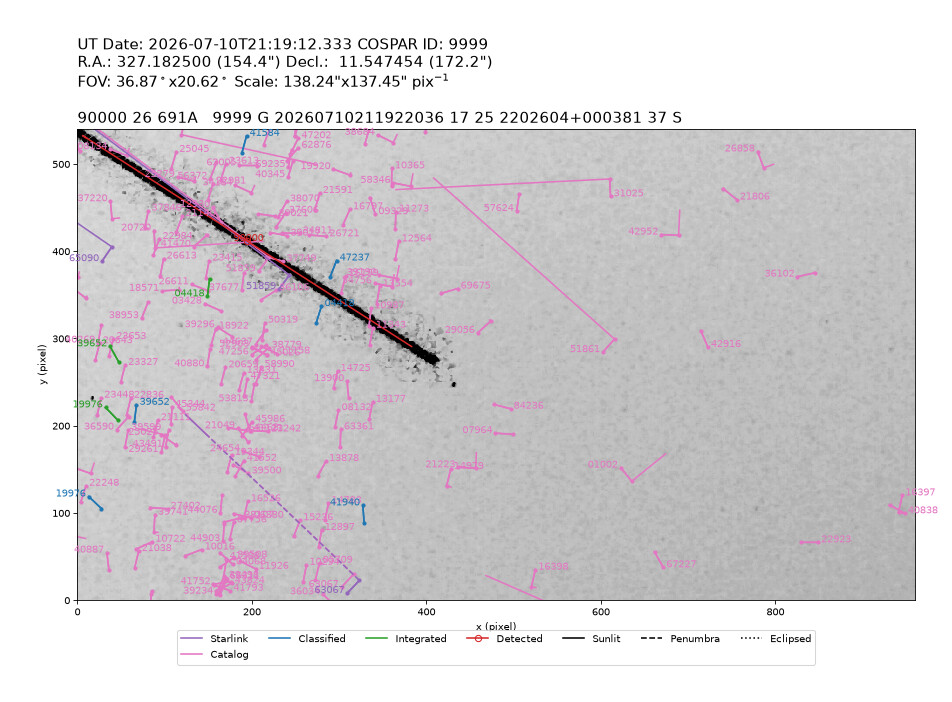
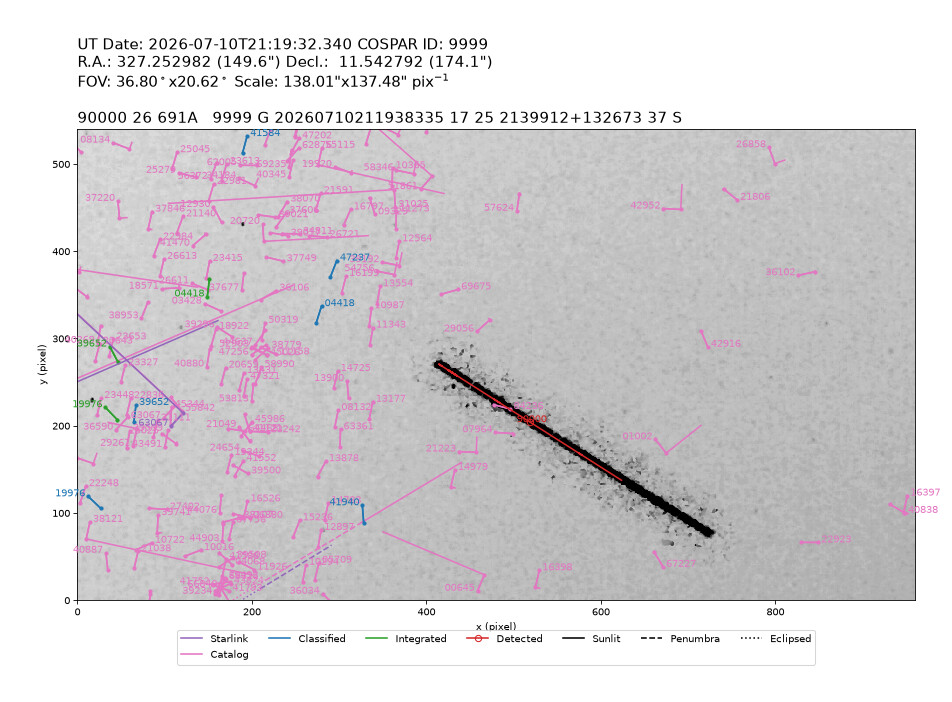
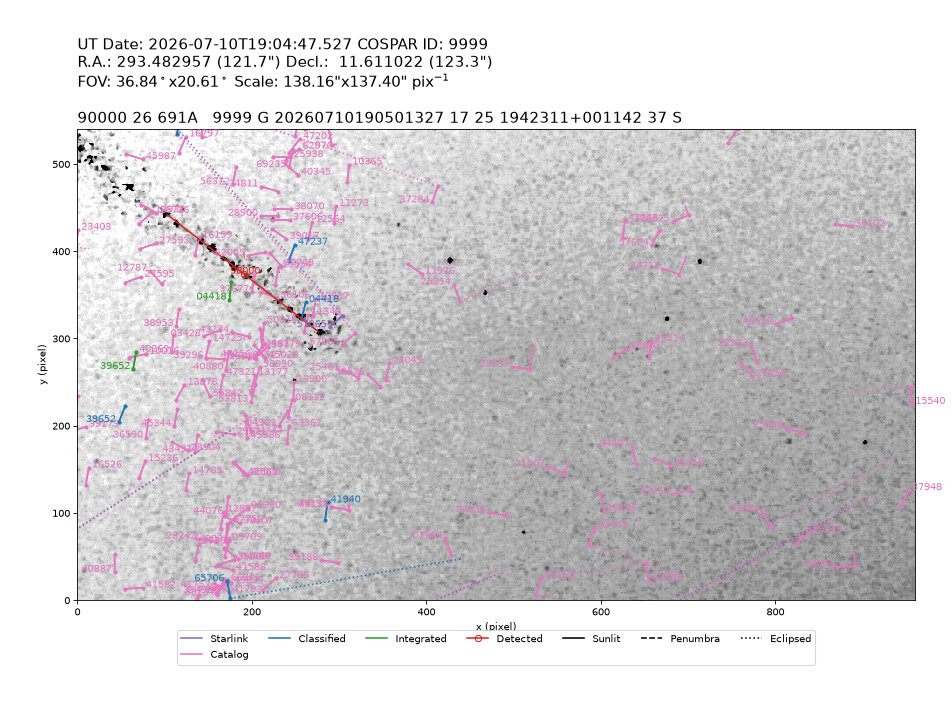
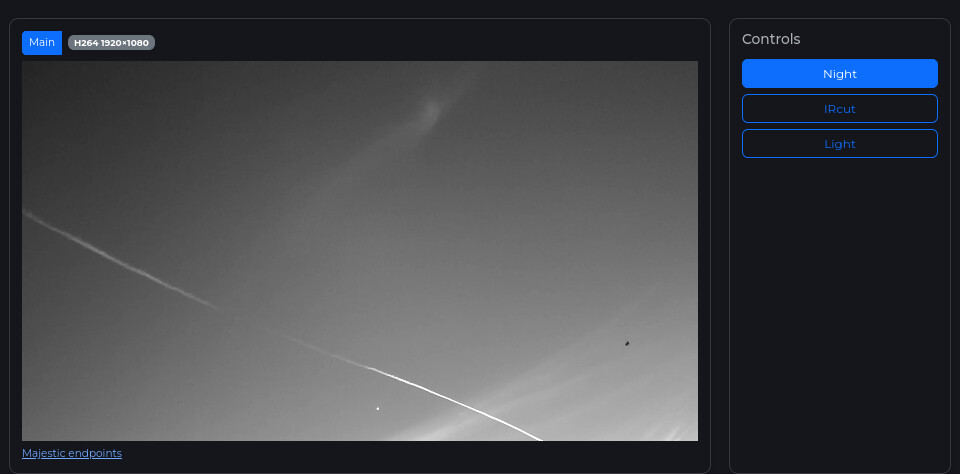
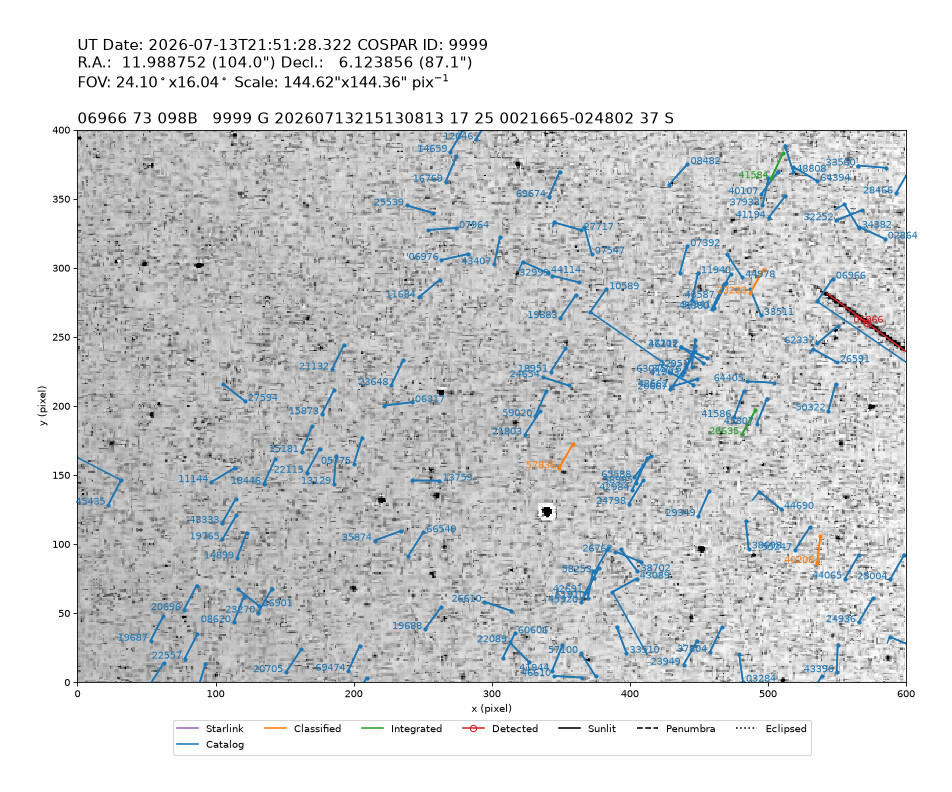
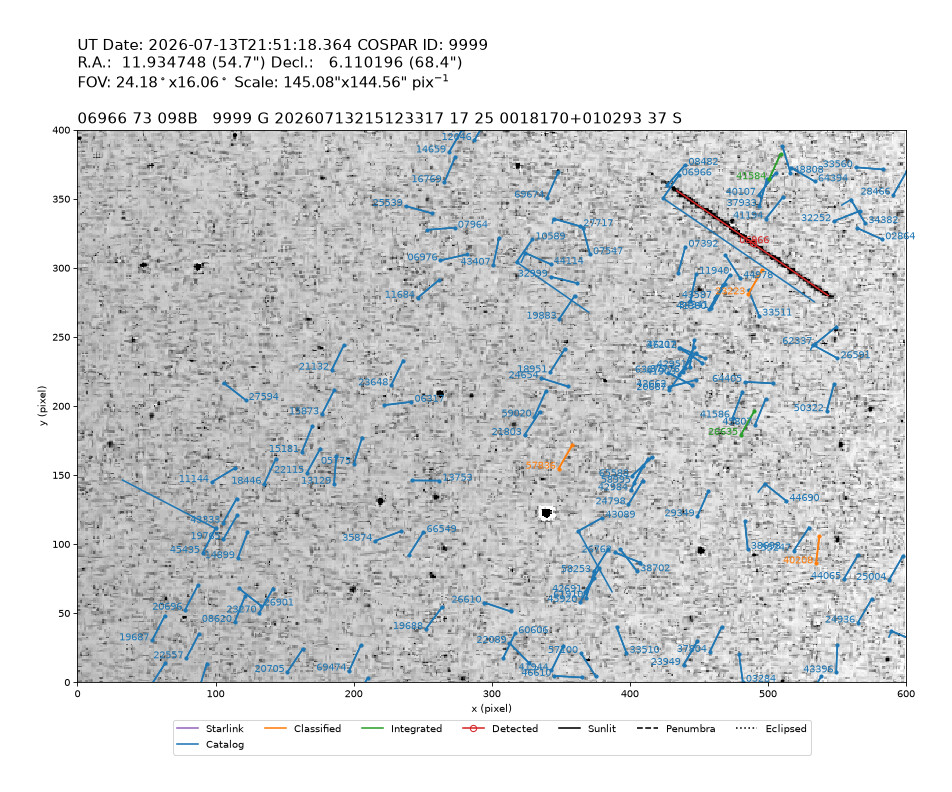
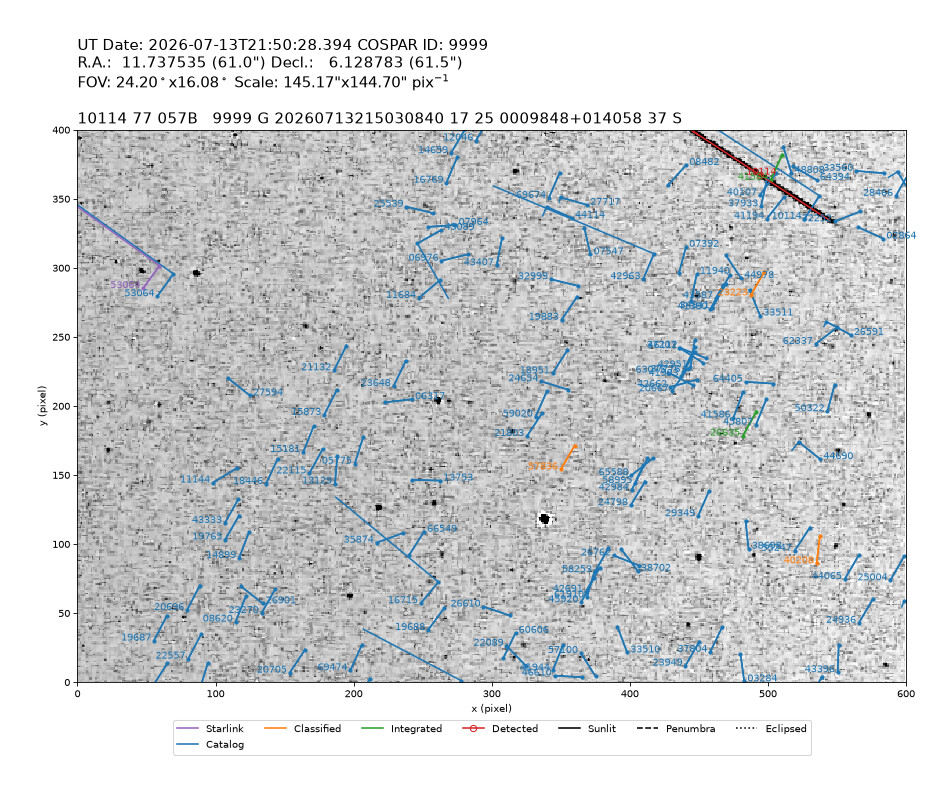
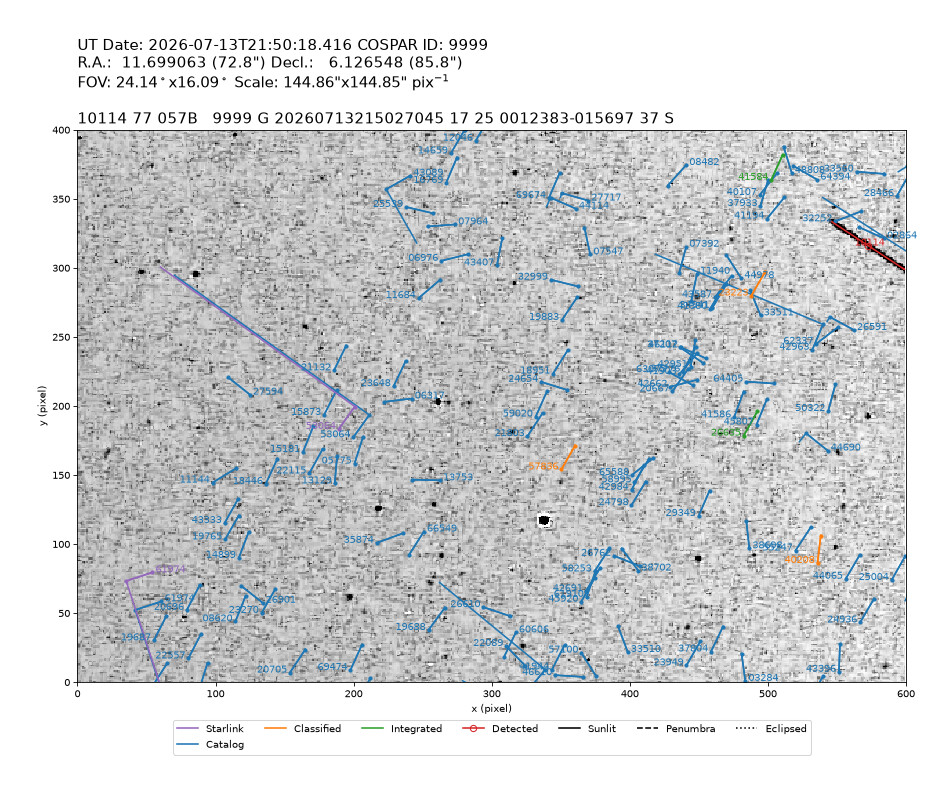
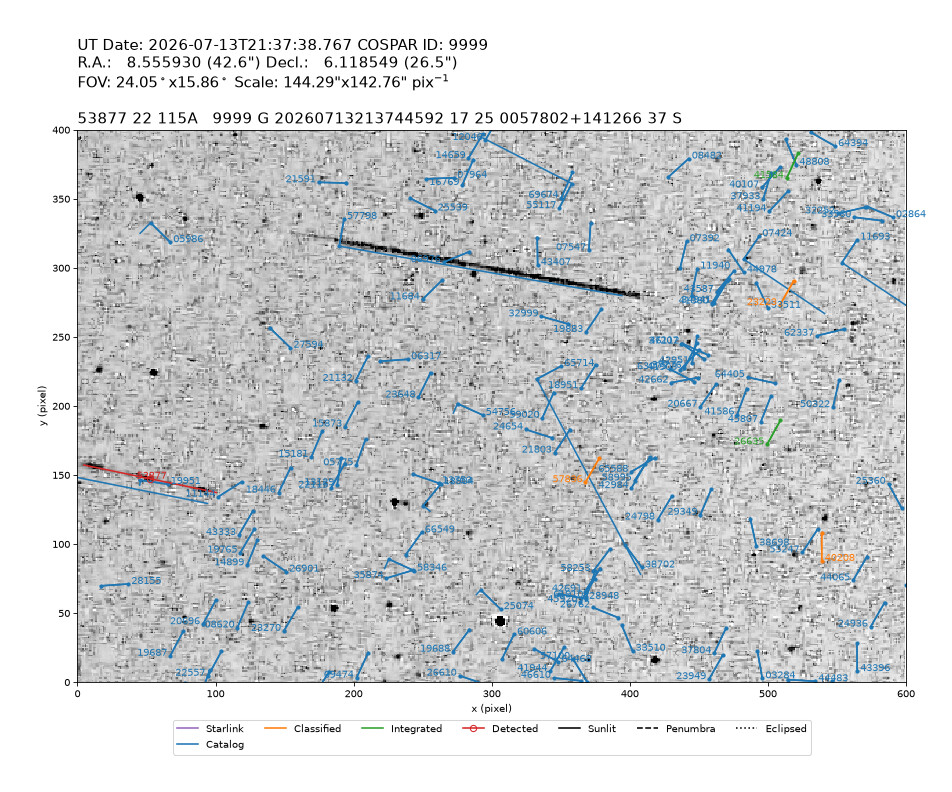
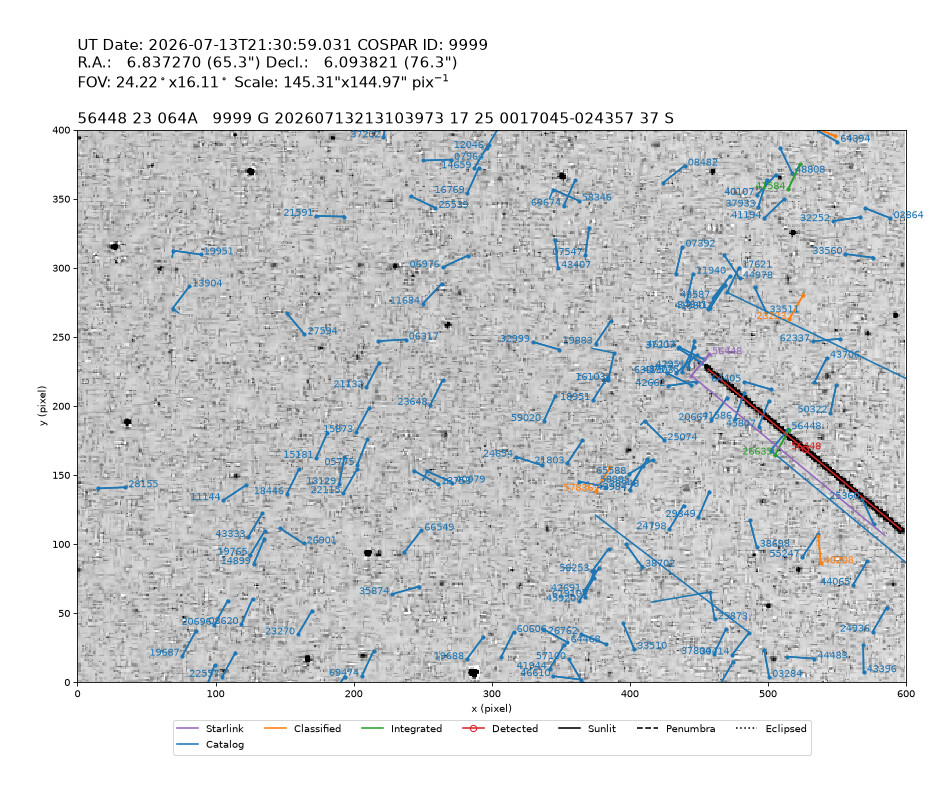
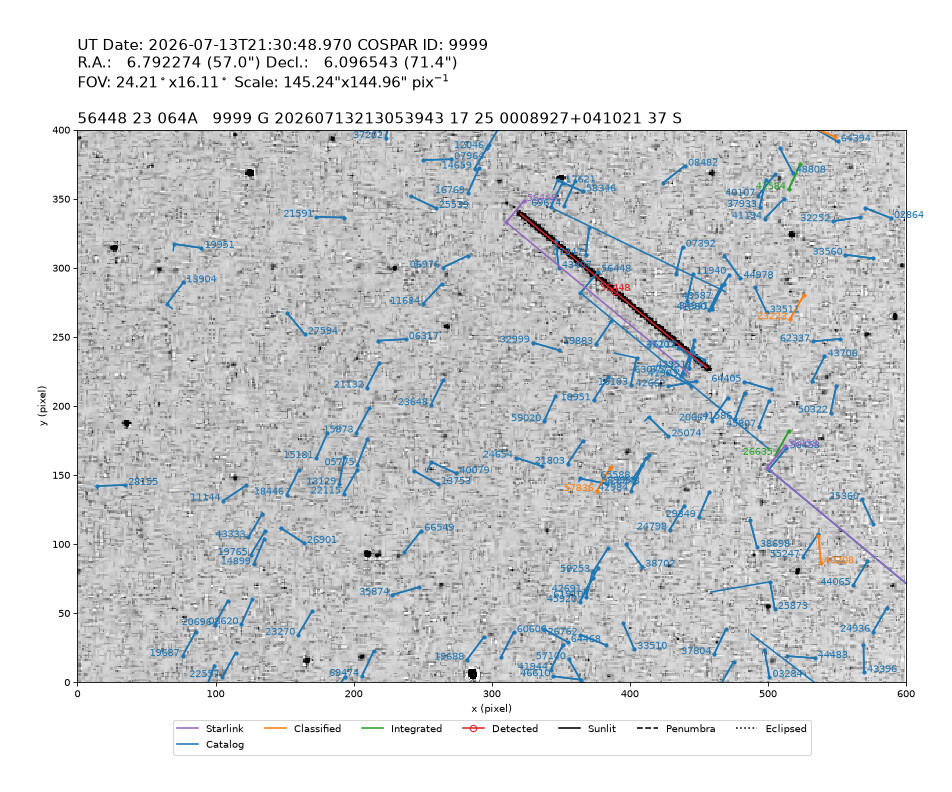
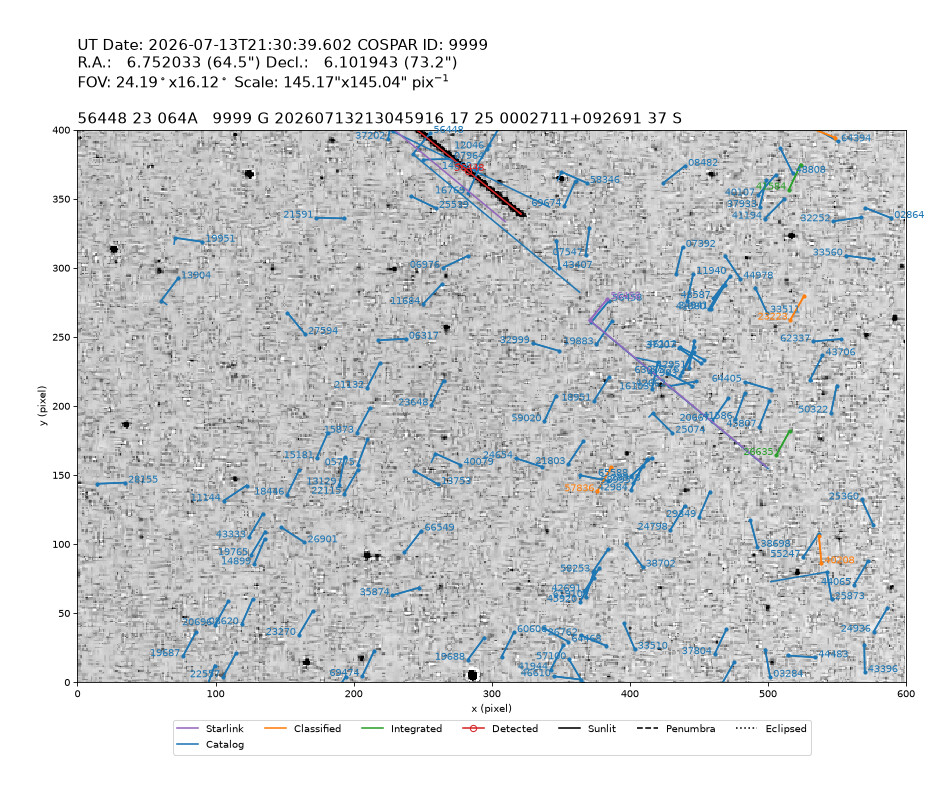
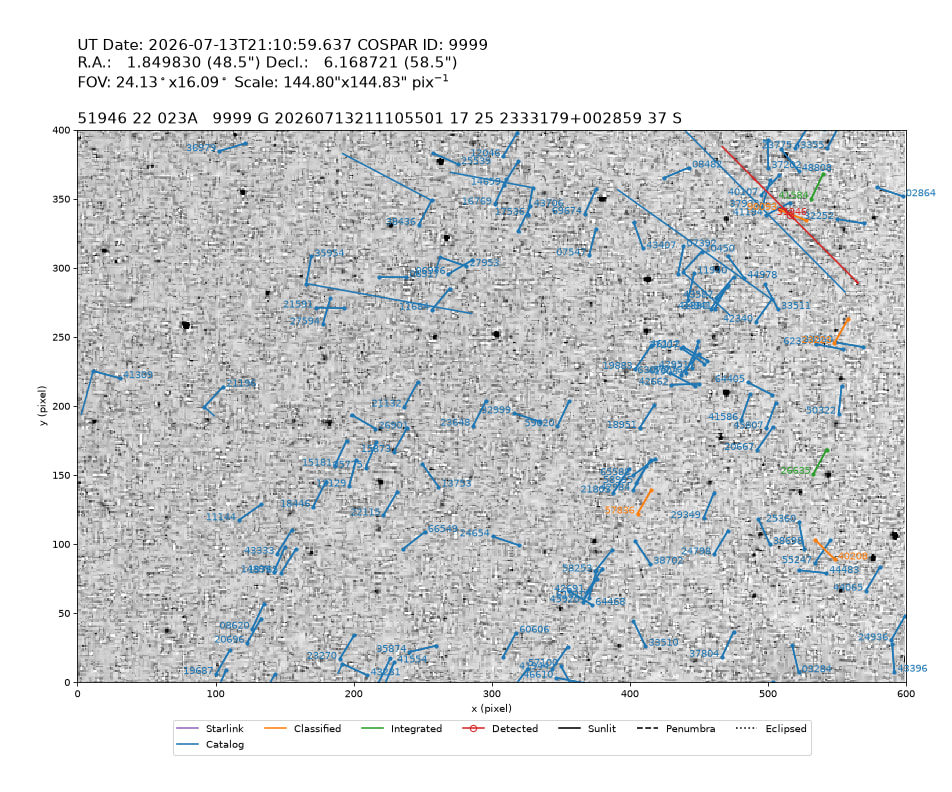
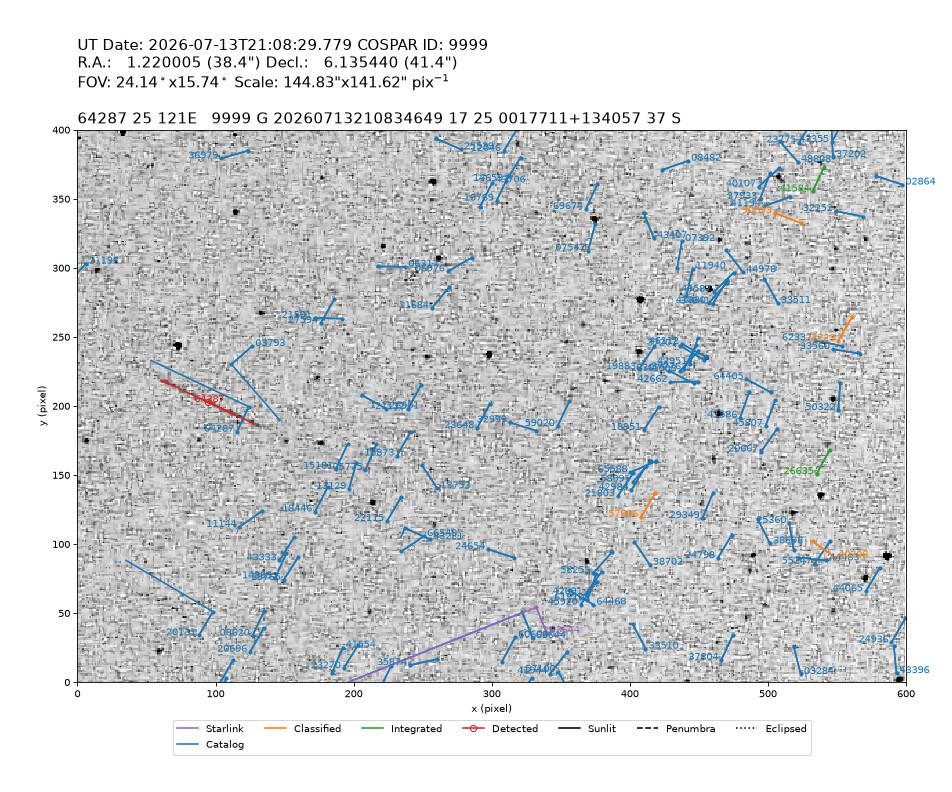
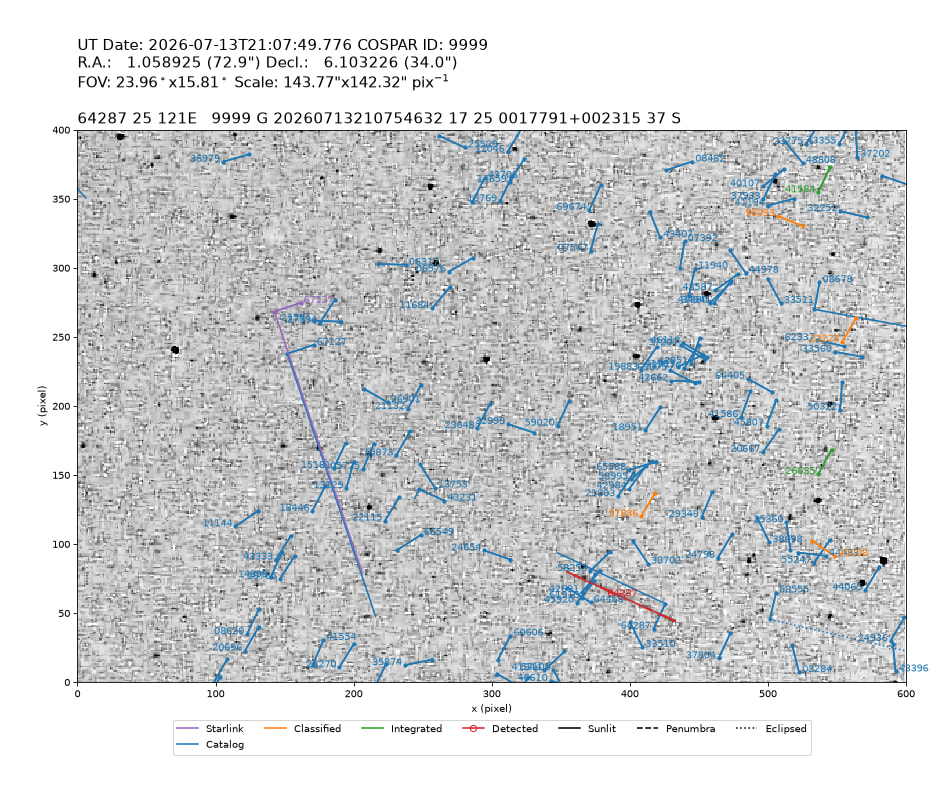
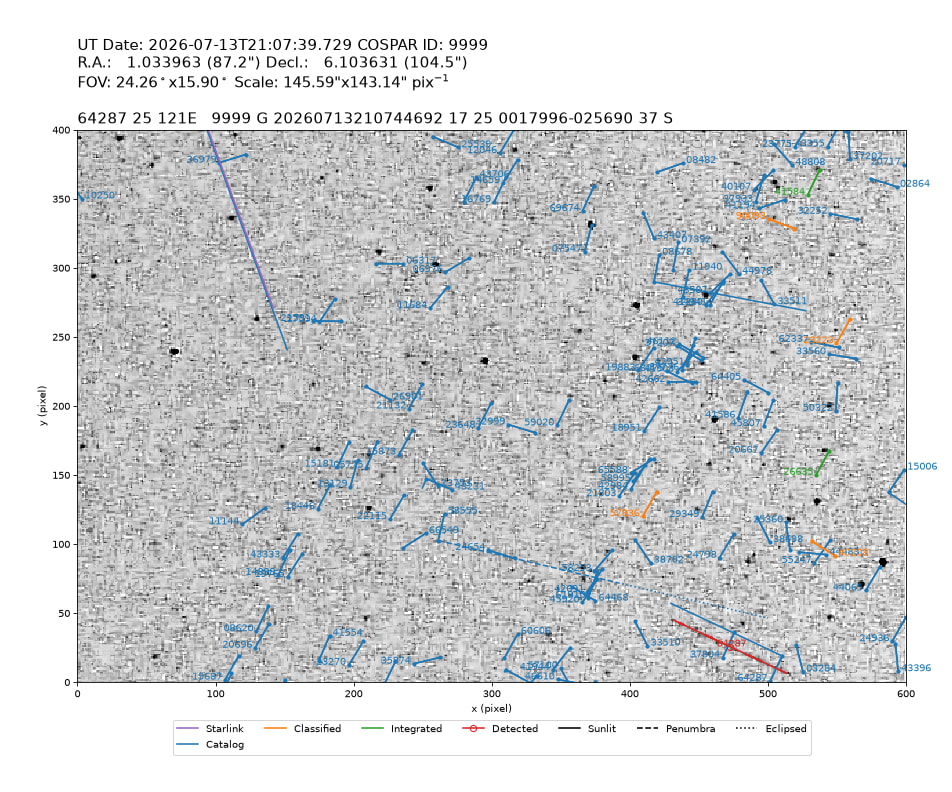
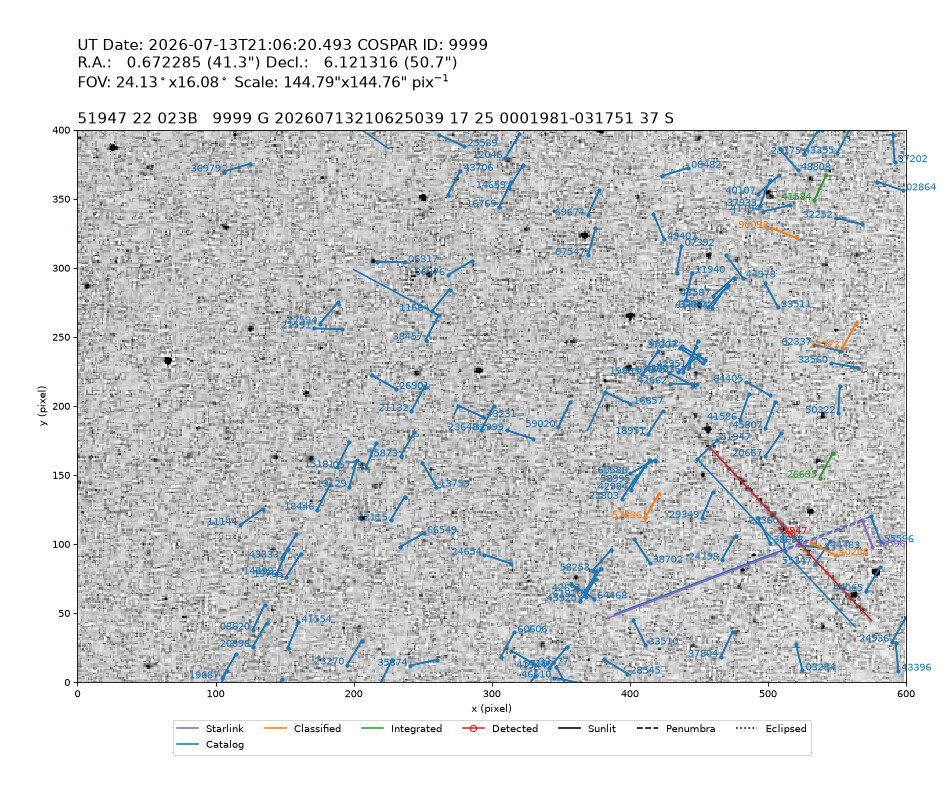
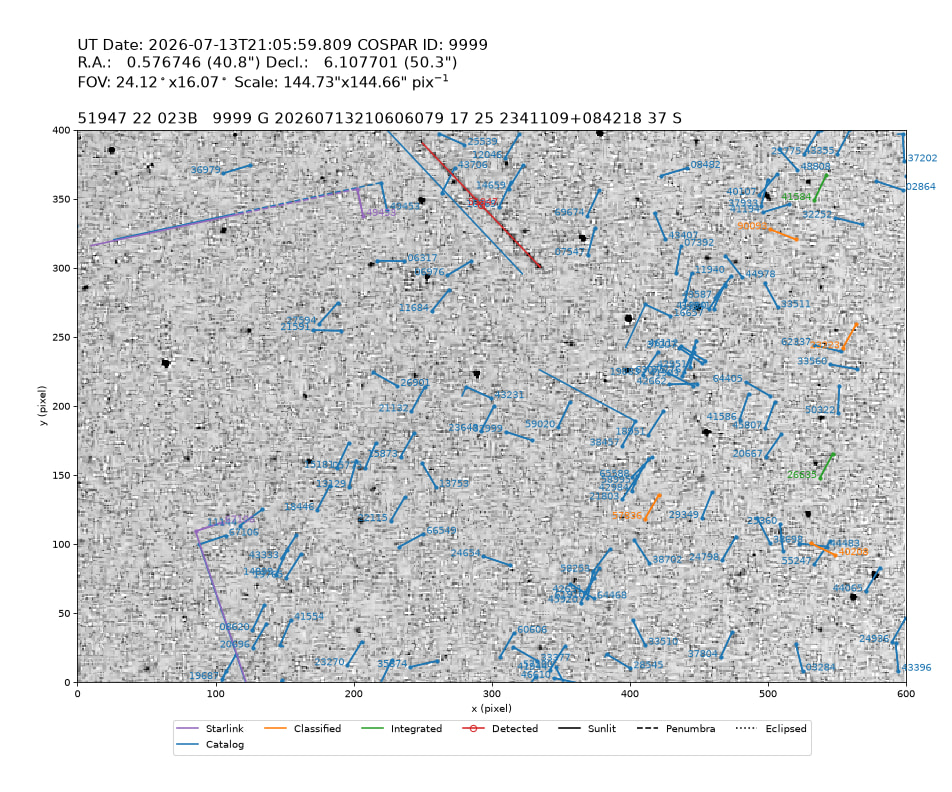
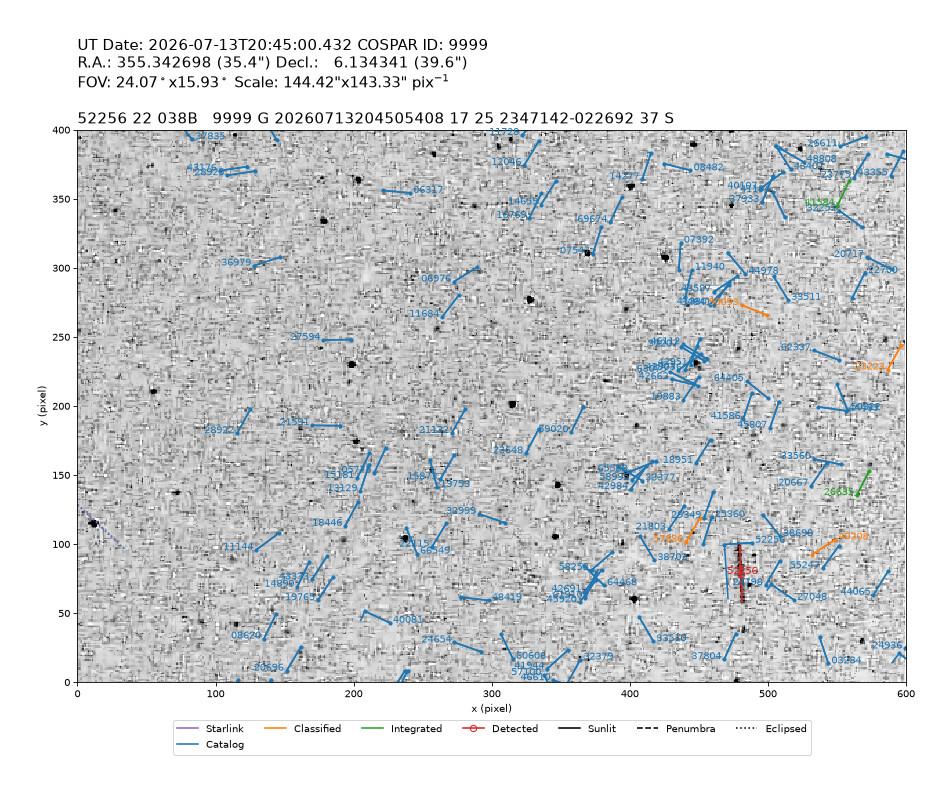
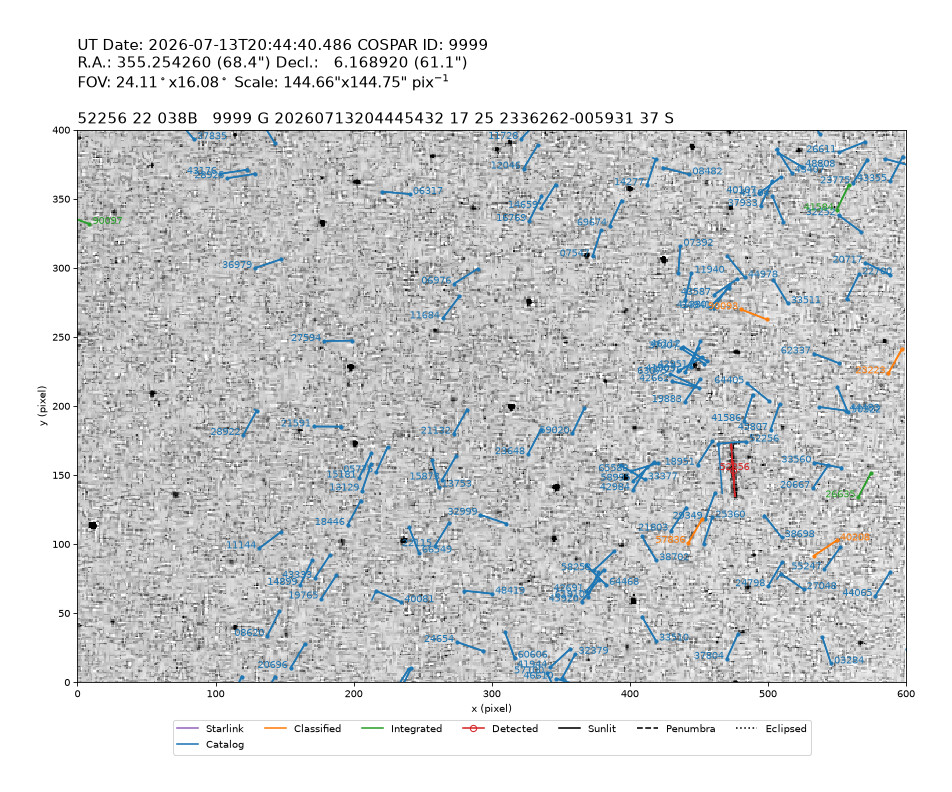
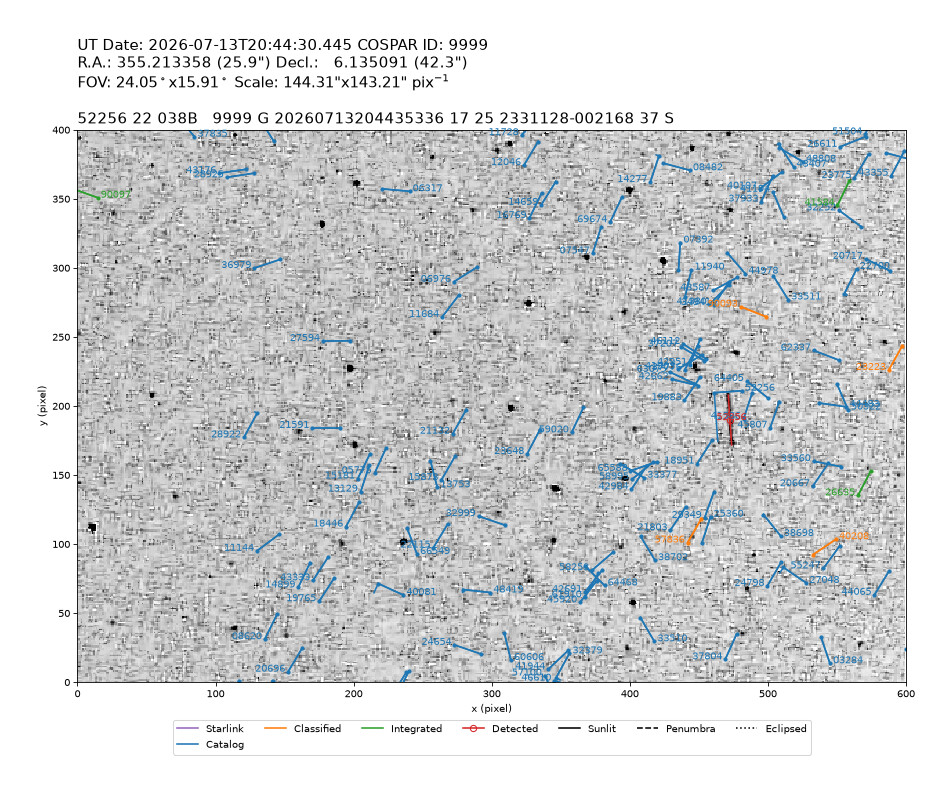
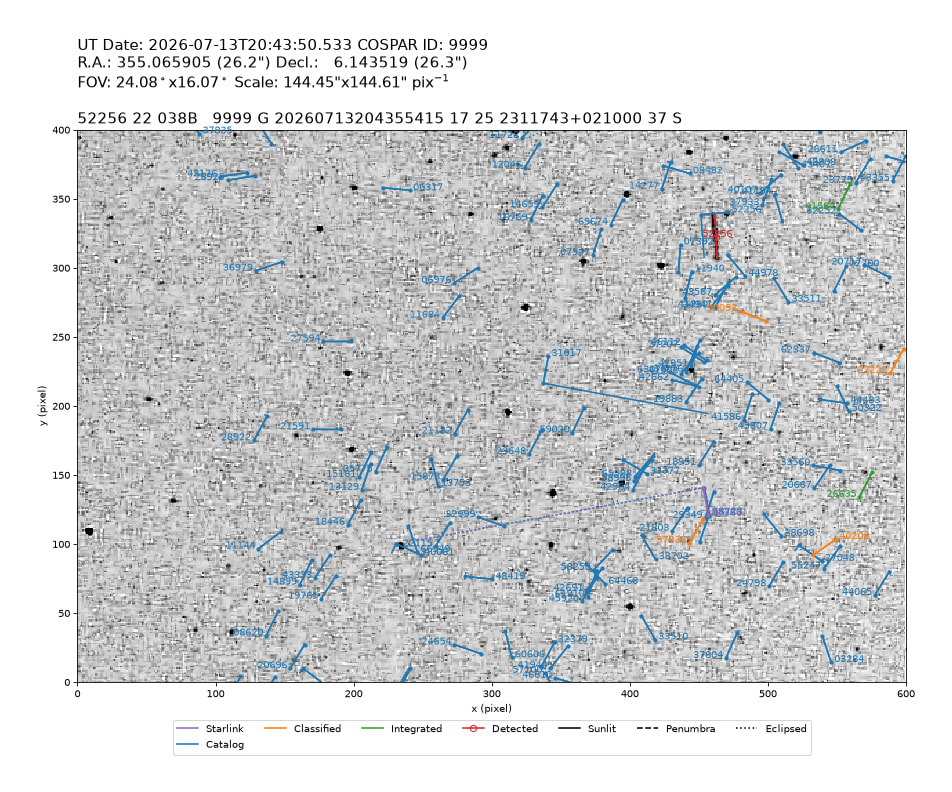
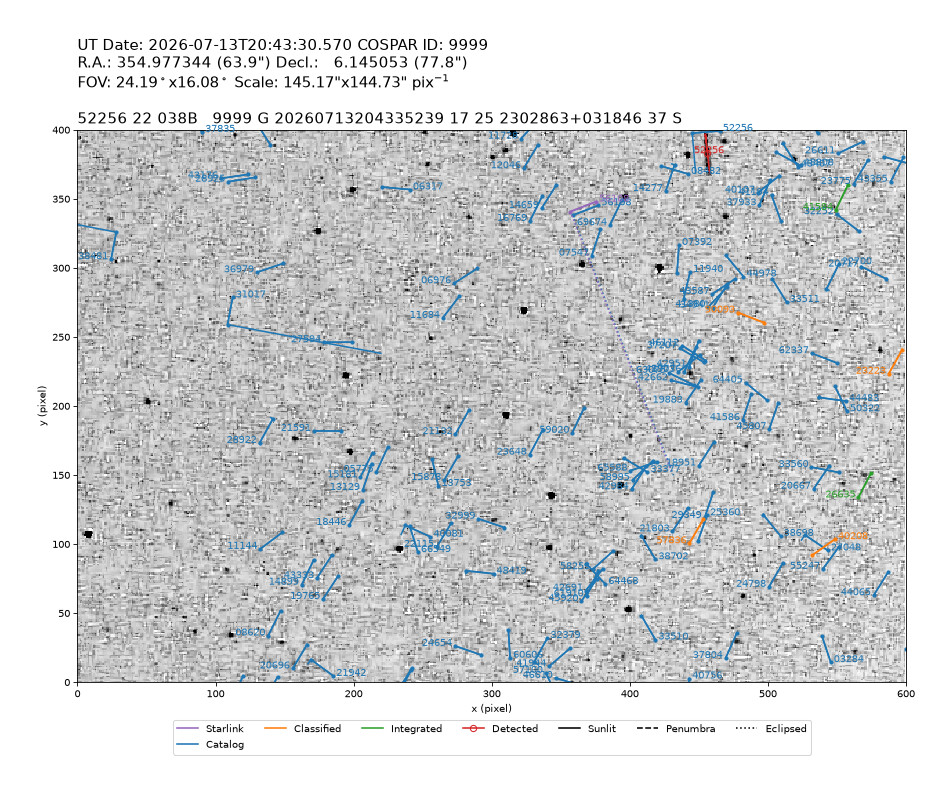
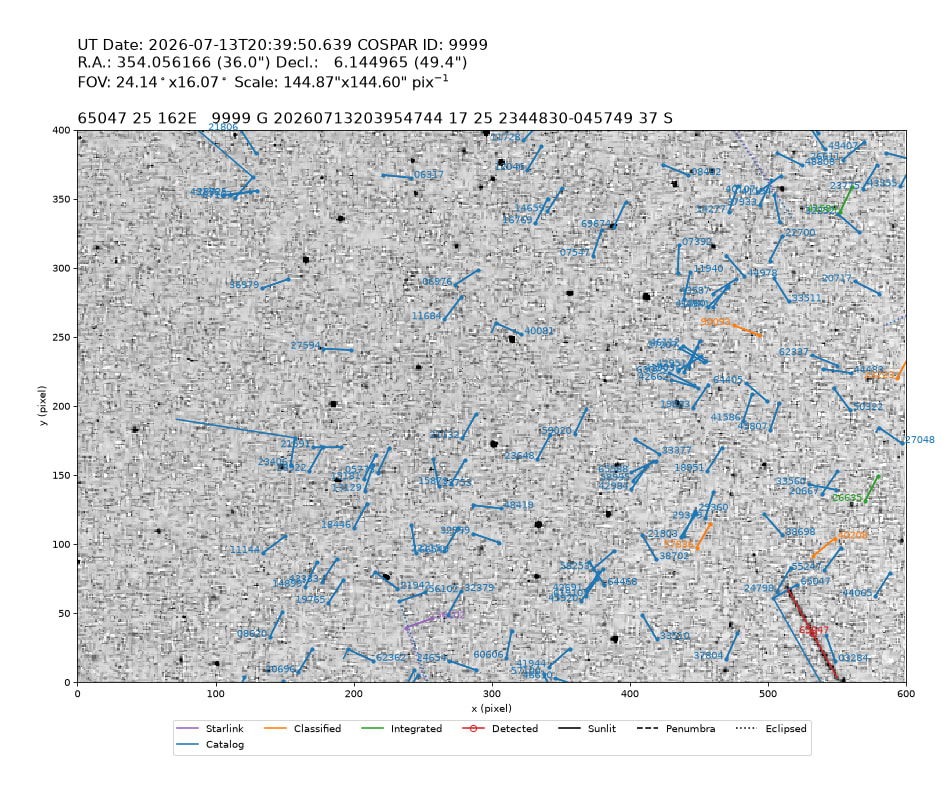
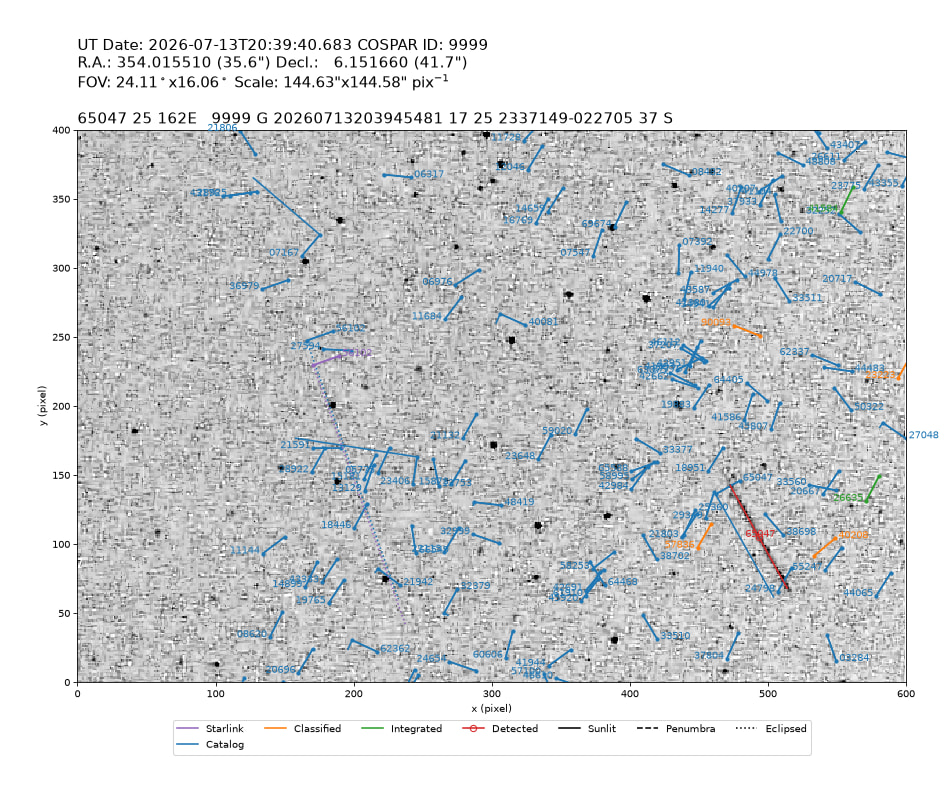
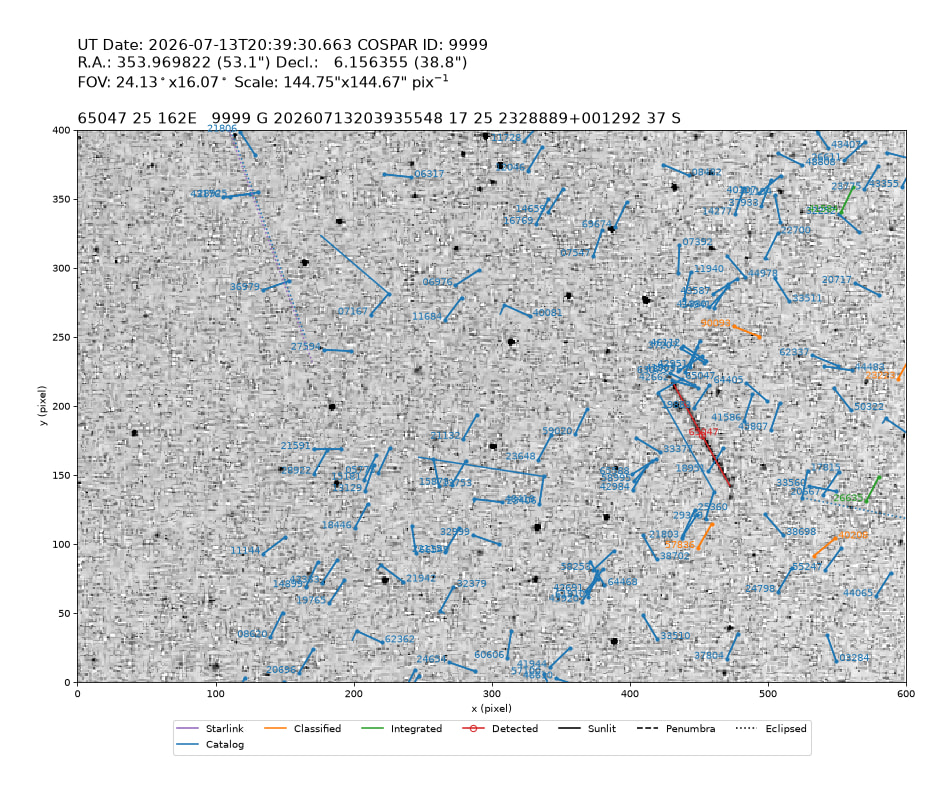
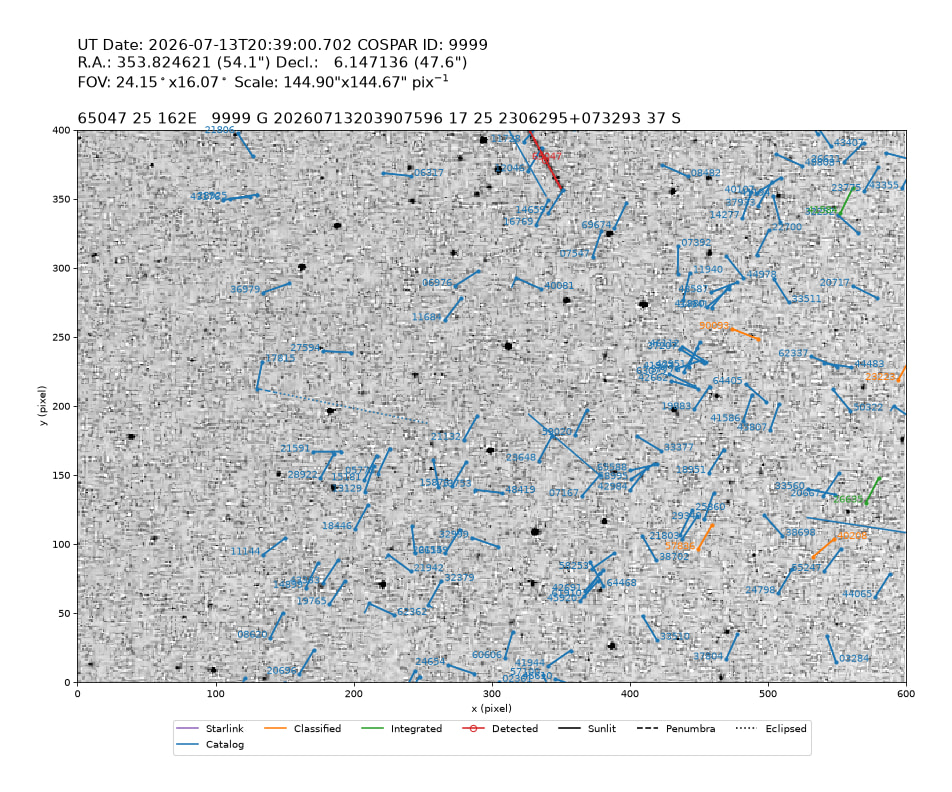
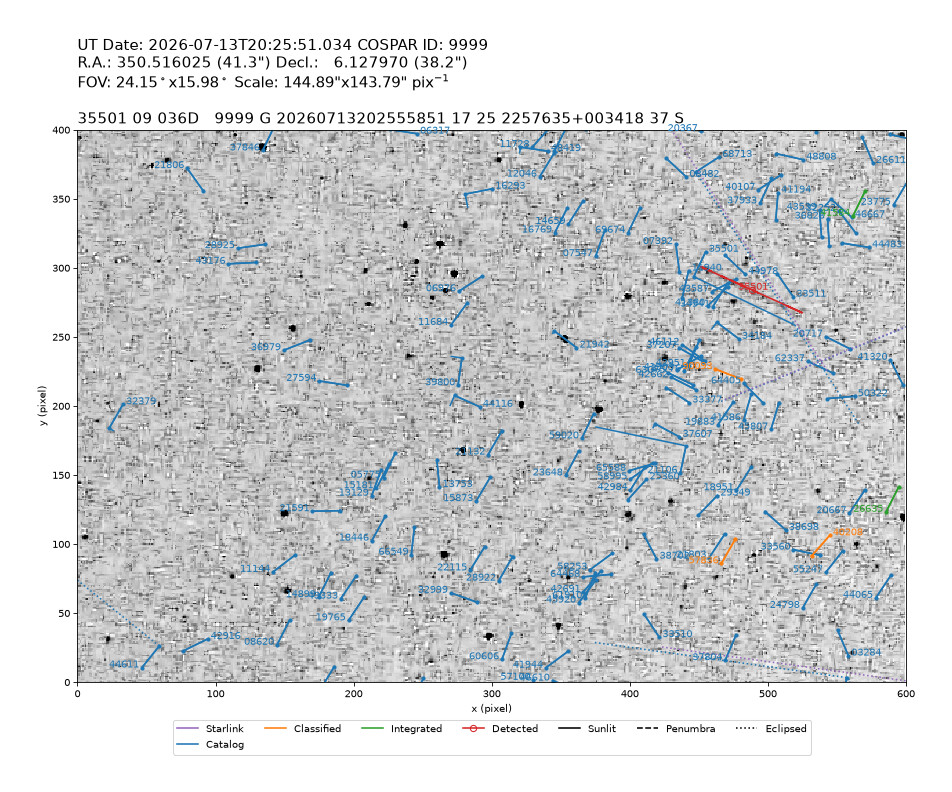
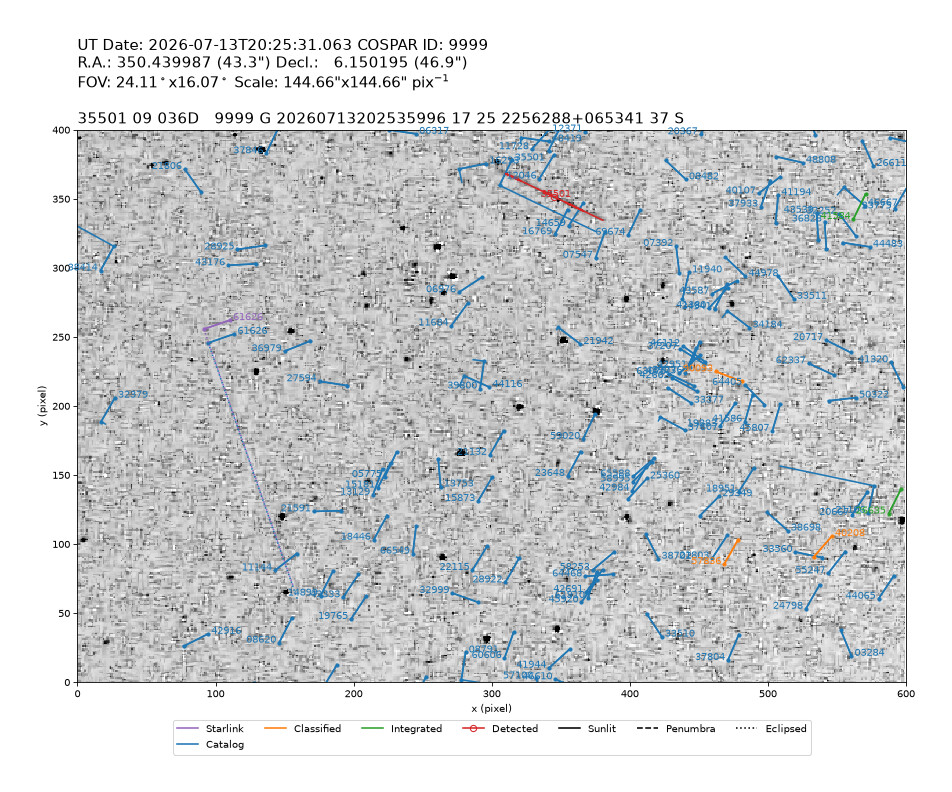
if you interest about this topic, please like and bookmark this thread. because i will update this page regulary and you will be the first be notified. thank you!
LAST UPDATE: Wed Jul 15 12:17:04 PM UTC 2026
STVID, i follow the instalation tutorial there. its clear. you should can! What is STVID ? read here noobs!
inspired by jasper, @pe2bz (read this thread) , @EelkeVisser @PE0SAT @cgbsat @michal.drzal i write this post. for dump note and my journey playing with optical obs. maybe far from ideal, because i use just cheap ip camera. i hope it will inspire the reader…
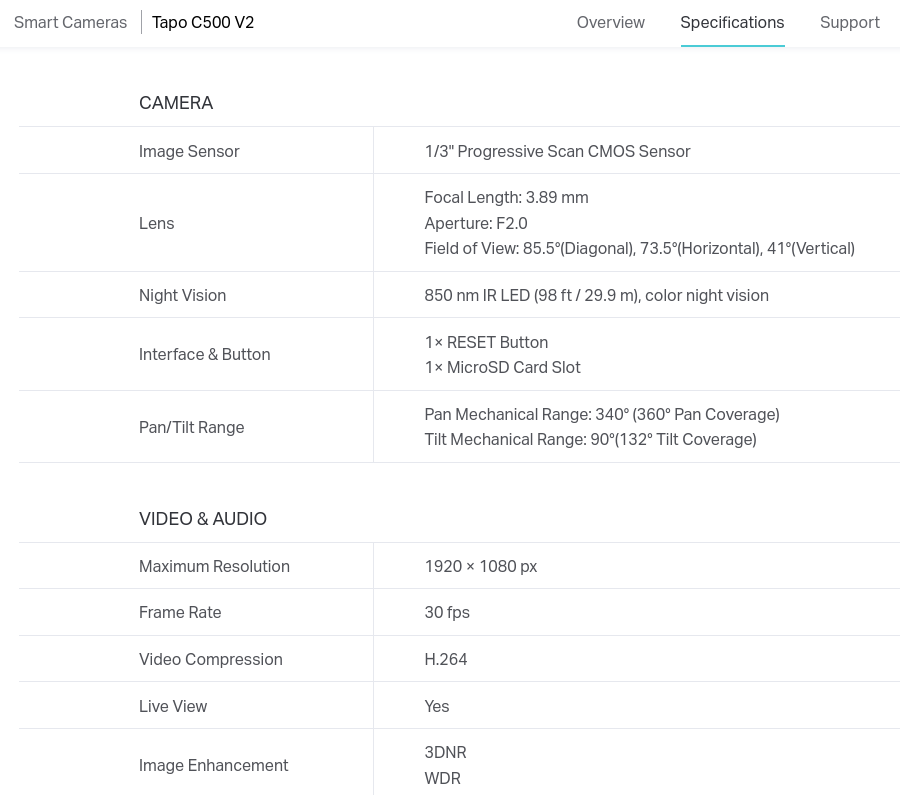
i used two ipcam for this experiment, my first and second ip cam spec:
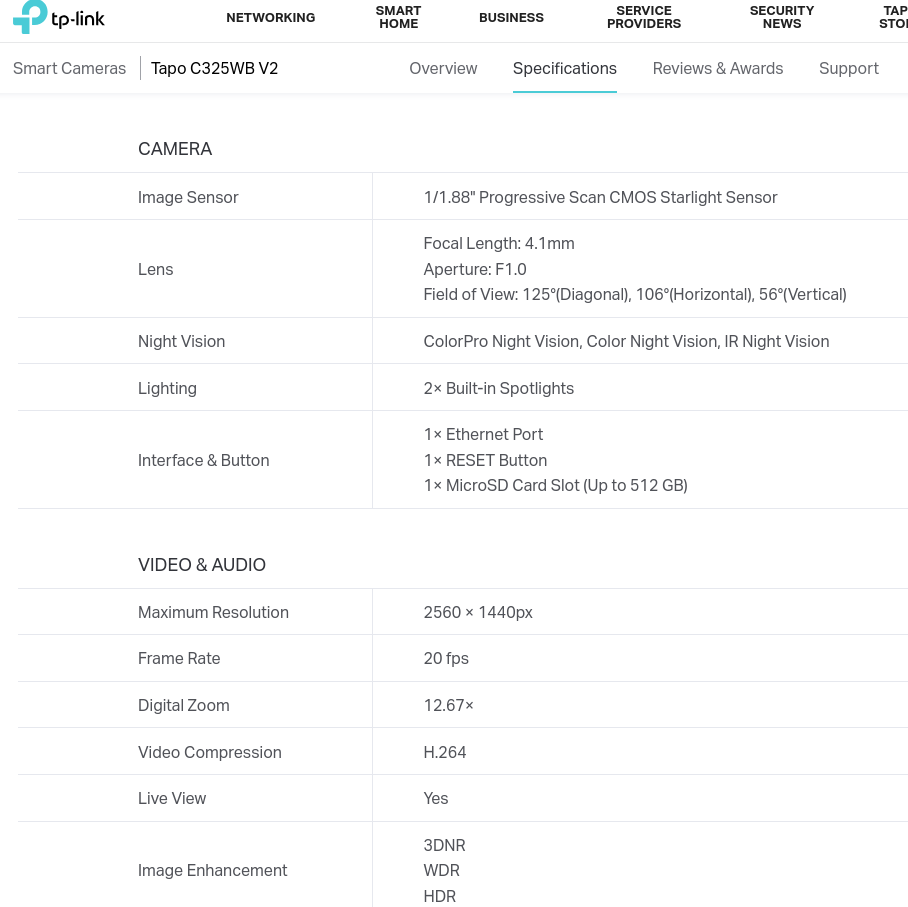
click here to see my setup and stvid config for tapo c325wb
after make my tapo c500 break (mistakely erase the ubootloader), finaly i can reflash again the nand (i recommend this video for how to reflash the nand of this cam -SPI BIOS 25xx) and make it alive again with open source firmware openipc:
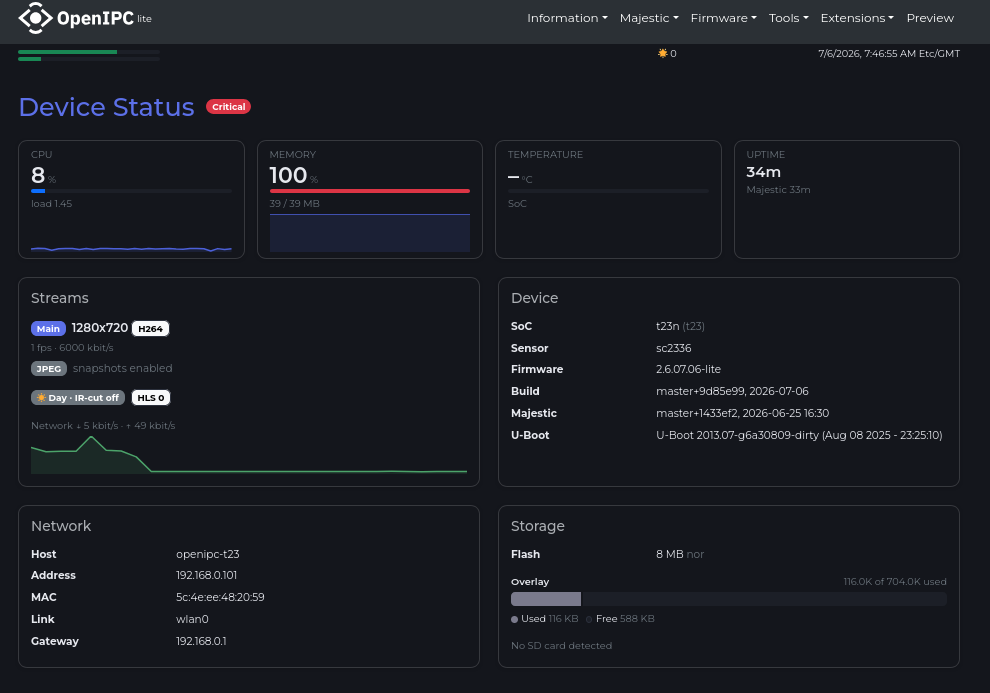
not yet perferct firmware , but at least i can custom the fps to lowest to 1 fps, and some tweak experiment .
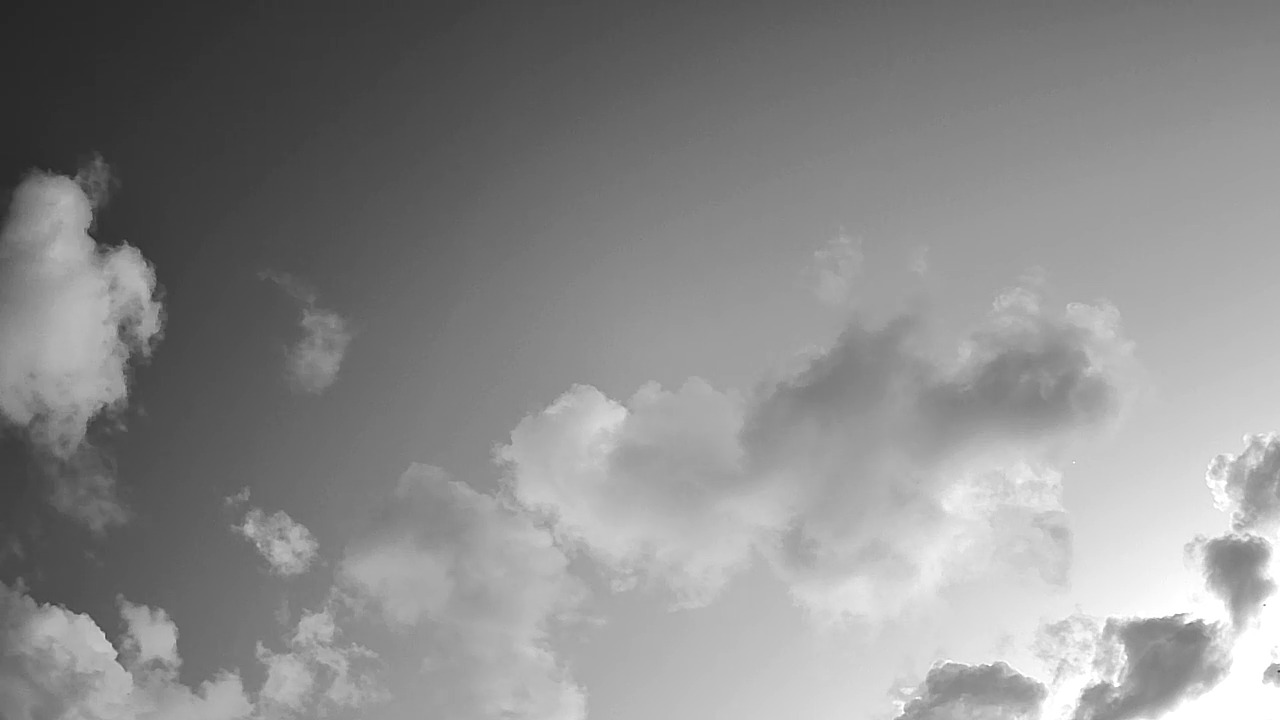
other alternate firmware for ingenic soc ipcam based, like mine tapo c500 (i’m not yet try, but asap will try): thingino
my setup for maximaze lens exposure:
cli -s .isp.drc 0 # smaller better
cli -s .isp.slowShutter high
cli -s .isp.exposure 500000
cli -s .isp.aGain 16384
cli -s .isp.dGain 2048
cli -s .isp.ispGain 8192
cli -s .isp.lowDelay true
cli -s .isp.rawMode true
cli -s .video0.fps 1
cli -s .video0.size 1280x720
cli -s .video0.bitrate 6000
cli -s .video0.rcMode avbr #best for star, better then vbr and cbr
cli -s .video1.enabled false
cli -s .nightMode.enabled true
cli -s .isp.blkCnt 1
here my latest update to overclock my ip cam lens exposure:
# SC2336P Nighttime Star Capture Configuration
# For maximum light collection on dark nights

# SSH into camera
ssh -l root -p 192.168.10.10

# 0. FROM PREVIOUS SETUP
cli -s .isp.drc 0 # smaller better
cli -s .isp.lowDelay true
cli -s .isp.rawMode true
cli -s .video0.bitrate 4800
cli -s .video0.rcMode avbr #best for star, better then vbr and cbr
cli -s .video1.enabled false
cli -s .isp.blkCnt 1

# 1. SET ULTRA-SLOW FRAME RATE (1 FPS for maximum exposure time)
cli -s .video0.fps 1


# 2. SET MAXIMUM EXPOSURE (automatic, will scale to ~1050ms at 1fps)
# The sensor will automatically set max exposure for 1 FPS
cli -s .isp.exposure 1121

# 3. DISABLE AUTO EXPOSURE (manual mode required for stars)
cli -s .isp.aeMode 0

# 4. SET MAXIMUM ANALOG GAIN (32x - first stage amplification)
cli -s .isp.againMax 32

# 5. SET MAXIMUM DIGITAL GAIN (4x - second stage amplification)
cli -s .isp.dgainMax 4 # if this cause noisy, just disable this , set to 1

# 6. DISABLE NOISE REDUCTION (to keep faint stars visible)
cli -s .video0.denoise 0
cli -s .video0.nr3d 0
cli -s .video0.dewarp 0           # Disable image warping

# 7. OPTIMIZE FOR CONTRAST (boost weak signals)
cli -s .video0.contrast 80
# Lower color saturation in low light = reduce color noise
cli -s .video0.saturation 10
cli -s .video0.sharpness 50
# Slight brightness boost
cli -s .video0.brightness 30
cli -s .video0.hue 0               # No color shift

# 8. DISABLE ISP AUTO ADJUSTMENTS
cli -s .isp.manualExpLineEnable 1
cli -s .isp.manualAgainEnable 1
cli -s .isp.manualDgainEnable 1
running observation:
(stvid) linux@raspberrypi:~/software/stvid $ ./acquire.py
2026-07-08 09:37:18,300 [MainThread  ] [INFO ]  Using config: configuration.ini
2026-07-08 09:37:18,300 [MainThread  ] [INFO ]  Test mode: False
2026-07-08 09:37:18,300 [MainThread  ] [INFO ]  Live mode: False
2026-07-08 09:37:20,863 [MainThread  ] [INFO ]  The Sun is above the horizon. Sunset at 2026-07-08T10:35:59.498.
2026-07-08 09:37:20,863 [MainThread  ] [INFO ]  Waiting for 3521 seconds.
2026-07-08 10:36:01,864 [MainThread  ] [INFO ]  Starting data acquisition
2026-07-08 10:36:01,865 [MainThread  ] [INFO ]  Acquisition will end after 2026-07-08T22:12:41.559
2026-07-08 10:36:05,144 [compress    ] [INFO ] Storing files in /home/linux/obs/20260708_0/103605
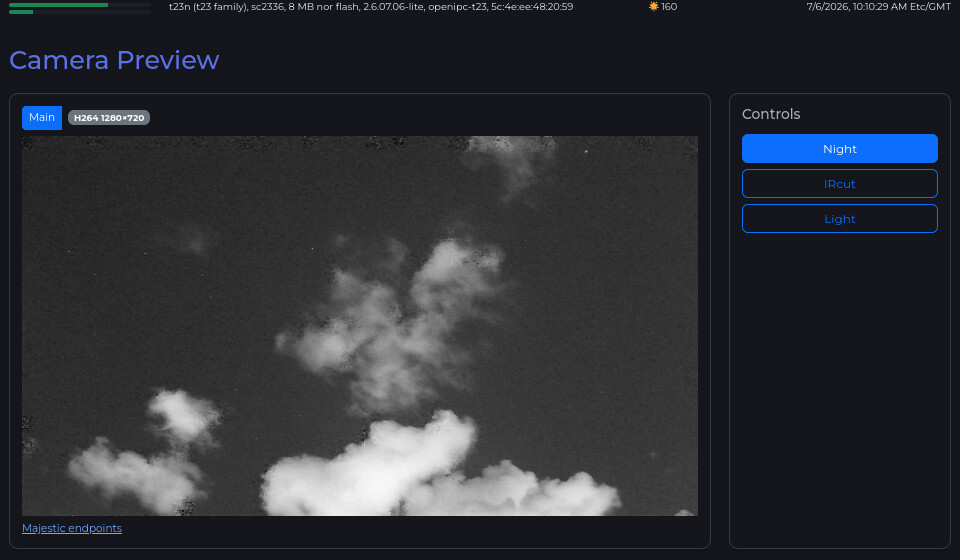
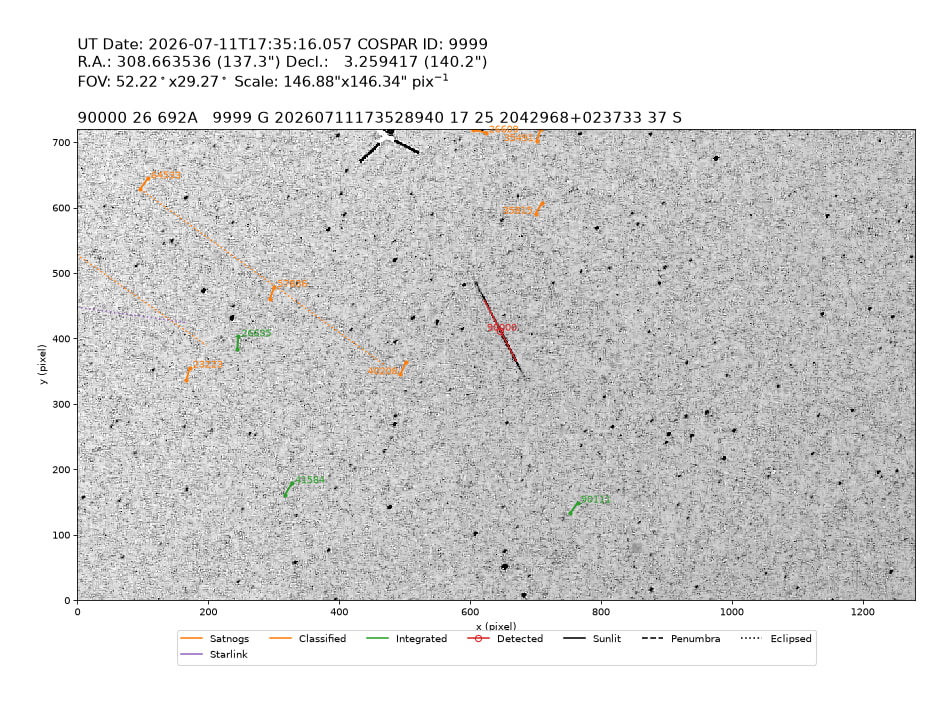
satnogs tle converter, this script modified tle from db.satnogs.org, so become compatible with process.py from stvid (process.py stop and ignored tle when meet leading space (not zero) in front of 4 digit satellite norad id)
#!/bin/bash

# Script to add leading zero to 4-digit NORAD IDs in TLE files

input_file="$1"
output_file="${2:-output.txt}"

if [ ! -f "$input_file" ]; then
    echo "Error: Input file '$input_file' not found"
    exit 1
fi

# Process the file
# Line 1: Replace "1  7530U" with "1 07530U"
# Line 2: Replace "2  7530  " with "2 07530  "
sed -e 's/^1  \([0-9]\{4\}\)U/1 0\1U/' \
    -e 's/^2  \([0-9]\{4\}\)  /2 0\1  /' \
    "$input_file" > "$output_file"

echo "Conversion complete. Output saved to: $output_file"
TIPS #0 (THE MOST IMPORTANT)
if your obs, and processing.py never got success satellite identification, check the different time between fits file. for example if you set the fps of your camera 20, and nframes=200, the total time should be 200:20 = 10 seconds.
if in between .fits file time generated more than 10 seconds, then your obs become garbage. try to fix this first. for example reduce the nframes, if you use ipcam, fix the network connection, or try on pc (faster computer)
TIPS #1 = remove the noise / distortion line around edge of image
i modified the acquire.py , so rather choose binning that resize the image stream, i add a new function cropping. so this can reduce the fov by cropping the image, but without reduce the quality of image.
before:
                    # Apply software binning
                    if software_bin > 1:
                        my, mx = z.shape
                        z = cv2.resize(z, (mx // software_bin, my // software_bin))
after:
    # Test for software cropping
    try:
        software_crop_width = cfg.getint(camera_type, "software_crop_width")
    except configparser.Error:
        software_crop_width = 0

    # Test for software cropping
    try:
        software_crop_height = cfg.getint(camera_type, "software_crop_height")
    except configparser.Error:
        software_crop_height = 0

                    # Apply software binning
                    if software_bin > 1:
                        my, mx = z.shape
                        z = cv2.resize(z, (mx // software_bin, my // software_bin))

                    # Apply software cropping
                    if software_crop_width > 1:
                        my, mx = z.shape
                        # Crop n pixels
                        crop_w = mx - software_crop_width
                        crop_h = my - software_crop_height
                        y_start = (my - crop_h) // 2
                        x_start = (mx - crop_w) // 2
                        y_end = y_start + crop_h
                        x_end = x_start + crop_w
                        z = z[y_start:y_end, x_start:x_end]
acquire-modif-crop.py.txt (29.5 KB)
in configuration.ini i add new variable:
software_crop_width = 200
software_crop_height = 100
than mean i will crop total 200 pixel in width (horizontal) and 100 pixel in height (vertical).
so if original image is 1920x1080, the final result will become 1720 x 980 pixel
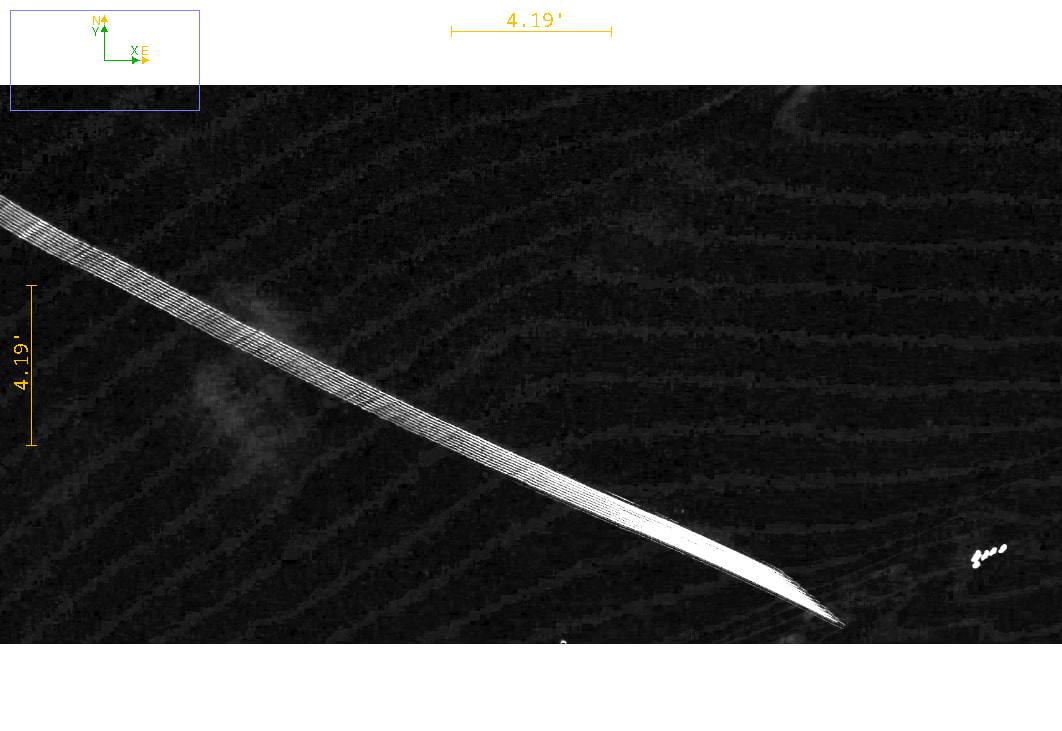
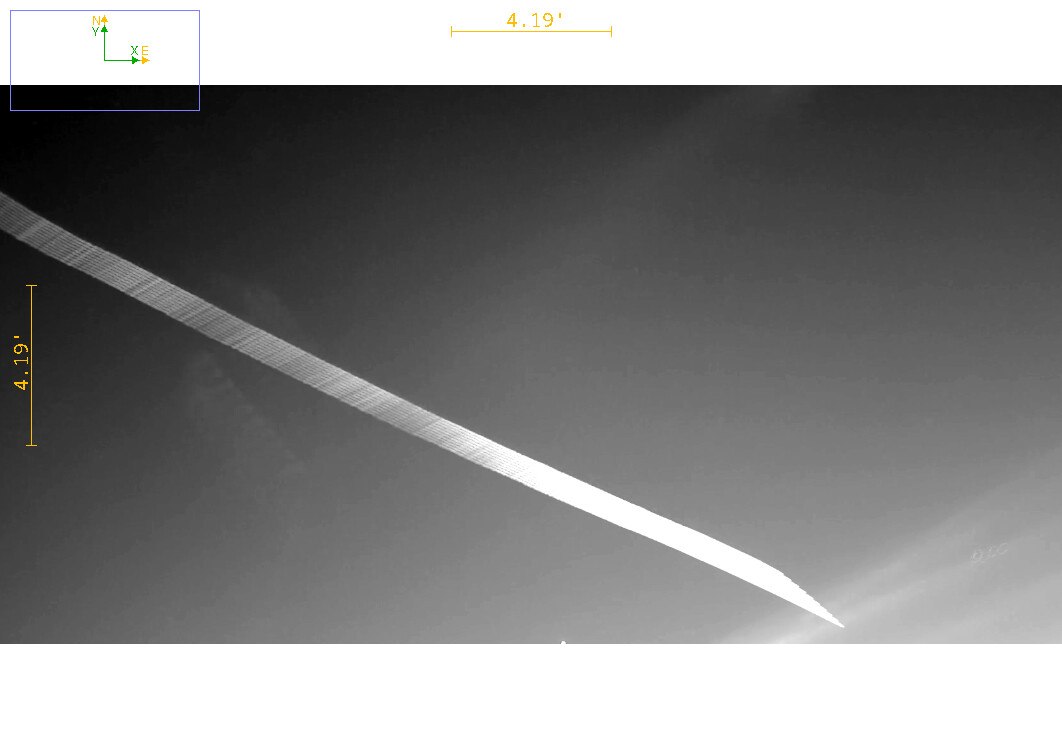
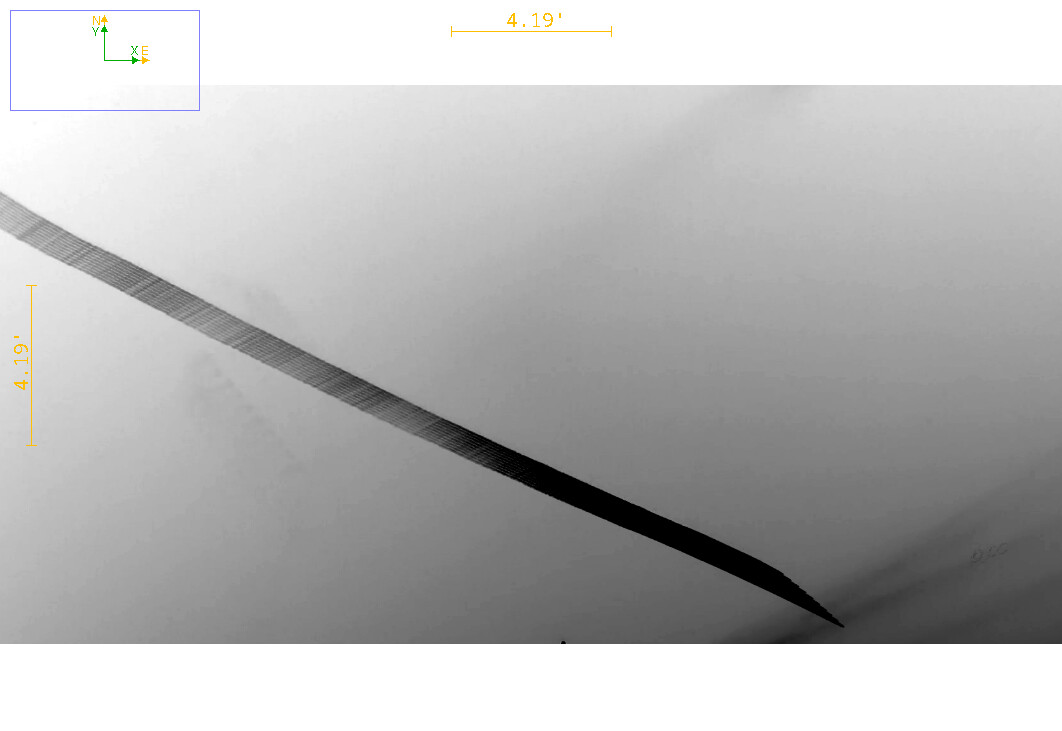
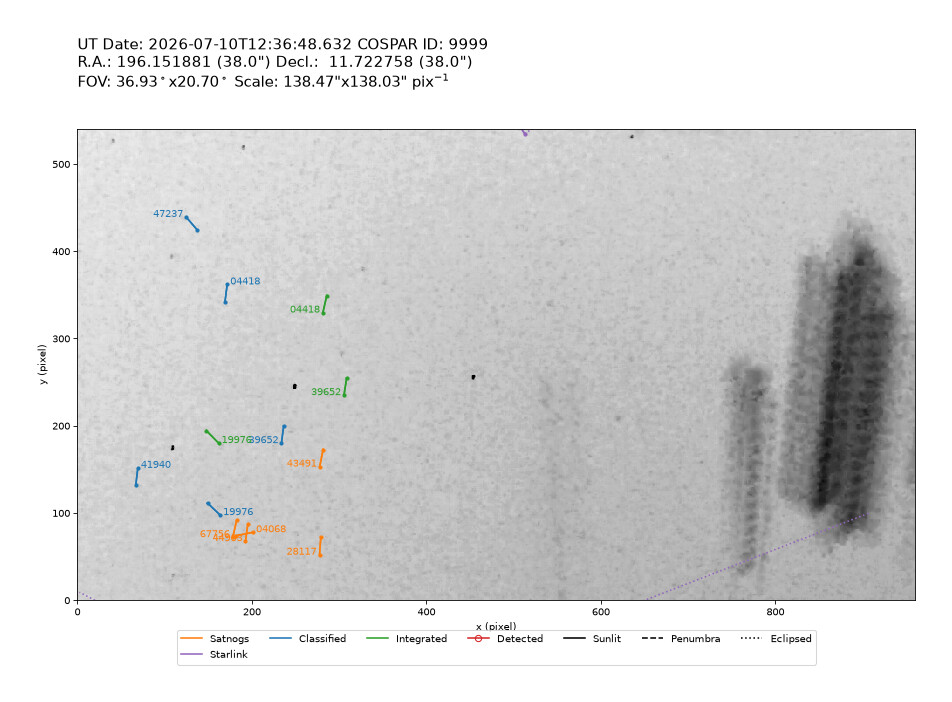
result, before and after cropping. (left before, right after)
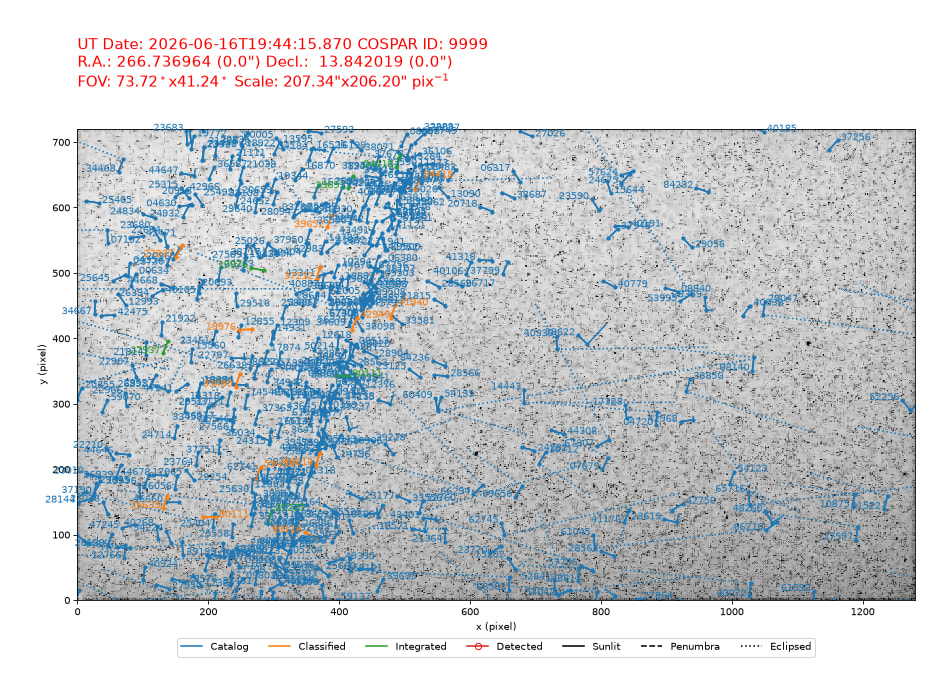
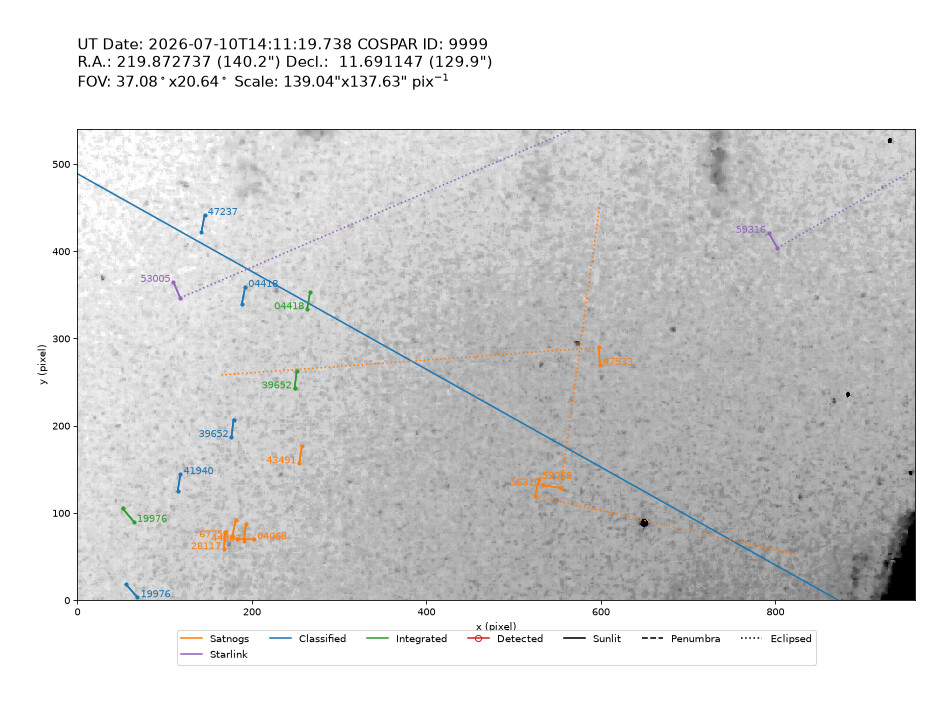
with smaller FOV = BETTER, because reduce lens distortion, especially for wide fov ipcam. as @cgbsat said: no correction of fisheye distortion
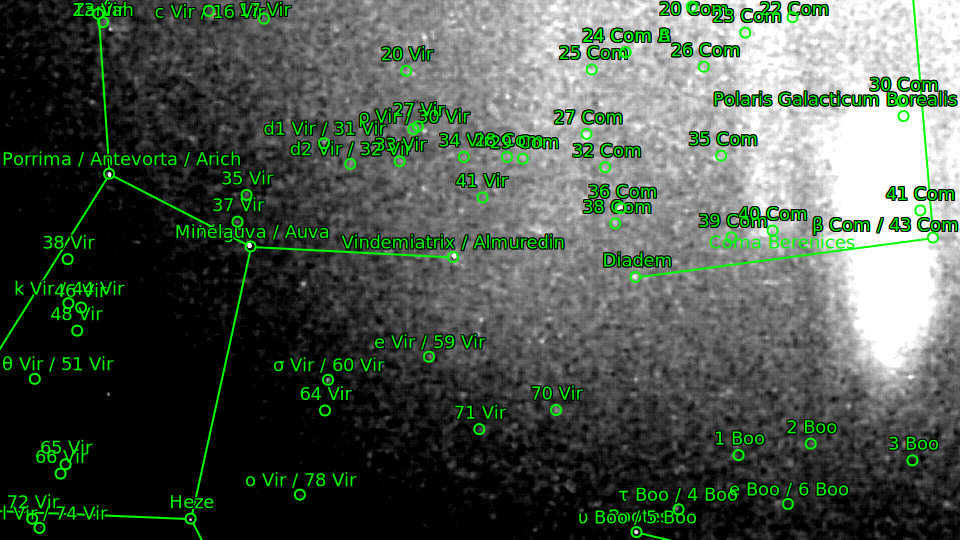
after this modified, i also got test.fits (calibration file) faster than ussual :
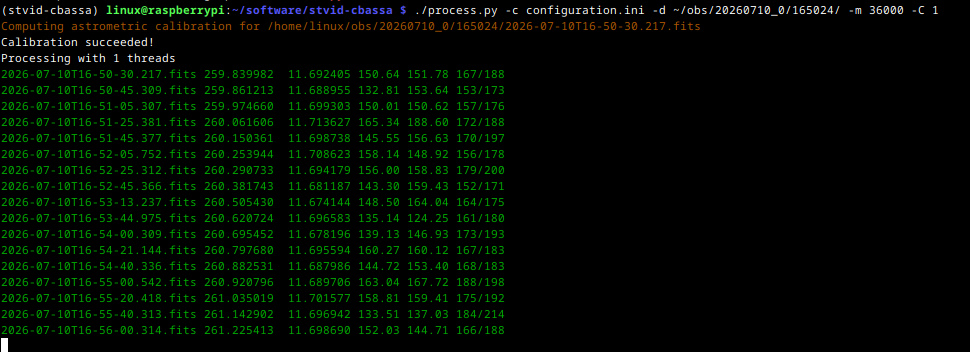
note:
Calibration succeeded!
Processing with 1 threads
2026-07-10T16-50-30.217.fits 259.839982  11.692405 150.64 151.78 167/188
what these mean?
Calibration succeeded! = calibration success found “plate solve”
Processing with 1 threads = used 1 core of processor
2026-07-10T16-50-30.217.fits = give the filename
259.839982 = fitted RA in deg
11.692405 = fitted Dec in deg
150.64 = RA residuals in arcsec
151.78 = Dec residuals in arcsec
167/188 = number of stars used / number of stars available for astrometric calibration
TIPS #2
night mode (B/W) or day mode (color mode)?
in night mode im disable the infrared led , and all light. i just physically open the cam, and unplug the led power cable from board
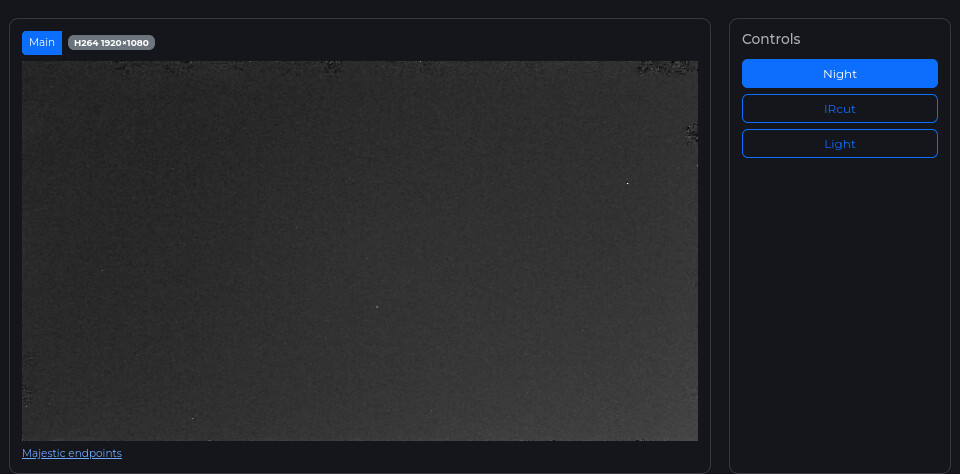
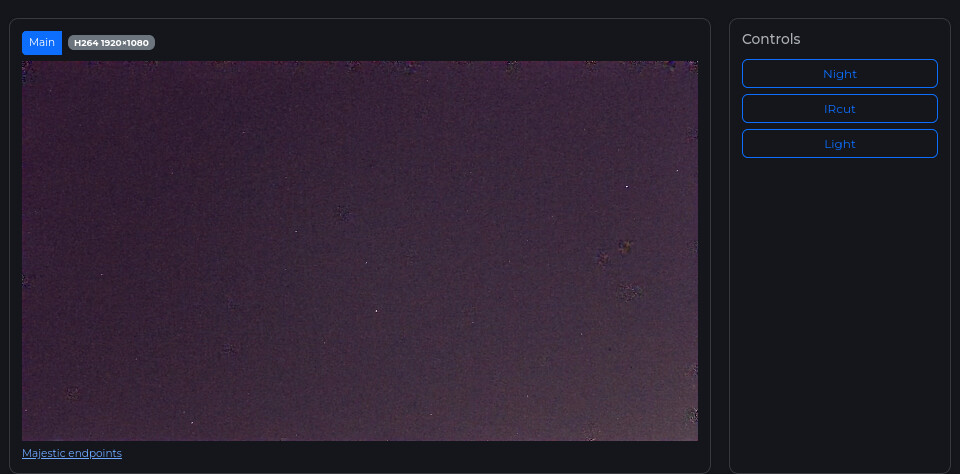
result:
night mode (left), is better less noise than day mode (right)
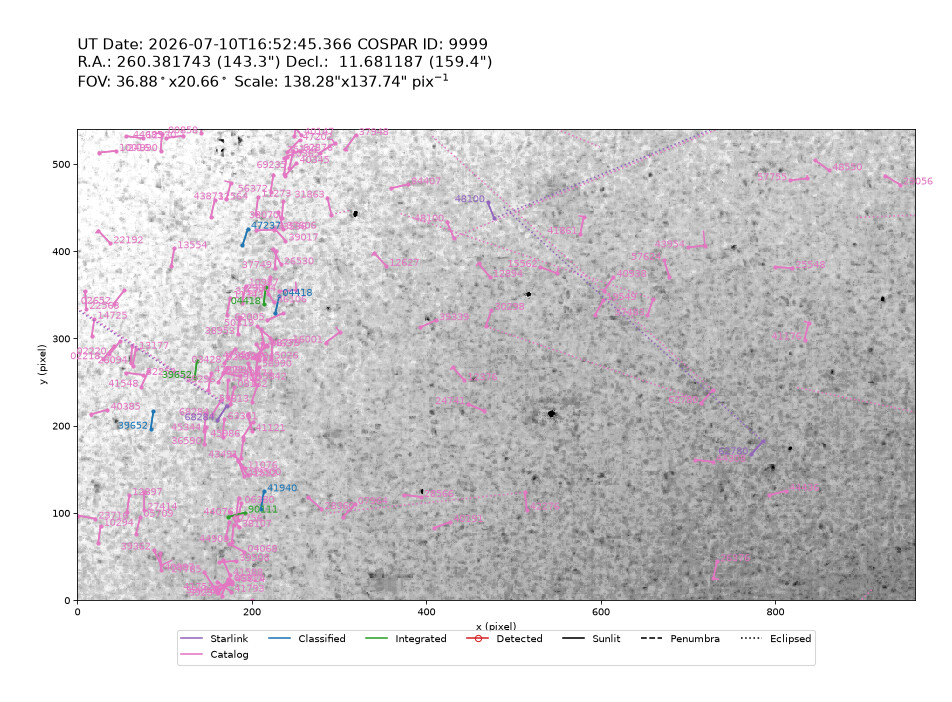
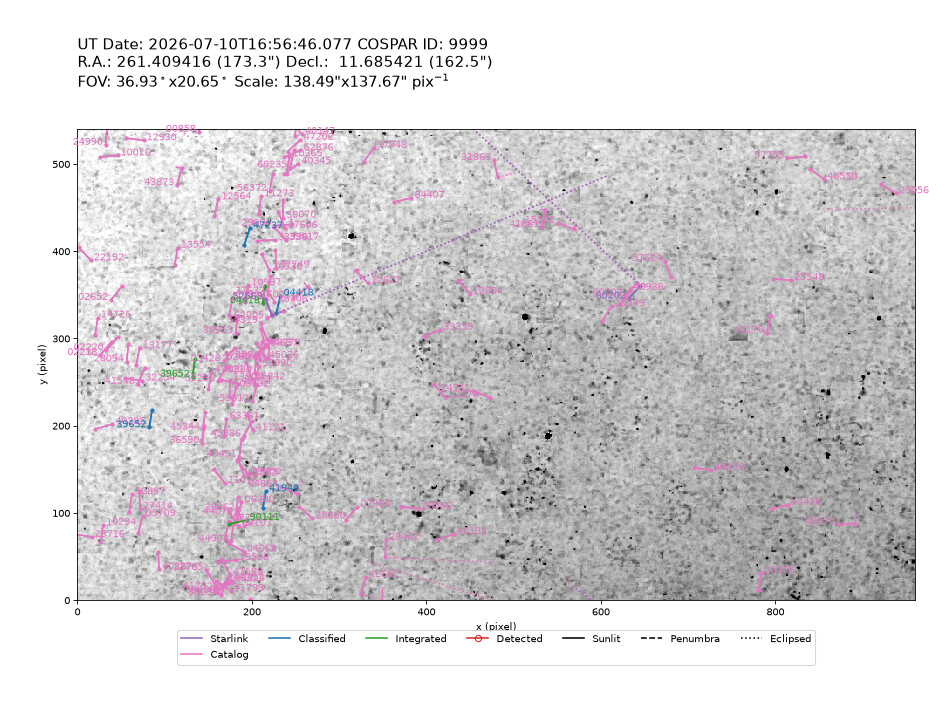
TIPS #3
to open .fits file you can use AStroImage. download here for free and open source
TROUBLESHOOTING
ERROR #1
if you have trouble / crashing when running processing.py:
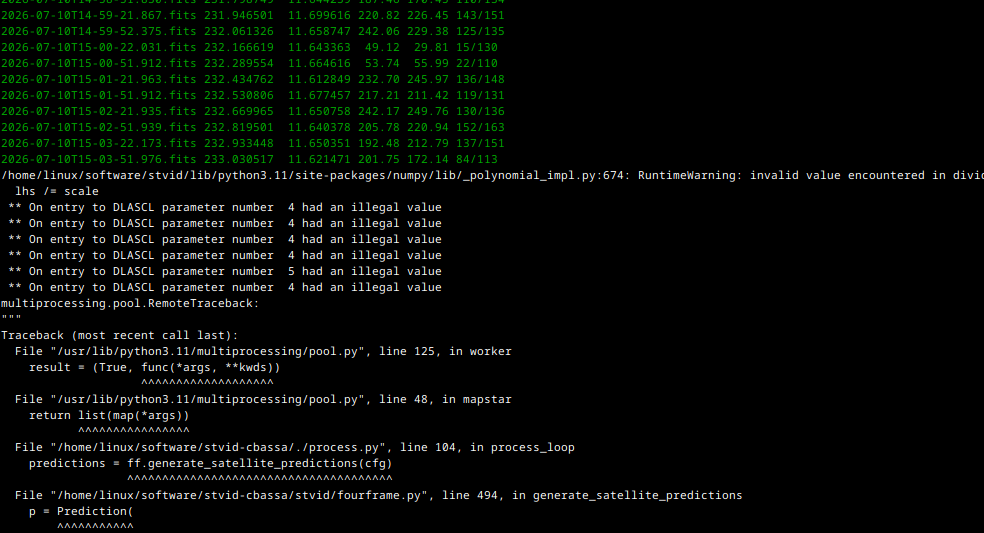
fix with this pull request from @EelkeVisser (just replace the file ./stvid/fourframe.py with this one)
fourframe.py.txt (37.9 KB)
ERROR #2
if you found error like this:
/home/linux/software/stvid-cbassa/stvid/fourframe.py:600: RuntimeWarning: divide by zero encountered in divide
  f = (znum - az) / bz
just ignore this. not big problem
ERROR #3
if your cam is TAPO, sometime the night mode settings is buggy, infrared mode selected, but the cam still in full color mode. here is the hot solution based on my experiences:
first open tapo cam, select your cam, click on settings, select video & display > night mode settings > , select Full-Color Mode, on ambient lighting, choose Dim, and save.
then do it again, but now select Infrared Mode. and voila. now your cam is in full b/w mode!!
==============
QUOTE:
@cgbsat “Because the shorter lens will have a smaller aperture and hence you’re losing lots of sensitivity. A 50mm F/1.2 lens has 50mm/1.2 = 42mm diameter aperture, while a 2.8mm F/1.2 lens has a 2.3mm diameter aperture. Since sensitivity scales with the area of the lens, that 2.8mm lens will get over a factor 300 less light than the 50mm lens. That’s over 6 magnitudes of sensitivity.”
Interesting link for reference: