Not the best but I think its now uploading and decoding images.. lets see the next few passes improve any..

1 Like
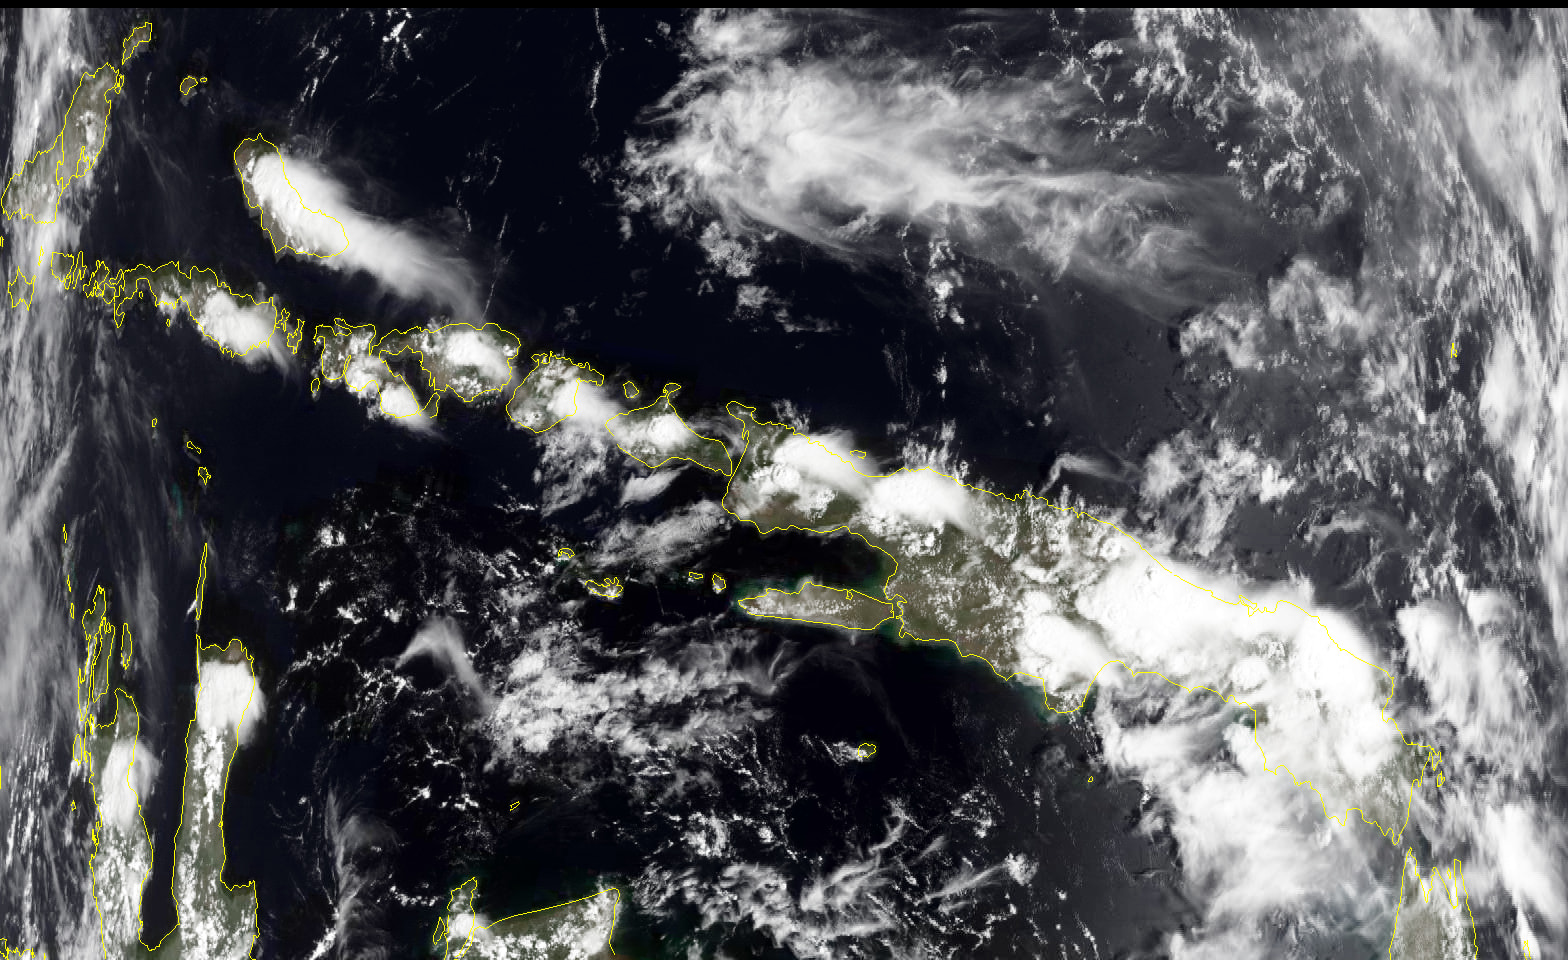
OK its taken a few days to get something we can say was mostly a success, proud dad moment may I present my Meteor M2-4 image….auto decoded and uploaded by my Raspberry pi 3…..

5 Likes
Nice! THAT is what I’m aspiring to!
writing a guide to install pi / all the software.. I’m doing it now and will share to the group ASAP
1 Like
Thanks for the update! I’ve been trying over and over using different gain values but still get no images. I will try your guide once it’s done. Thanks again.
1 Like
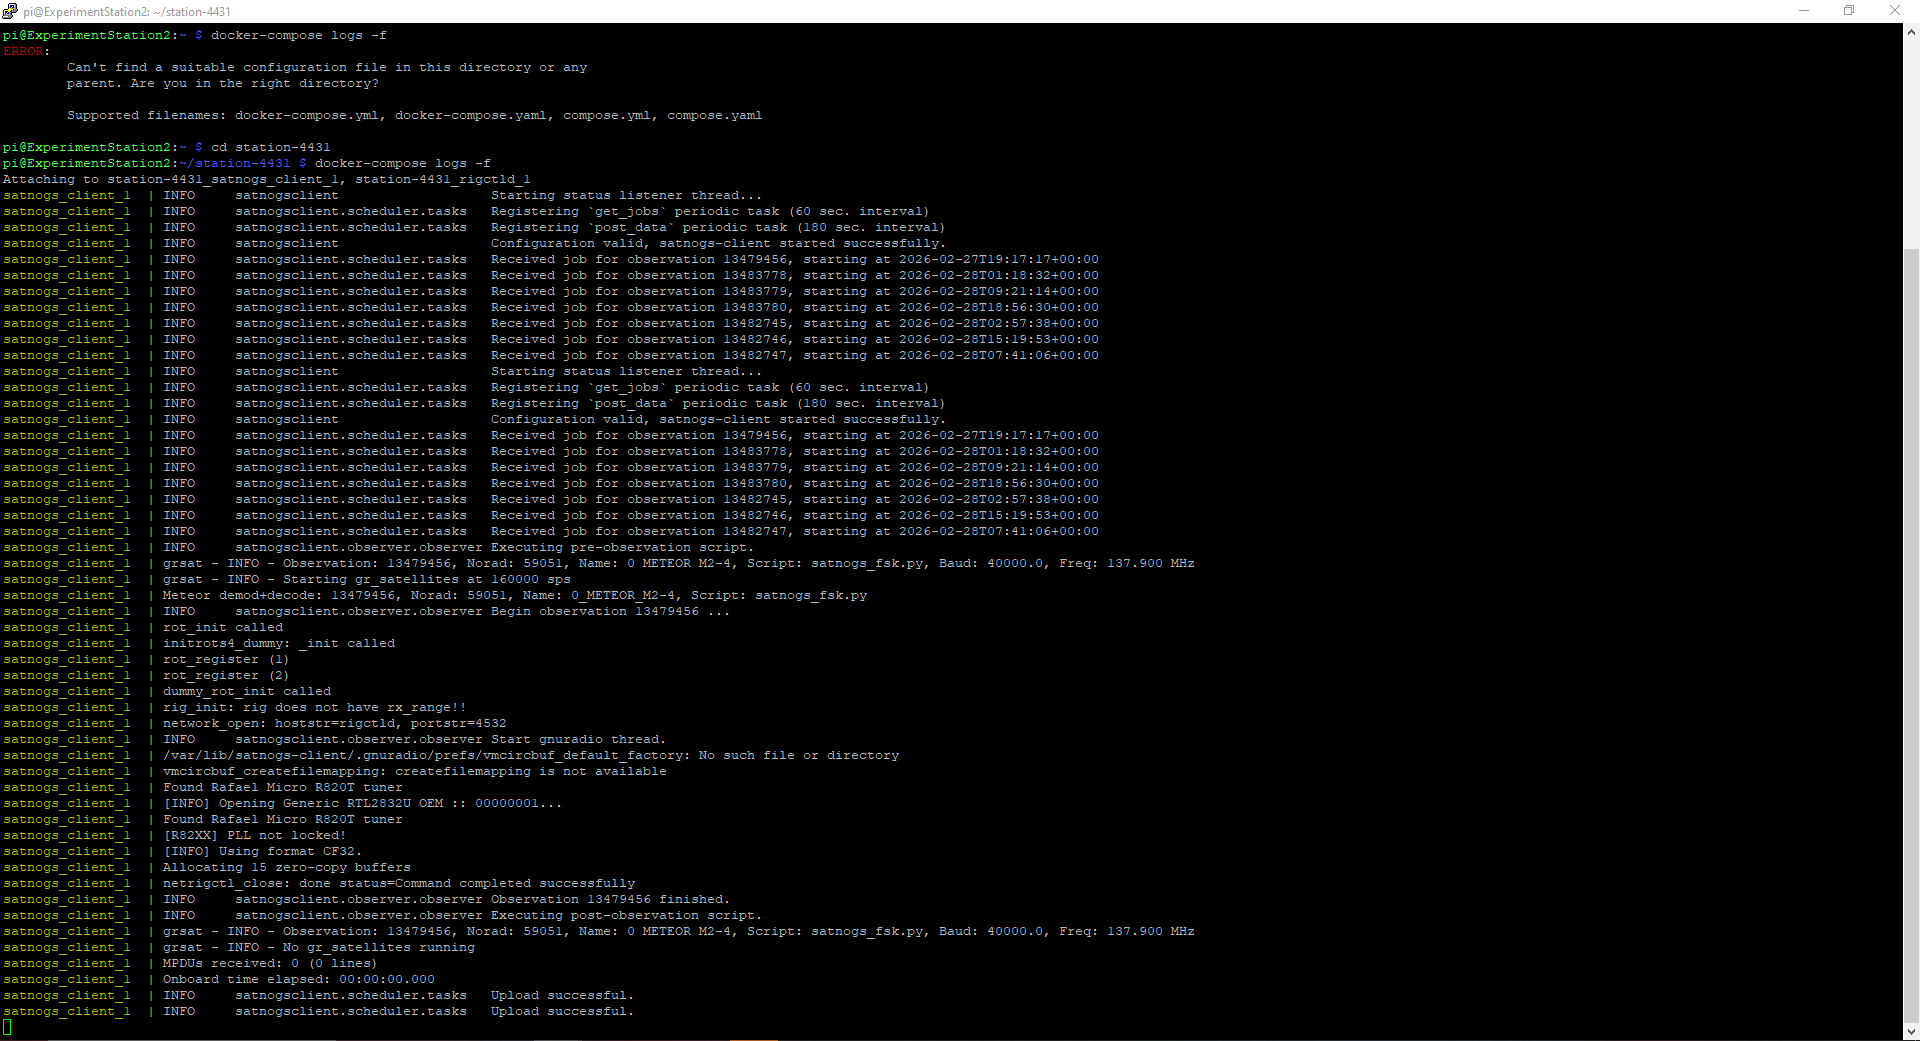
Did a fresh install using your guide. Got this on the log for Observation 13479456. Got waterfall and audio uploaded but no image yet. I’m going to keep trying until I get it!
I see the 0 mpdu’s returned, that is mentioned above, can we check the meteor.sh has the additional line meteor_demod --batch --quiet -O 8 -f 128 -s 160000 -r 7200 -m oqpsk --bps 16 /tmp/iq - |
meteor_decode --diff -a 65,65,64 -o “$image” - which from the posts above forces the correct setngs for the decode. I mut admit Its not the greatest satellite signal wise, even an 80 degree passed for me here in UK. but I’ve had a few semi sucessful pictures !
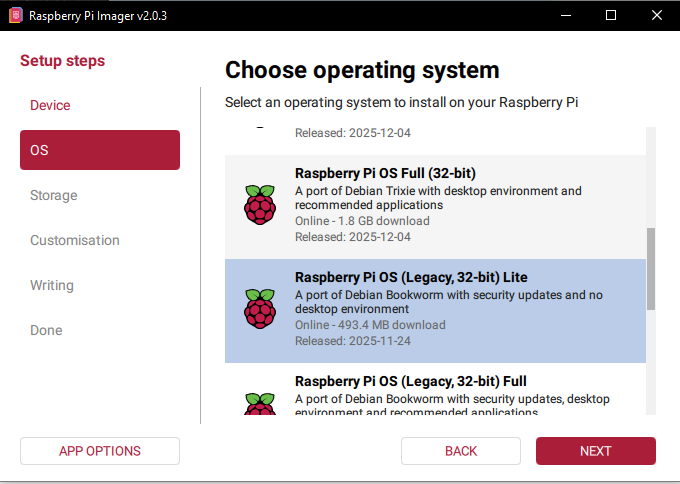
OK I missed calling the meteor.sh script at the end of the observation, I’ve now updated station.env and updated the tutorial. I’ve just gone and installed it on 64bit raspian (with desktop) and everything seems to work. Makers eXperimenters and Operators: Build Satnogs on Raspberry Pi and decode Meteor M2-3 and M2-4 images
Ok, I just updated my files to try it out. If mine fails again I’ll do another install with raspbian like you did and try that too. Thank you so much for your help! I’ll be back with updates.
1 Like
No worries, Good luck. Hope to see some WX images soon! Cheers /73
inspired by all posting on this thread, i’m trying recode meteor.sh but now with satdump as the decoder.
this work flawless on latest satnogs-client docker (version 2.1.1) (running on raspberry with satnogs manual docker installation)
the result can be check on this obs
Step by step:
open console, and enter into your satnogs docker directory
for example:
cd ~/station-4330
create directory app
mkdir app
edit docker-compose.yml
nano docker-compose.yml
Look at the line that contains:
    volumes:
      - type: 'tmpfs'
        target: '/tmp'
Then copy and paste the following text right below it:
      - type: 'bind'
        source: './app'
        target: '/app'
edit station.env:
nano station.env
find the following variable and change its value to: (if it doesn’t exist yet, add it)
SATNOGS_POST_OBSERVATION_SCRIPT=/app/satnogs-post {{ID}} {{FREQ}} {{TLE}} {{TIMESTAMP}} {{BAUD}} {{SCRIPT_NAME}}
METEOR_NORAD=57166 59051

ENABLE_IQ_DUMP=true
IQ_DUMP_FILENAME=/tmp/.satnogs/iq.raw
go to app dir:
cd app
create satnogs-post script:
nano satnogs-post
copy paste this
#!/bin/bash
# SATNOGS_POST_OBSERVATION_SCRIPT="/app/satnogs-post {{ID}} {{FREQ}} {{TLE}} {{TIMESTAMP}} {{BAUD}} {{SCRIPT_NAME}}"

/app/meteor.sh stop "$@"
/app/rename.sh stop "$@"
make it executable:
chmod 755 satnogs-post
create meteor.sh script
nano meteor.sh
copy paste this
#!/bin/bash
# exit if pipeline fails or unset variables
set -eu

# default values
: "${METEOR_NORAD:=57166 59051}"
: "${SATNOGS_OUTPUT_PATH:=/tmp/.satnogs/data}"
: "${IQ_DUMP_FILENAME:=/tmp/.satnogs/iq.raw}"
: "${SATDUMP_APP_DIR:=/app/satdump}"

export LD_LIBRARY_PATH=$SATDUMP_APP_DIR

# Launch with: {command} {{ID}} {{FREQ}} {{TLE}} {{TIMESTAMP}} {{BAUD}} {{SCRIPT_NAME}}
# /app/satnogs-post 13665238 137900000 '{"tle0": "METEOR M2-3", "tle1": "1 57166U 23091A   26084.83747850 -.00000009  00000-0  14817-4 0  9997", "tle2": "2 57166  98.6179 141.4862 0004884  62.5359 297.6316 14.24039267142657"}' 2026-03-26T01:59:49 40000 satnogs_fsk.py

ID="$2"      # $2 observation ID
TLE="$4"     # $4 used tle's
DATE="$5"    # $5 timestamp Y-m-dTH-M-S
BAUD="$6"    # $6 baudrate

# Extract satellite name and NORAD
SATNAME=${TLE#*tle0\": \"}
SATNAME=${SATNAME%%\"*}
NORAD=${TLE#*tle2\": \"2 }
NORAD=${NORAD%% *}

echo "INFO: $ID, Norad: $NORAD, Sat: $SATNAME, Baud: $BAUD, TLE: $TLE"

if [[ " $METEOR_NORAD " =~ .*\ ${NORAD}\ .* && "$ENABLE_IQ_DUMP" ]]; then
    rm -rf "${SATNOGS_OUTPUT_PATH}/meteor"
    mkdir -p "${SATNOGS_OUTPUT_PATH}/meteor"
    sleep 5
    cp $IQ_DUMP_FILENAME "${IQ_DUMP_FILENAME}.meteor"
    cd $SATDUMP_APP_DIR
    ./satdump meteor_m2-x_lrpt baseband "${IQ_DUMP_FILENAME}.meteor" "${SATNOGS_OUTPUT_PATH}"/meteor --samplerate 160000 --baseband_format s16 --fill_missing --max_fill_lines 100
fi
make it executable:
chmod 755 meteor.sh
create rename.sh:
nano rename.sh
copy paste this:
#!/bin/bash
# exit if pipeline fails or unset variables
set -eu

# default values
: "${METEOR_NORAD:=57166 59051}"
: "${SATNOGS_OUTPUT_PATH:=/tmp/.satnogs/data}"

ID="$2"      # $2 observation ID
TLE="$4"     # $4 used tle's
DATE="$5"    # $5 timestamp Y-m-dTH-M-S

IMAGE="$SATNOGS_OUTPUT_PATH/data_${ID}"

SATNAME=${TLE#*tle0\": \"}
SATNAME=${SATNAME%%\"*}
NORAD=${TLE#*tle2\": \"2 }
NORAD=${NORAD%% *}

if [[ " ${METEOR_NORAD} " =~ .*\ ${NORAD}\ .* ]]; then
    echo "RENAME: $ID, Norad: $NORAD, Sat: $SATNAME"
    cd "${SATNOGS_OUTPUT_PATH}/meteor/MSU-MR (Filled)"
    # Find all .png files and rename them
    for file in *.png; do
      if [ -f "$file" ]; then
        new_name="${IMAGE}_${file}"
        mv "$file" "$new_name"
        echo "$file → $new_name"
      fi
    done
fi
make it executable:
chmod 755 rename.sh
compile the satdump from source here, or you can download the satdump binary version that I’ve already compiled here (satdump v1.2.3-943de7df0)(sha256:db9368a4eb6cd42cc8824fb3ee400971550af7b3fb5d24a3537d50ff34c8d0aa)
wget https://github.com/hobisatelit/satnogs-addon/releases/download/meteor-v0.01/satdump.tar.gz
extract this:
tar zxvf satdump.tar.gz
restart the station:
cd ~/station-4330
sudo docker-compose down && sudo docker-compose up -d && sudo docker-compose logs -f
and.. finish! ![]()
just create a new meteor m2-3 or m2-4 observation
file:
satnogs-post.txt (182 Bytes)
meteor.sh.txt (1.4 KB)
rename.sh.txt (791 Bytes)
1 Like
Hi Bali,
your tutorial works very well. I’ve started right in the moment a couple of observations her (Station 4749). But how do i get to the pictures?
Greetings
Olaf
just follow step by step. the last step (tar zxvf satdump.tar.gz) will extract the satdump into app/ folder that create in previous step.
and make sure you make observation with these sats:
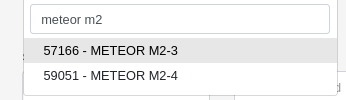
not:
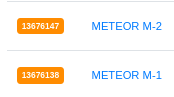
Hi Bali,
i choosed the wrong satellites - 1st mistake. But now what will be the right transponder?
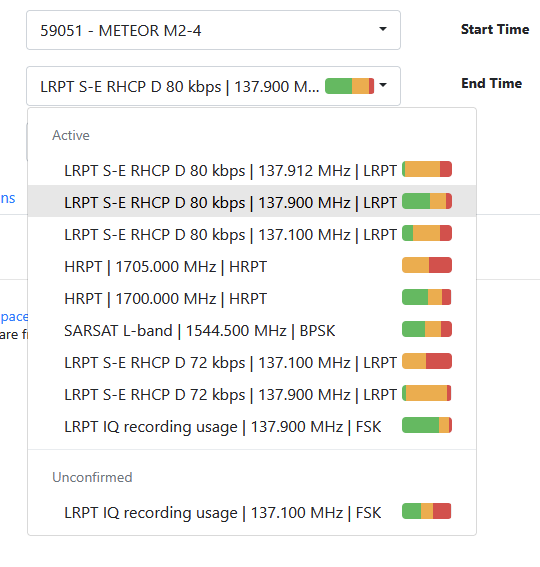
Greetings
Olaf
choose:
![]()