I started to feel like the SatNOGS ground station “pile” on my desk was taking up space and didn’t look good. I remembered a Stegoboard kit I had purchased a while back, and with the new pi4 out, figured this would make for a good time to rebuild my ground station. What resulted is a pretty cool wall-mounted ground station:

The station
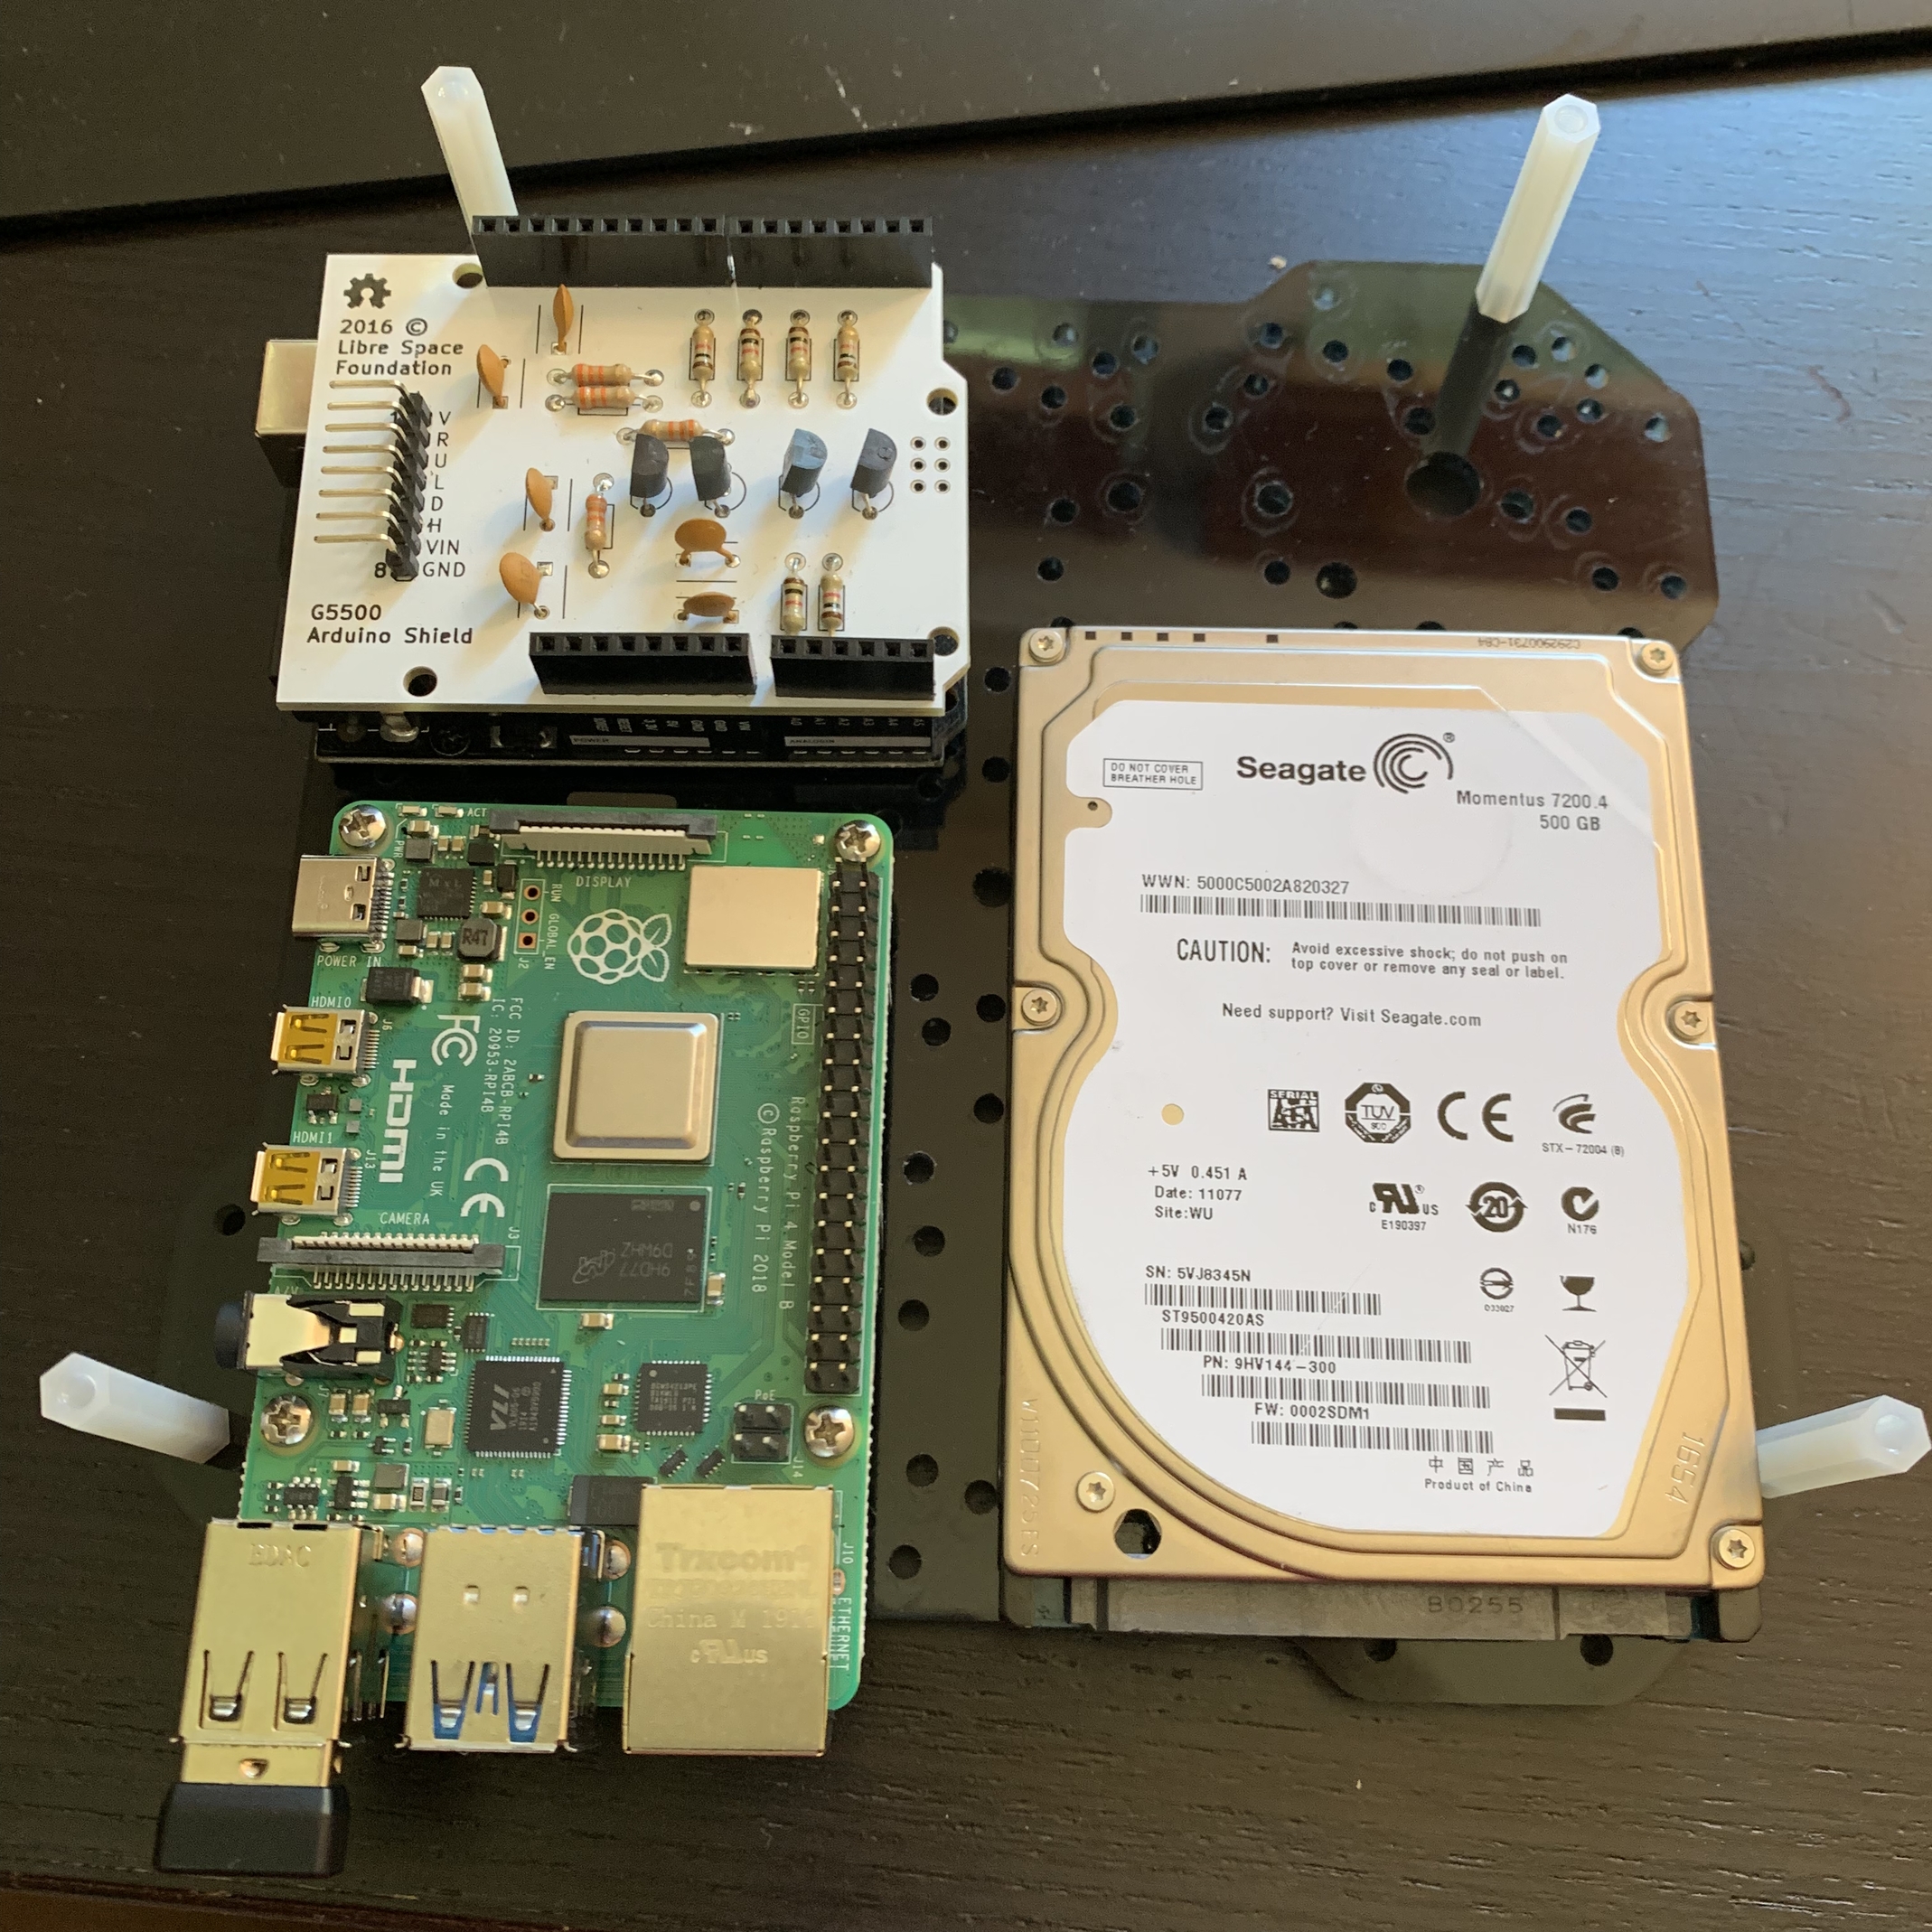
- Raspberry Pi4, 32GB SD card
- Raspberry Pi 7" display
- 500 GB SSD for longer-term data storage (IQ)
- RTLSDR v3
- Arduino Uno + LSF G-5500 rotor shield
- 16x2 LCD for rotor info
- NeoPixel stick for more status indication
The build
I have a Stegoboard 104 kit, though for this use case the 102 is all that is needed. (I don’t have any connection with the company and this isn’t a promo for them, you could do the same with your own acrylic and a drill - but I’m happy to have bought it for the simplicity)
The board is designed with holes aligned for mounting various devices like SBCs and hard drives in different configurations. There is no right or wrong way, and for me there was a lot of trial and error. I started by laying things out on one board:
I quickly realized that I needed to start thinking three-dimensionally, as the top board would provide more mount points. The top board would also have items mounted on both sides (as the screen would be front-facing), so this also meant arranging the order in which the screws were added. Heat becomes more of a concern with the Pi4, especially where airflow will be restricted in this setup, so I added a fan (which did help a lot!).

(think of this as an open clamshell)
The clearance of the arduino and its shield was the next challenge, as I needed to add the 16x2 LCD display connections. I cut a corner here by using some 90 degree double headers from my parts bin. I made a small power breakout board at this point since I needed more than the pins provided alone.
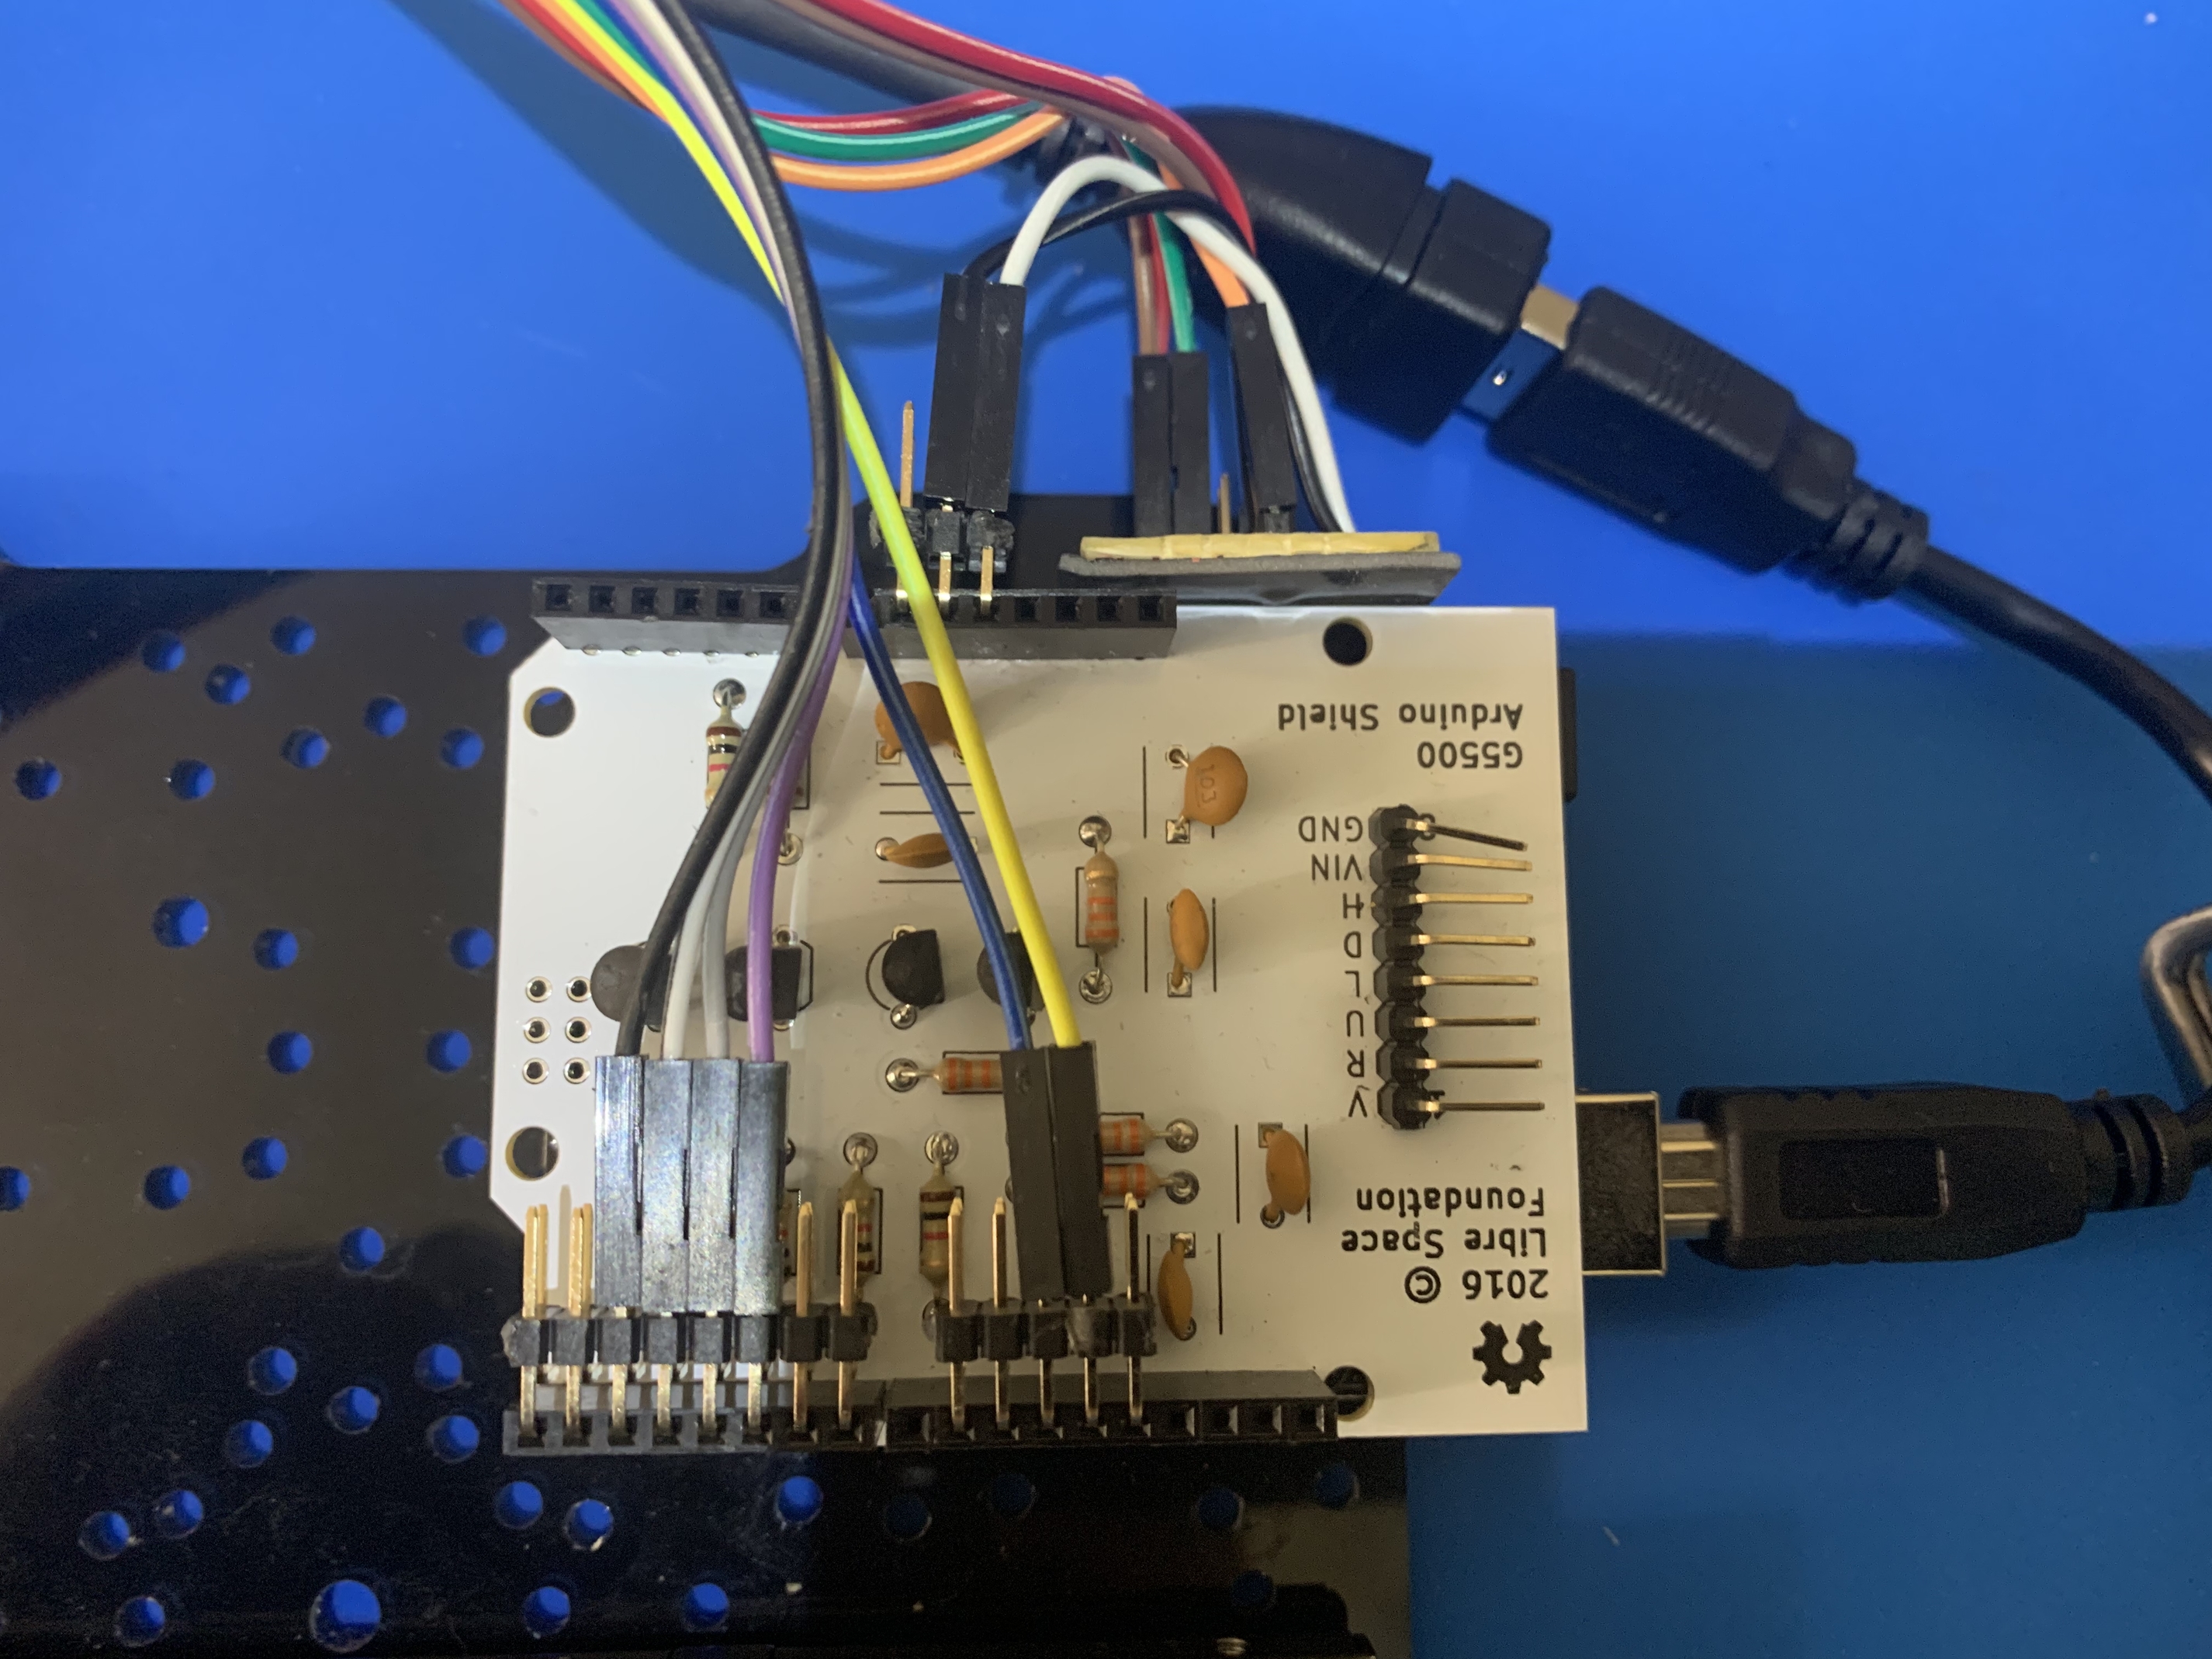
(I fixed poor little GND - no pins were permanently harmed in this build)
I wanted the ability to quickly glance at the station and know that everything is okay, and blinkenlights are just cool. I went with the Adafruit NeoPixel stick, which added a couple of challenges to the build: it requires 5v logic (and the raspberry pi outputs 3.3v), and it can draw about a full amp for these lights - so its own power source was needed. This called for another custom board with USB for power and a logic level shifting circuit. Given that the pi4 is powered by USB-C and the 7" display by USB-micro, I was going to need 2 power sources anyway, so the USB-micro is split between the 7" display and the NeoPixels. Everything else is powered through the Pi4’s USB bus

(the lights are way too bright at max level - I end up running them around 1% in the top picture)
Next step was to put it all together and clean up the wiring

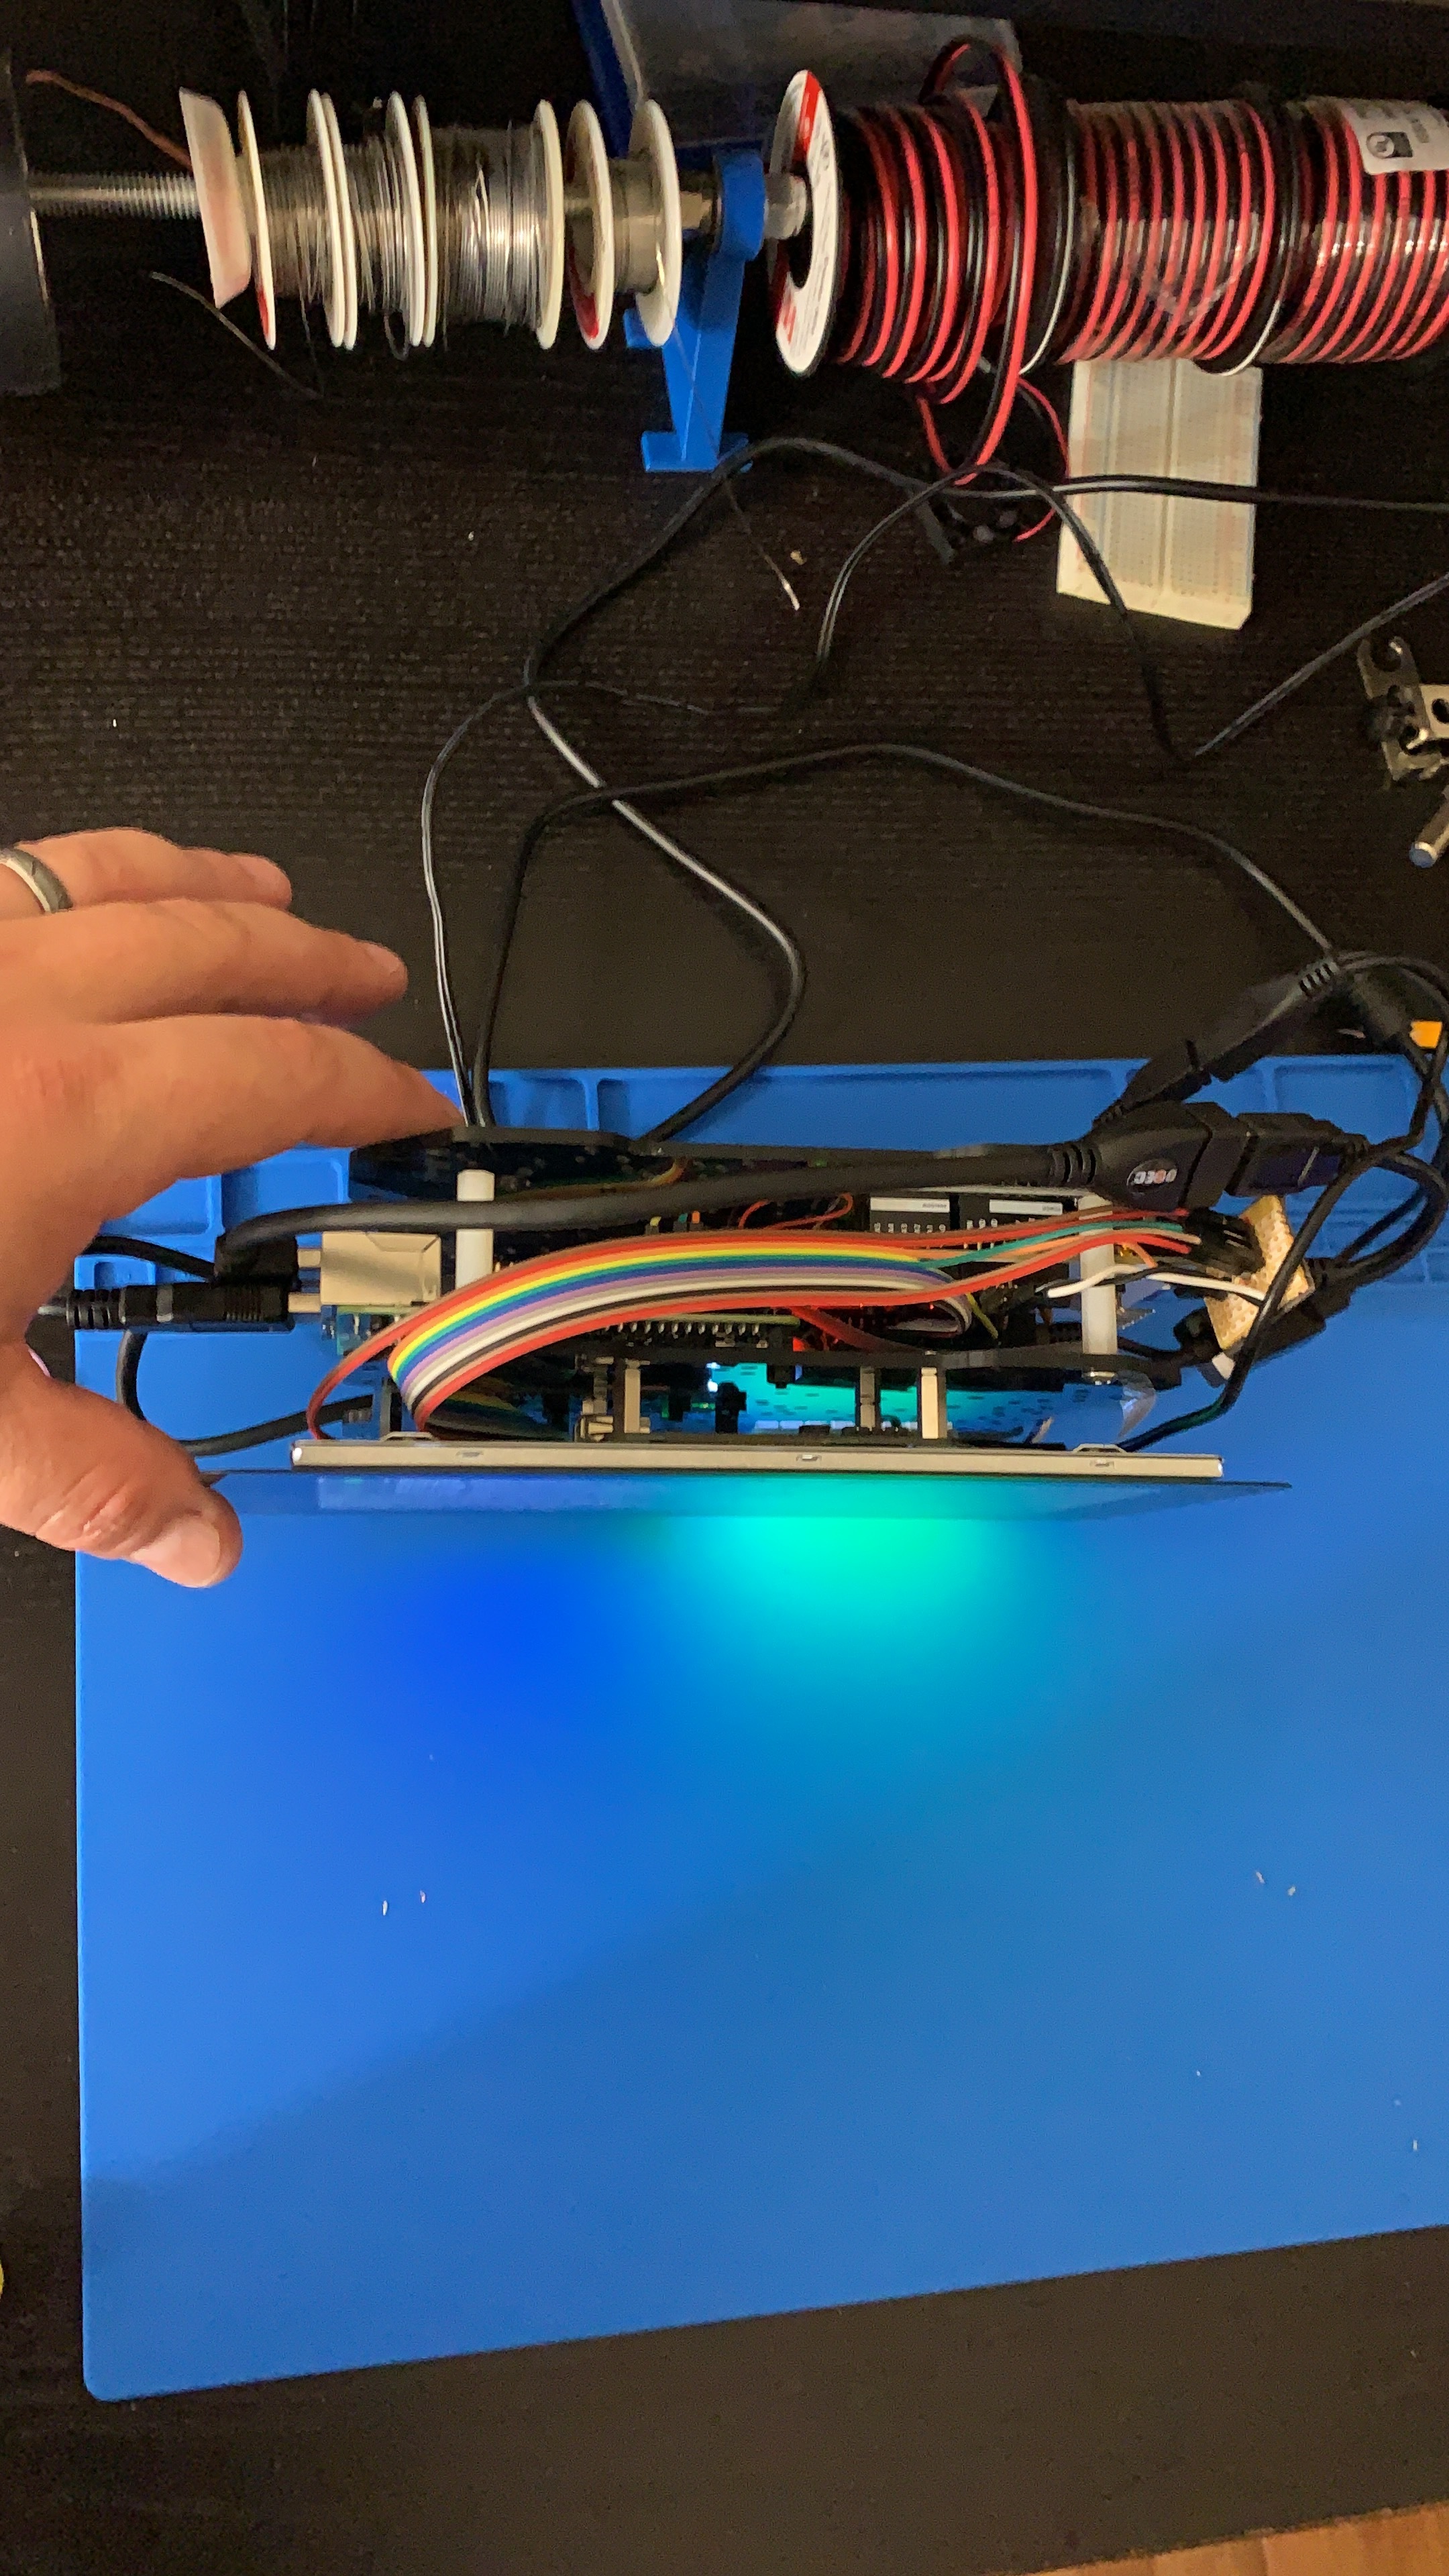
At this point, powered it up and wasted a day on a bad usb cable that I just got brand new for the project. Pro tip: try everything out before it is all put together.
Mounted on the wall it looks pretty good
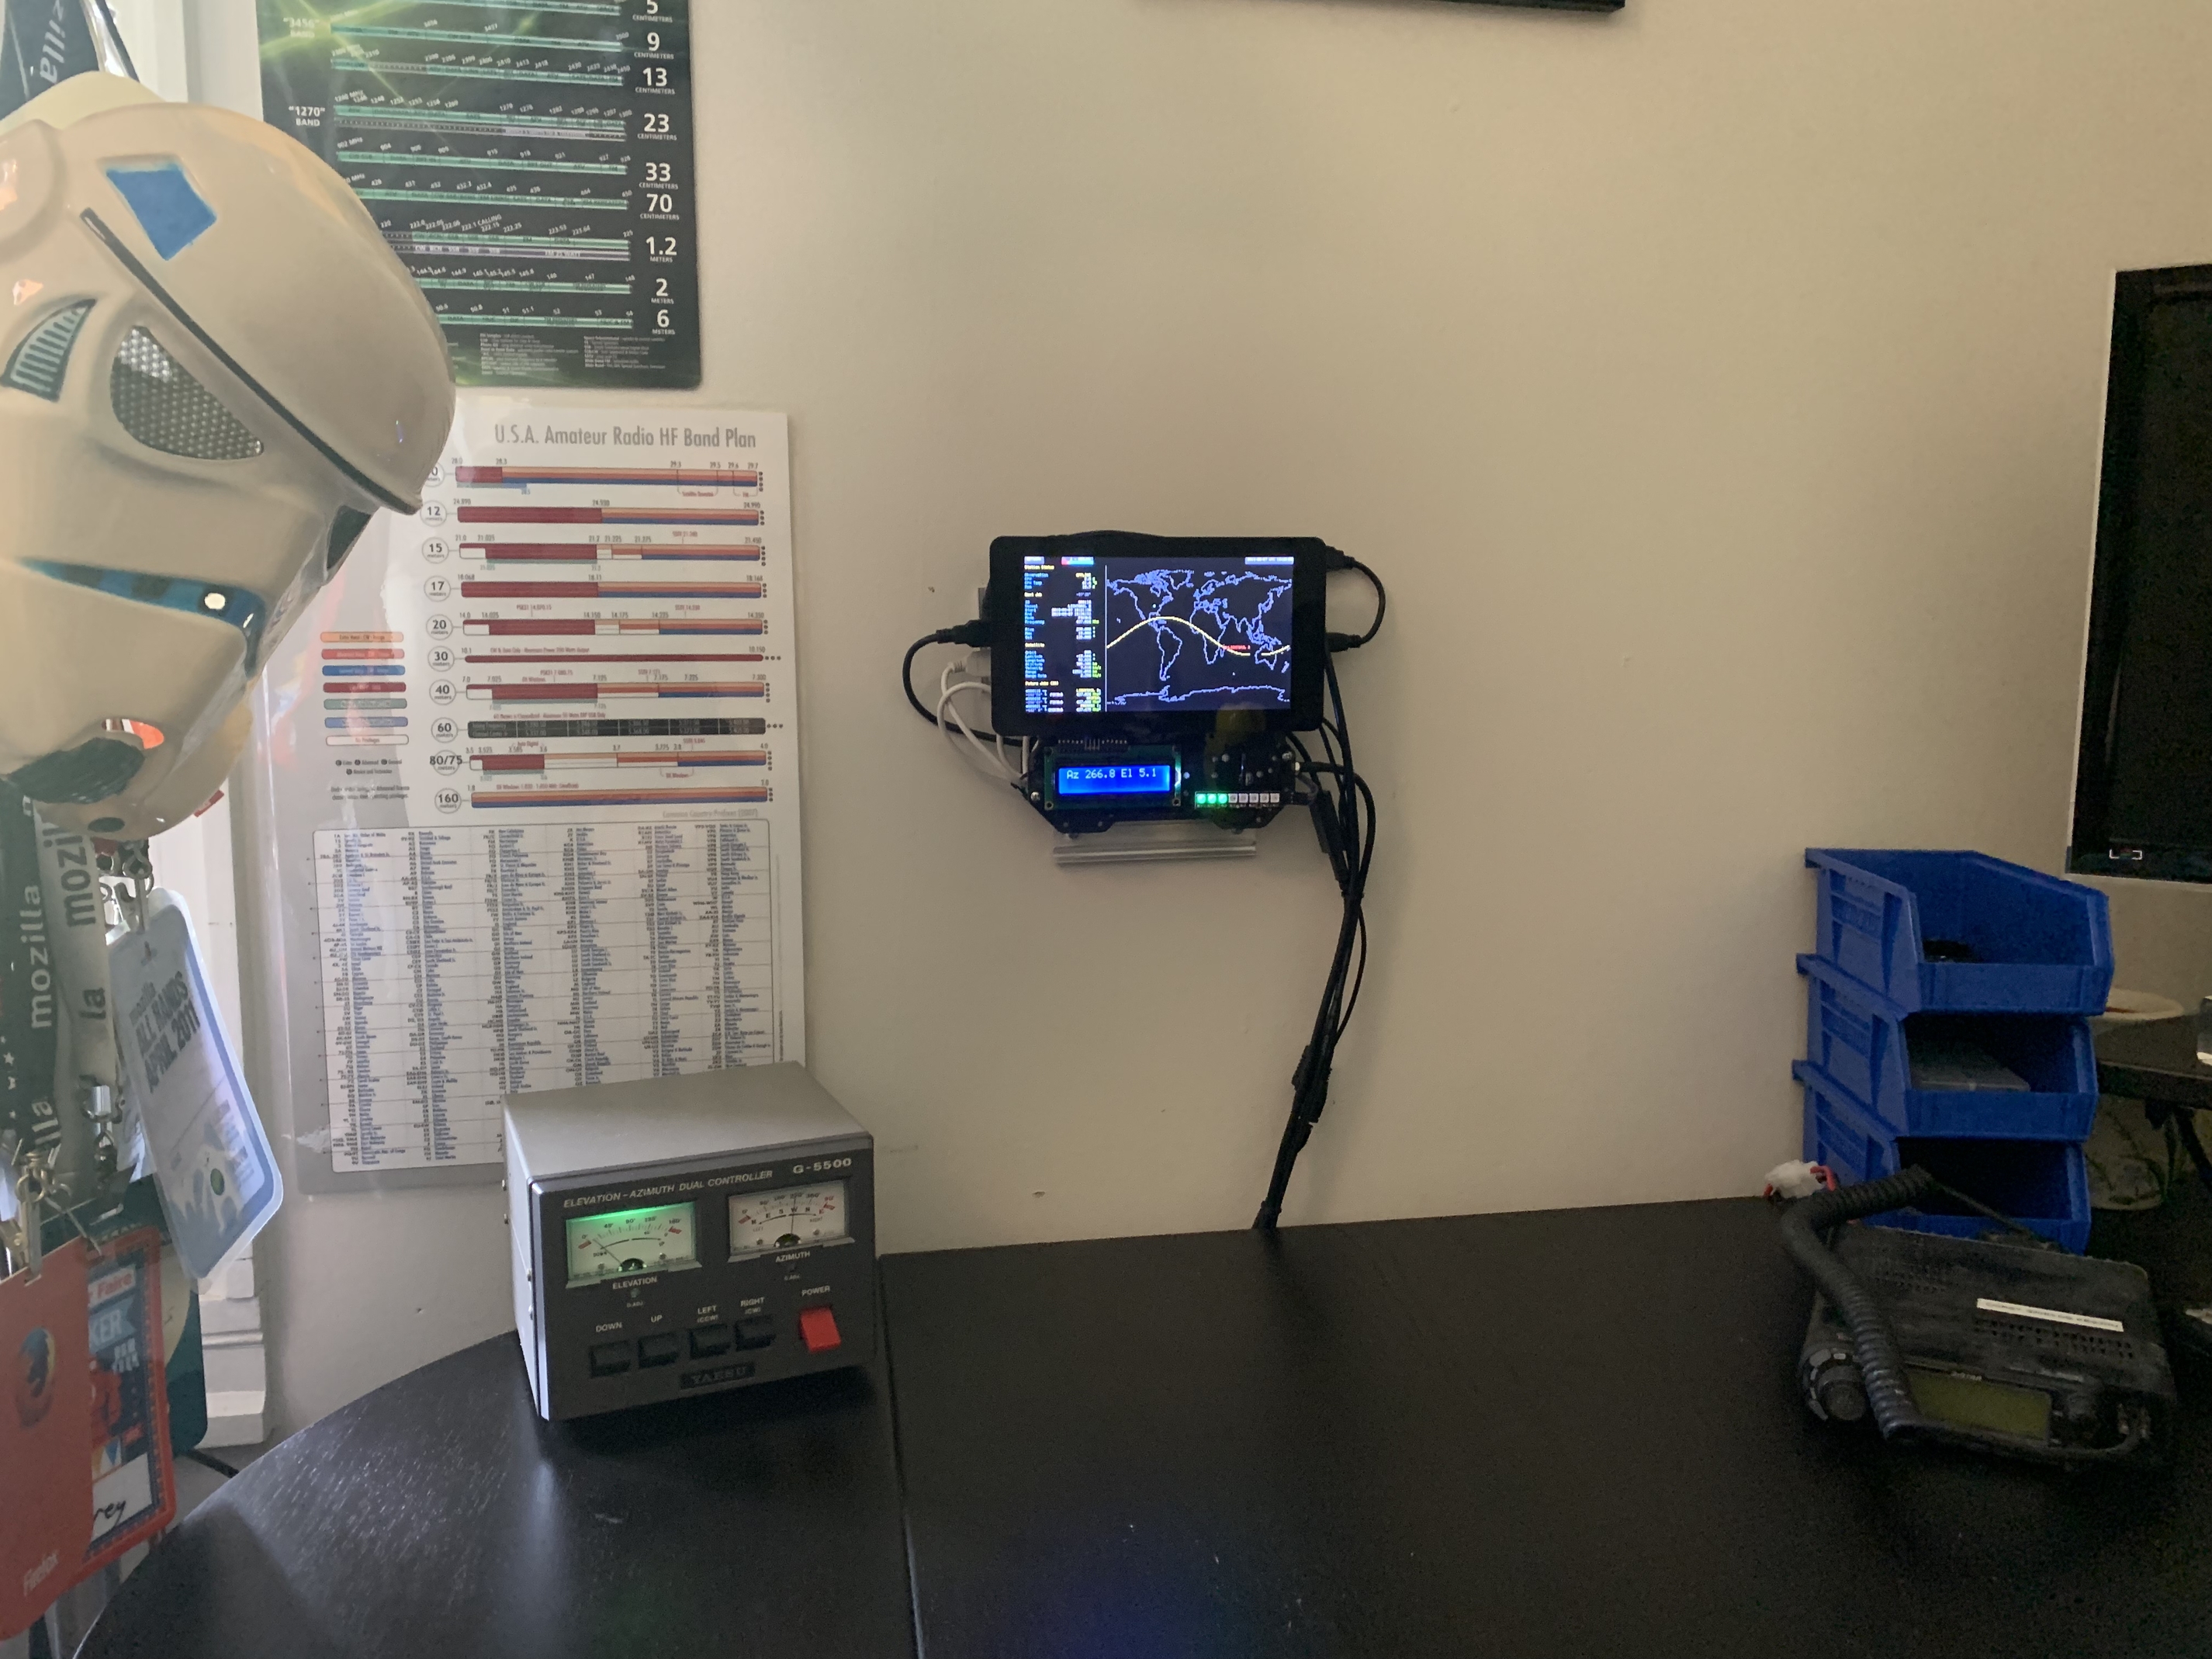
The 7" display
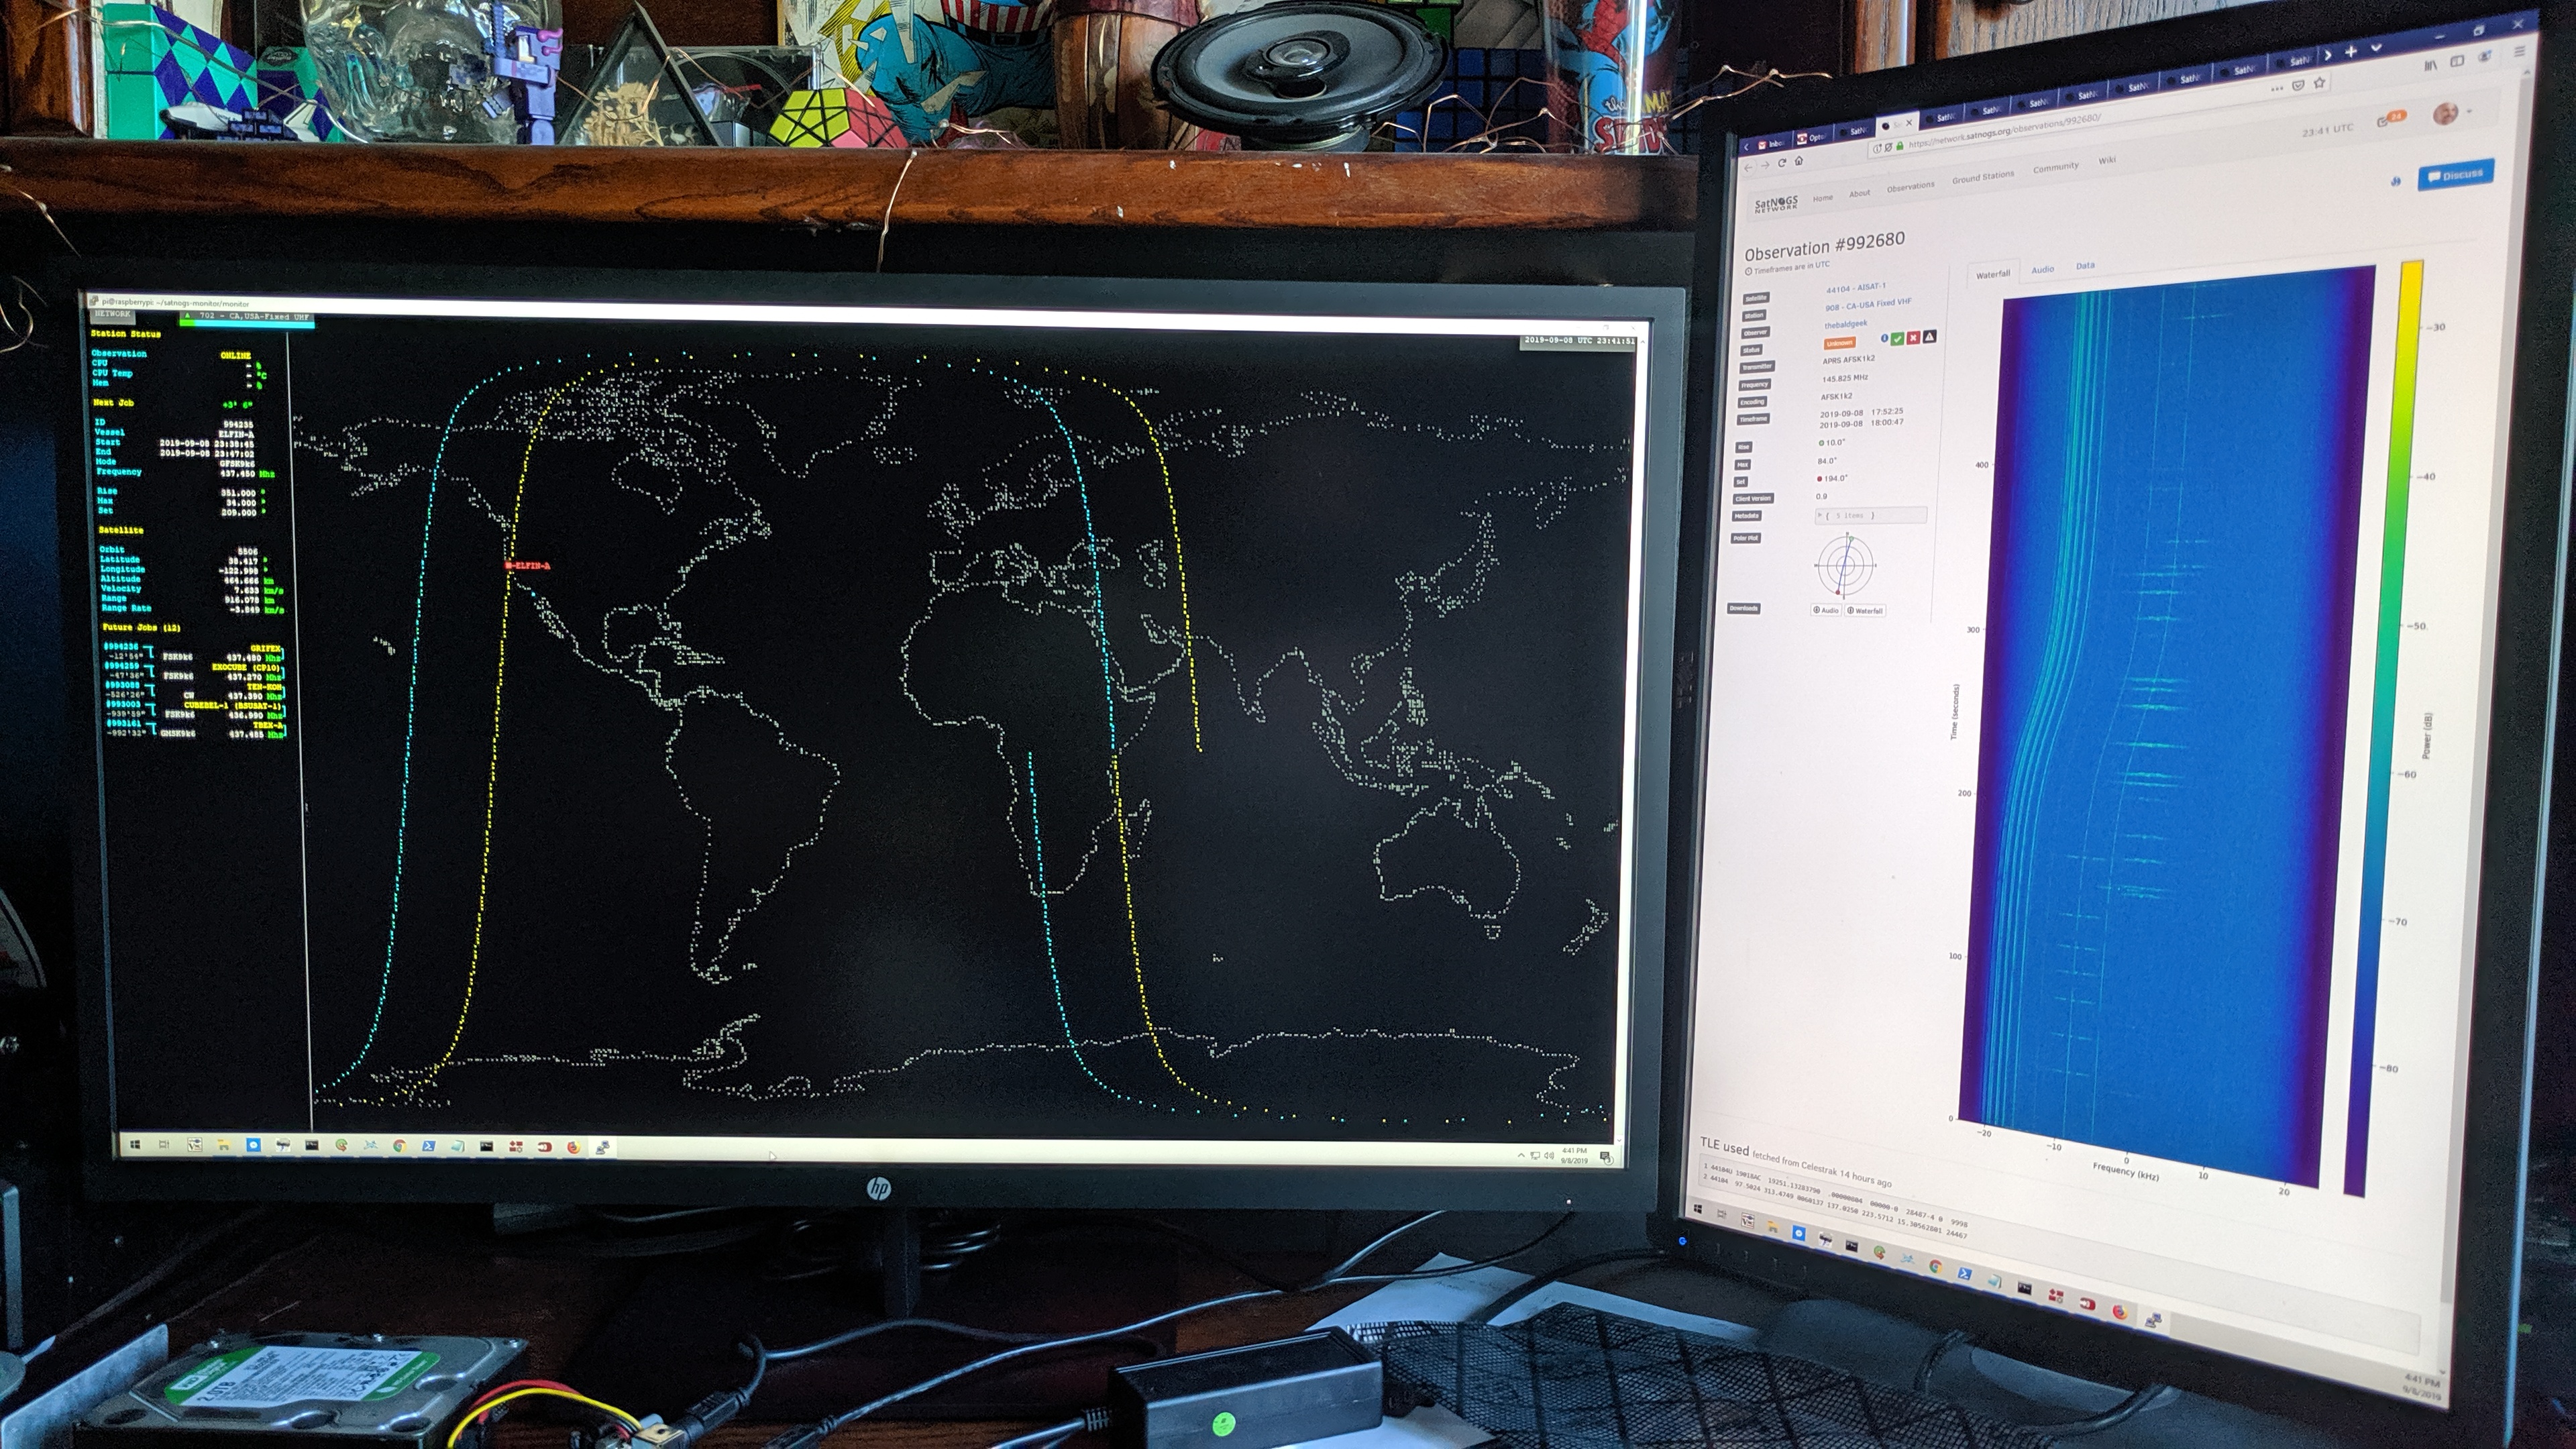
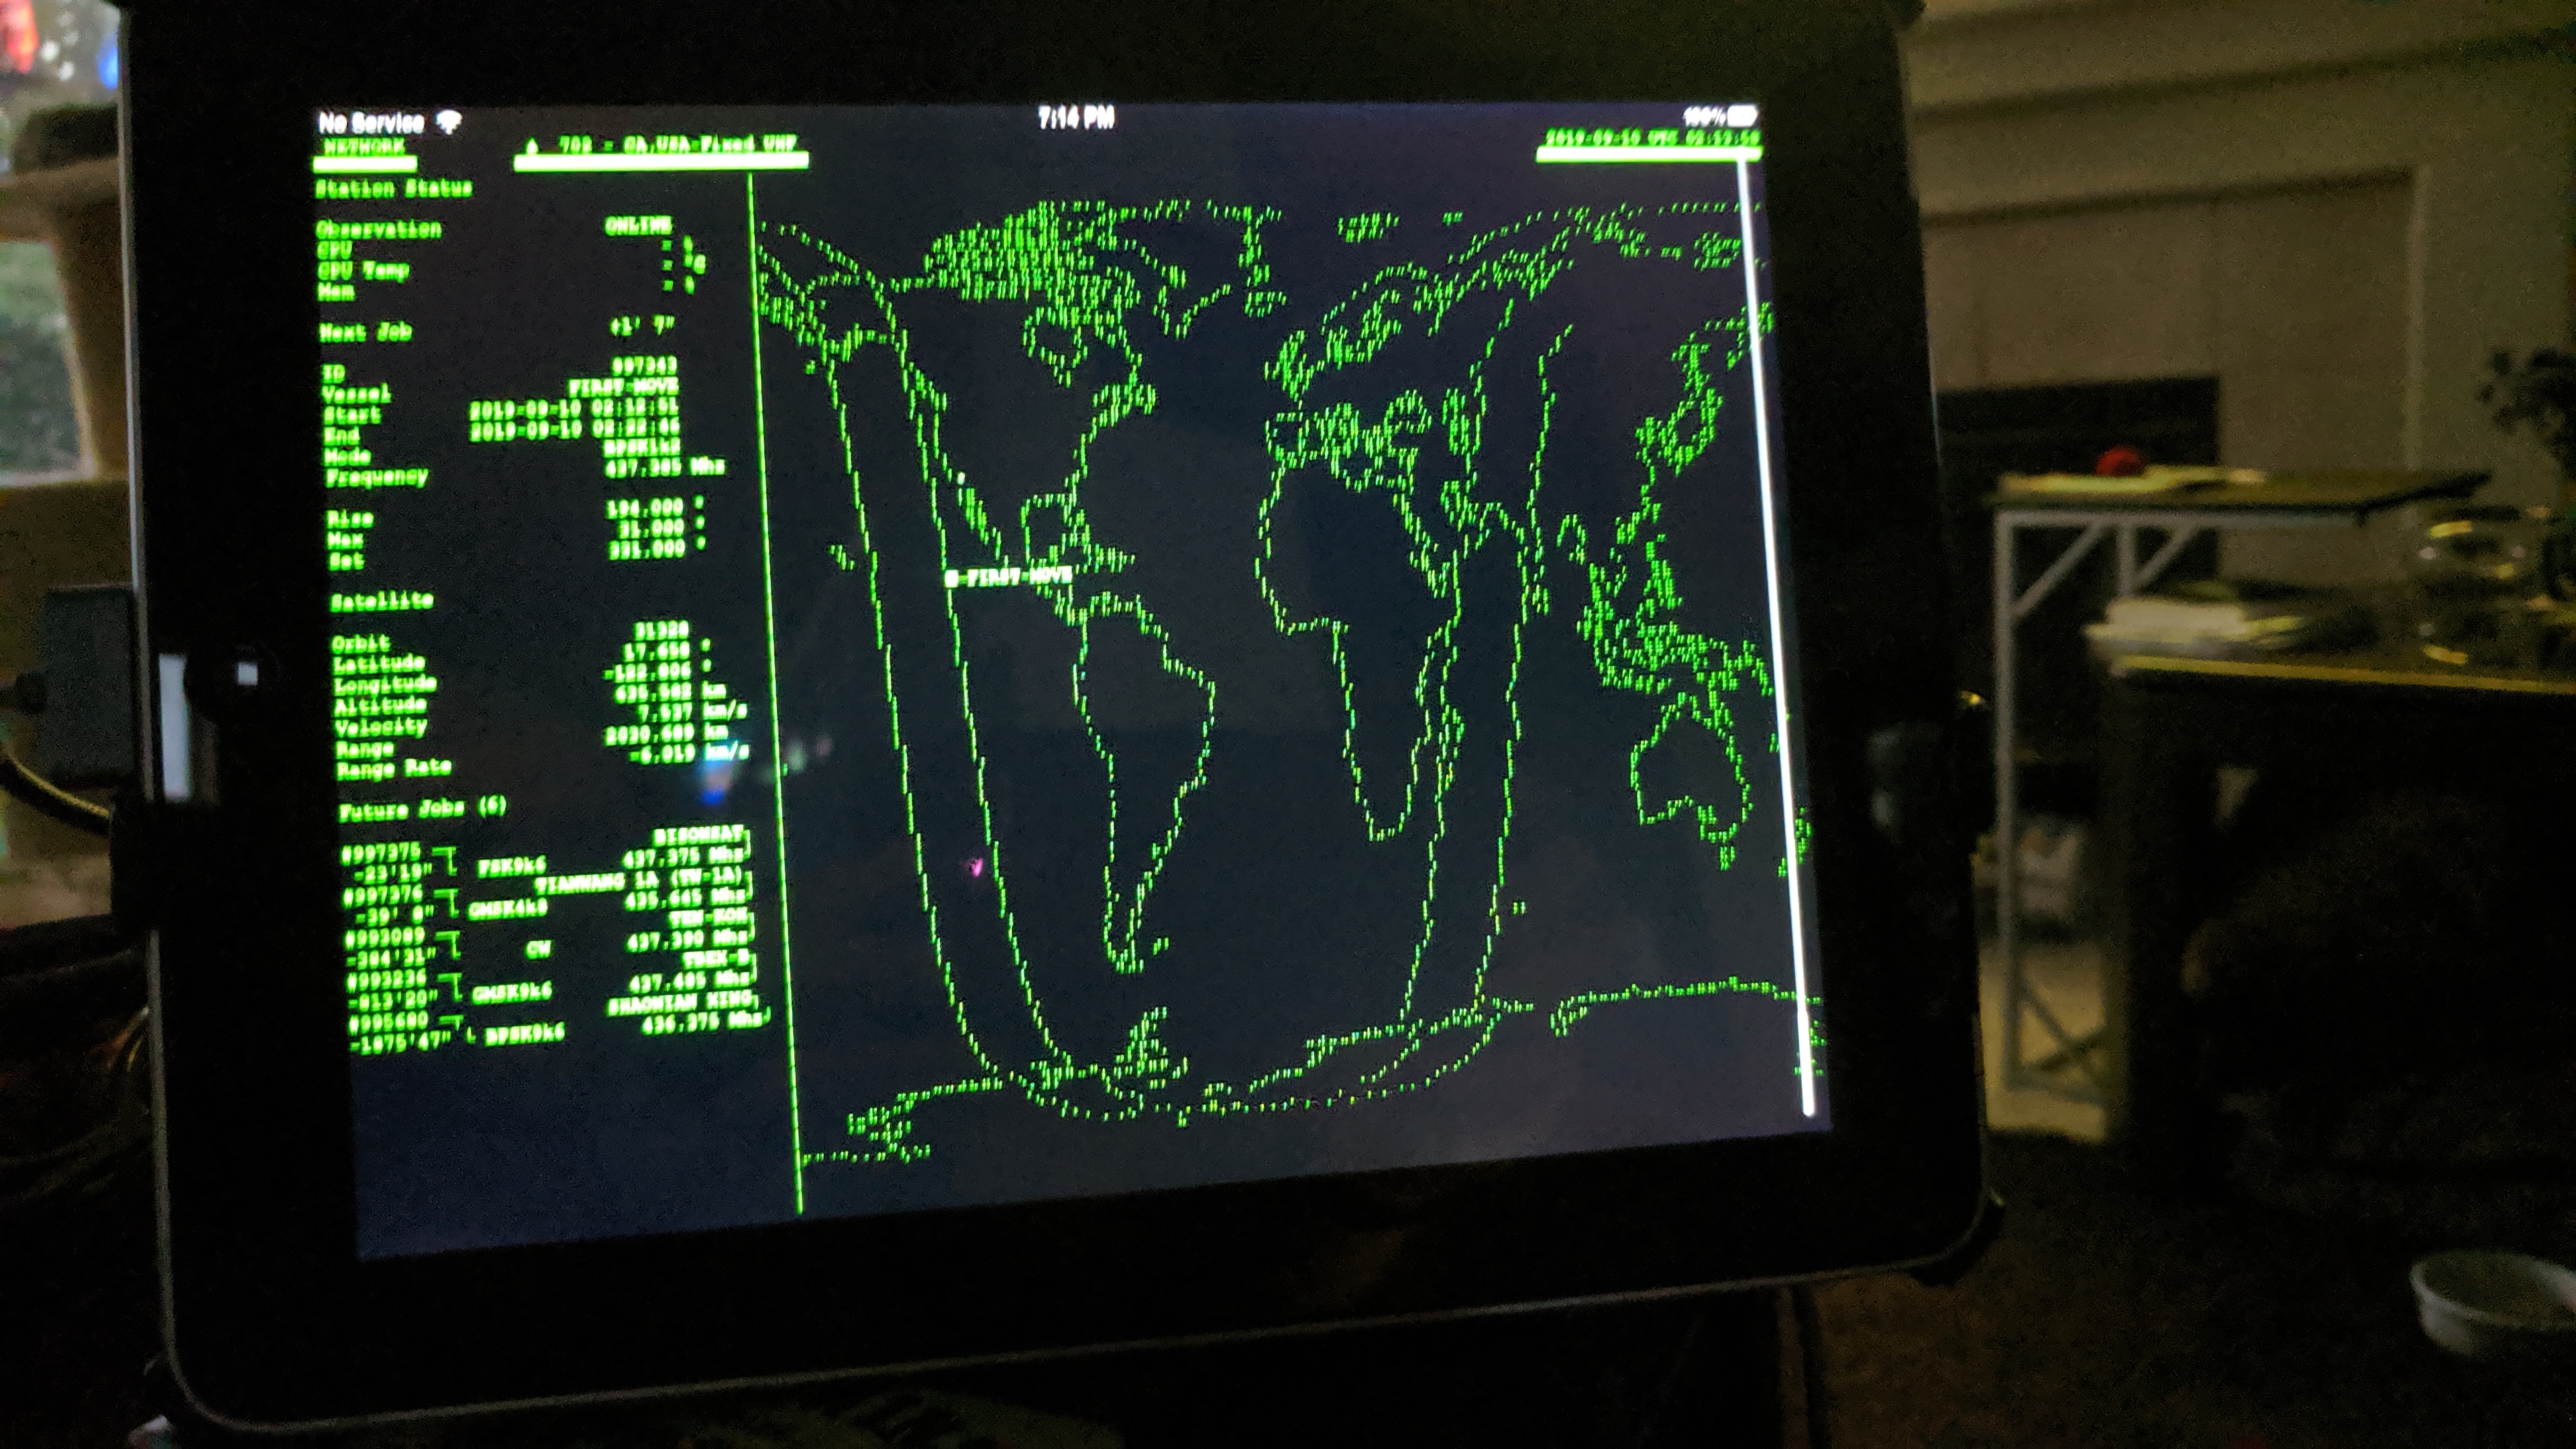
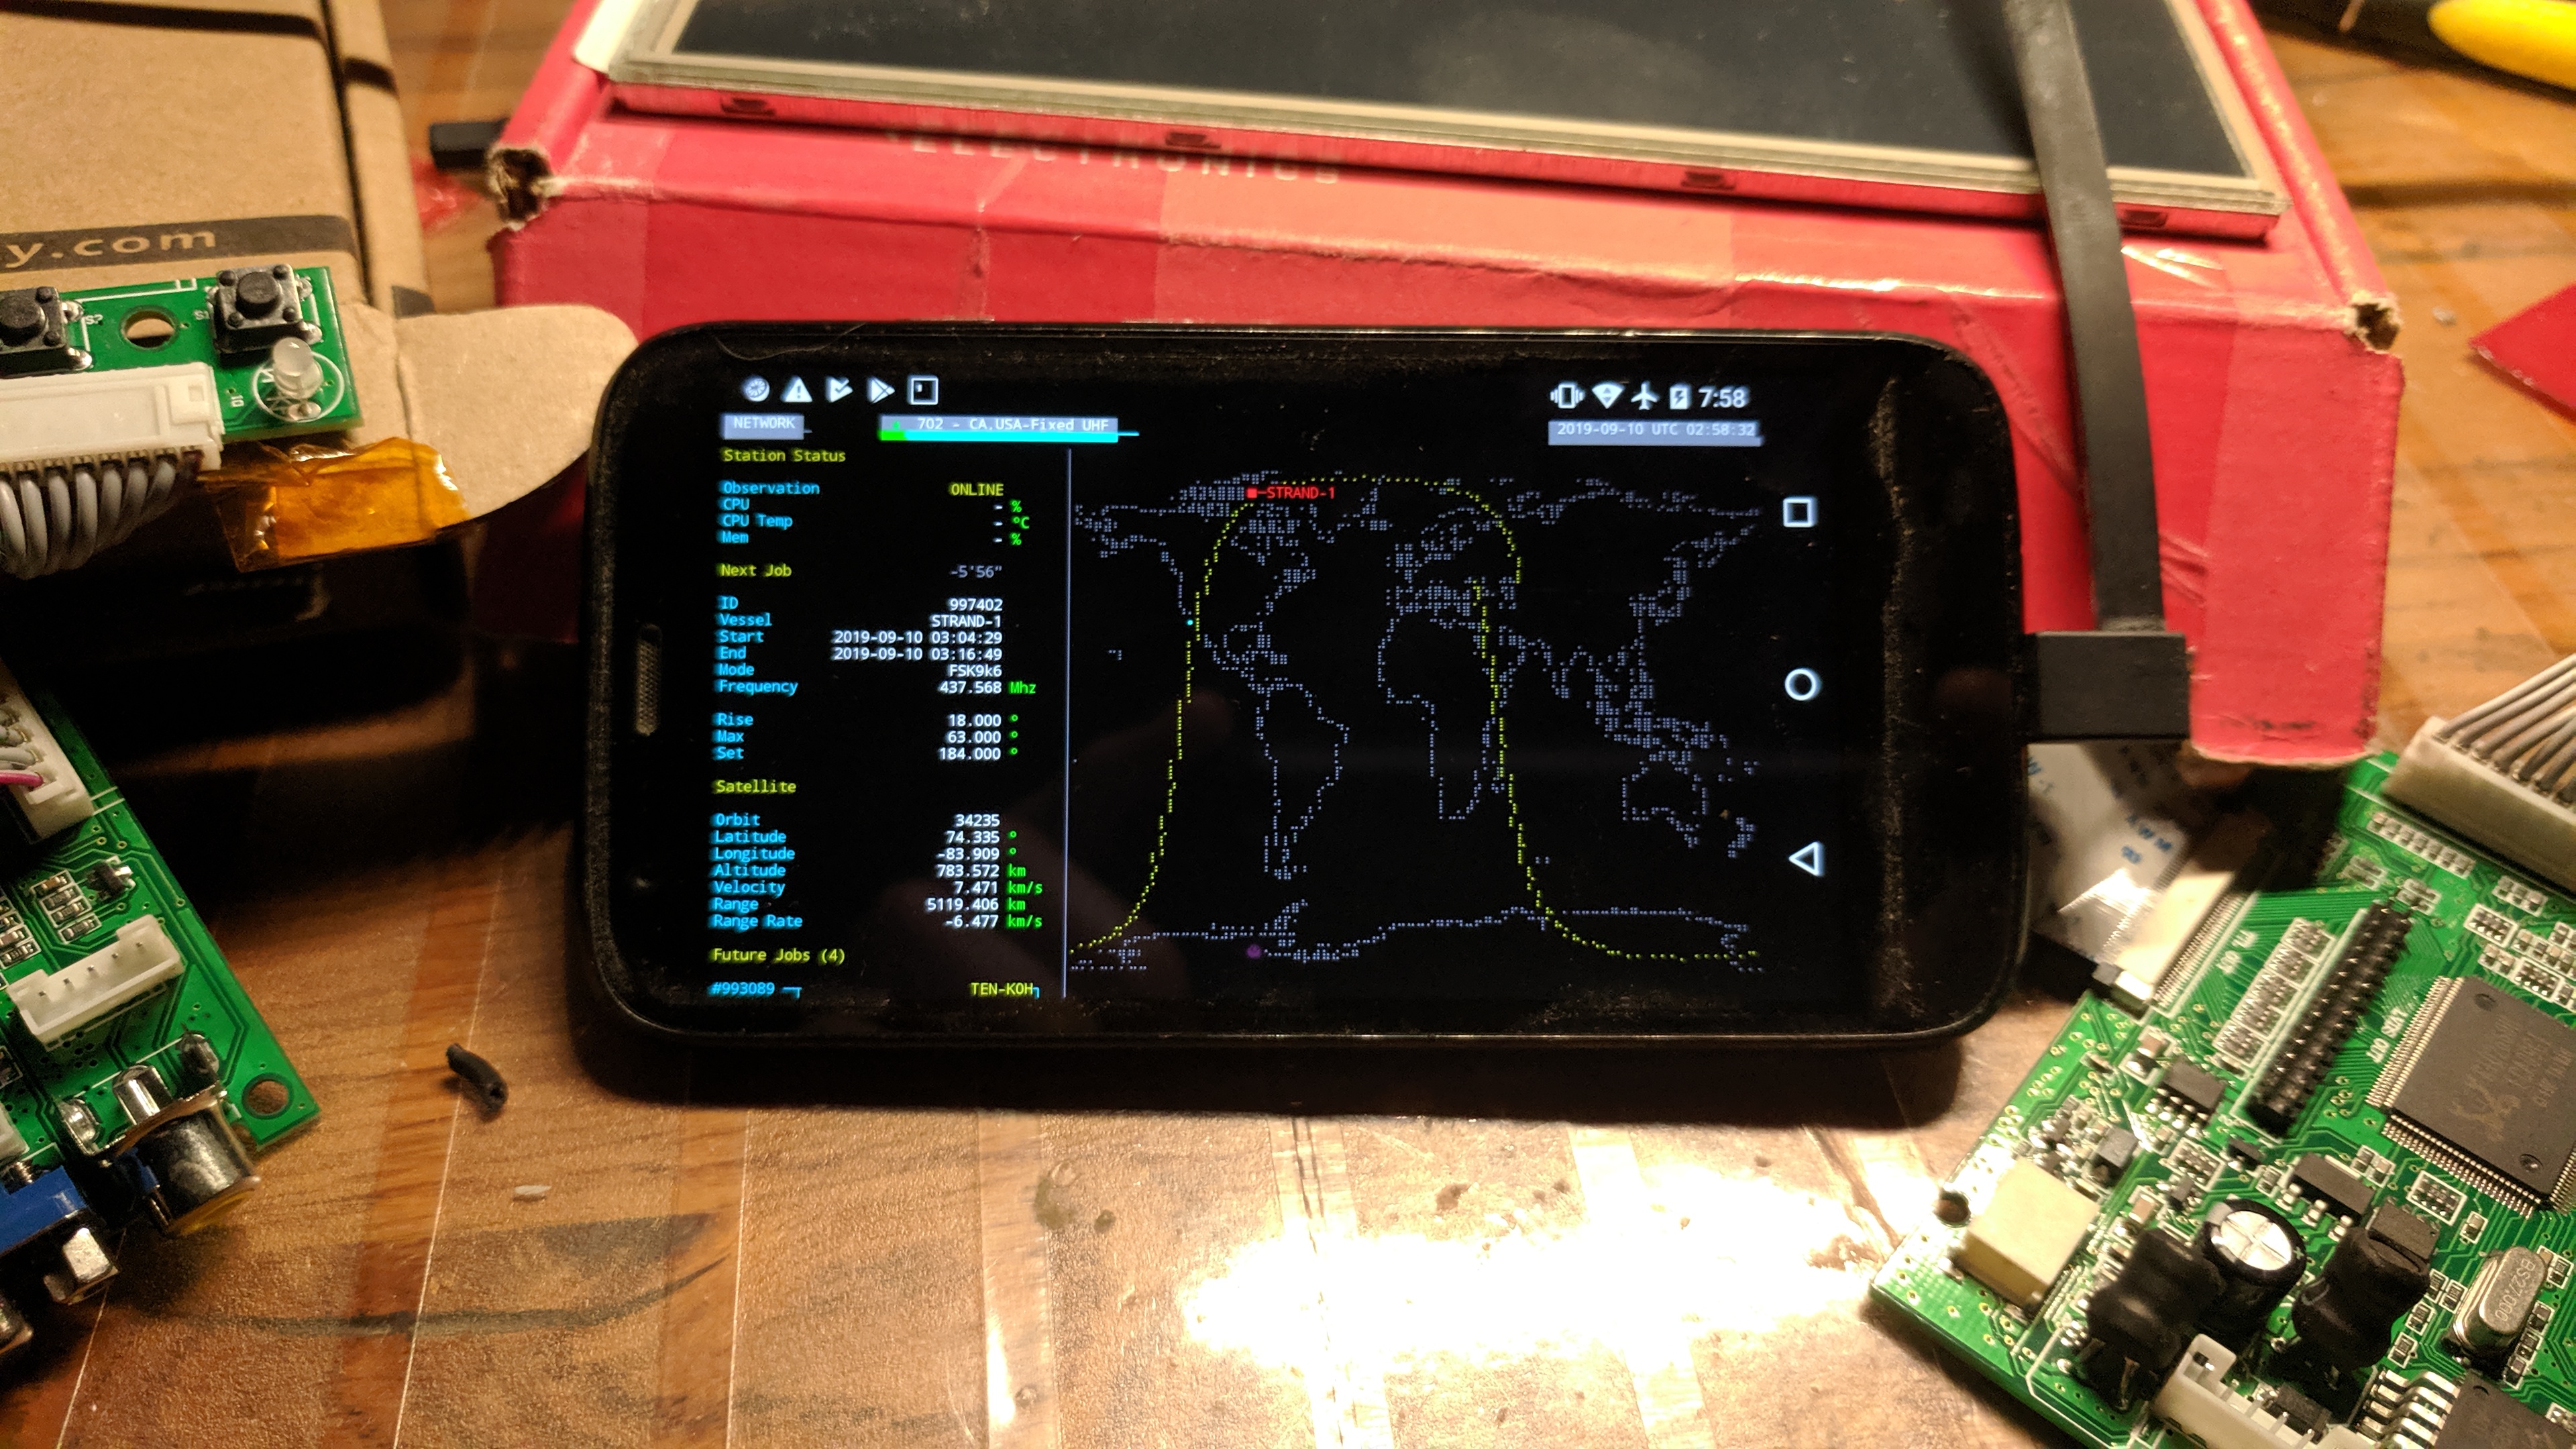
The display is showing satnogs-monitor from @wose. It is a Linux terminal based display. The small pi display posed a couple of challenges, a smaller text resolution and I did not want the overhead of X when this is text based to begin with. Out of the box it doesn’t look good at all, but as he mentions in the docs it works well with the Lucy Tewi font. Thankfully he also has a fork of yaft (yet another framebuffer terminal) which includes this font. So - on boot the pi user does an auto-login to console and runs yaft with satnogs-monitor as the target command.
The 16x2 rotor display
This is a very basic 16x2 display, as supported by the K3NG arduino code that runs the Yaesu G-5500 interface. The code supports a wide variety of displays and information to display, but I caution the reader that the code base takes up most of the 32KB of an Uno-class arduino, and the additional space needed by the display varies depending on the display type. In this case it is a HD44780, but you can also get around this by using an arduino mega-class instead.
Blinkenlights
If you are still reading, it gets hacky from here on out. I wanted quick visual notification of a problem (the kind I might hear from @BOCTOK-1 about)…  System health, /tmp filling up, internet down, etc…
Today I’m using 4 of the 8 lights:
- First indicator is for network connectivity (as I often lose it), with a simple connect test to google
- Second is for drive space - if any of the drives I have, or /tmp, fills up to 90% it will turn red.
- Third, I have netdata running on the pi. This is a bit overkill but at this point so is the whole project. I check the API of the instance (http://127.0.0.1:19999/api/v1/alarms?all=false) for any alarms. If any are found in “WARNING” state, amber light… if any in “CRITICAL”, red light.
- Lastly, a Blue light shows when a job is running, enabled/disabled via SATNOGS_PRE_OBSERVATION_SCRIPT and SATNOGS_POST_OBSERVATION_SCRIPT
Now - the challenge of this NeoPixel stick is that it does not keep state (and why would it?). Since we have redis running on the client already I wrote a library to retrieve, modify, then store the light state in redis anytime one of the other apps needed to make a change. I imagine there are plenty of better ways of handling this.
Conclusion
I like the look of it. I like the cables exposed, while knowing that there is organized chaos inside. The down side is that if I ever need to replace the SD card, I will have to open it up… and as much as I would love to take it with me to show at conferences, it looks like a bomb waiting for James Bond to diffuse!