Greetings,
TL;DR: here’s a shell script that generates a SVG file for tracker box axis sides to the height you specify.
https://github.com/dosman33/SatNOGS/tree/master/axis_side_generator
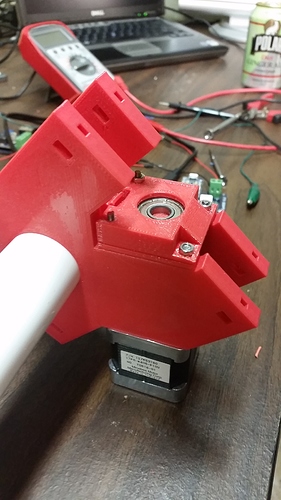
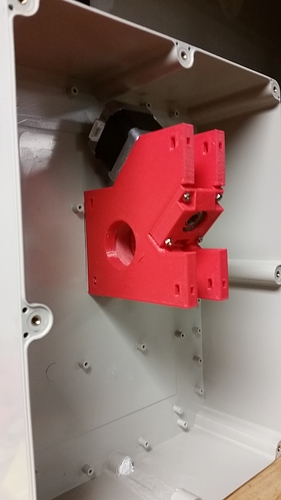
This is good for laser cutting and possibly CNC routing. Since SVG’s are easy-to-edit XML files, and because I intend to build more tracker boxes over time, I wanted a way to easily generate axis sides to fit different enclosures as needed. The axis sides generated are in 3 layers (intended to be laser cut out of 1/8” plywood and glued or screwed together) which combine to form a single axis side per part. You need two of these 3-layer parts for a single axis gear box (4 for a complete tracking box). There are alignment holes to make assembly easy. If you have a higher power laser (over 100W maby) or are CNC routing you could just use 5/16” plywood and cut a single layer out, but good luck drilling those stepper motor screw holes :-).
This script starts with the shortest possible axis side height (about 102mm) and you can add any value to that. The original axis sides are 110mm tall, when using axis sides as short as 102mm it requires making other sacrifices like sanding down the bearing holders which captures the end of the worm gear. You will also have to leave out two of the stepper thread-rods since there’s no room for the nuts. However once you get to around 108mm or higher you should no longer require janky assembly techniques.
The axis holes are sized for imperial 1.25” diameter rods which means PVC sizes won’t work, I use wood dowel rods myself. I have comments in the generated SVG which indicate the paths for most of the important parts one would want to modify if someone wants to add functionality to the script. However currently, if you need metric axis holes, you will need to do some post editing of the generated SVG in Inkscape.
The need for the script is that it seems the enclosure itself is hard to source from one single supplier. Finding a common world-wide supplier seems out of the question. Many of us have found boxes which are close enough to work but have different depths. When the enclosures depth changes this requires modifying the height of the axis sides or making some kind of shim so the axis sides will fit correctly. This is doable for one-off manual work, but why can’t it be easier? 
Lastly, I discovered that I simply can’t figure out how the SVG viewbox coordinates work. This means the part may look strange or appear cut off when being previewed by some file managers (OSX) or rendered in some browsers. However this has no bearing on actual part, you can manually fix the view box in Inkscape if it bothers you though.
Thanks!
-dosman

